Take Claude from the opening escape in Portland to the final confrontation at Cochrane Dam. Find every contact mission and payphone job, with practical steps, screenshots and a safe order for the missions that can be missed.
Full mission list · Missable missions and safe order · Finding the payphones
All 67 mission guides
This catalogue covers 50 main-contact and story entries, including the introduction and short connecting scenes, plus all 17 payphone missions. The 50 entries are not all compulsory for the ending: ten contact missions can be missed as the story advances. Those jobs and the phone chains still matter for 100% completion.
The island lists below group missions by their starting contacts, not every location visited during a job. Several assignments can be available together. Use the guide order as a route through the story, then complete the nearby phone chains at a convenient point.
Safe mission order: avoid permanent lockouts
- Before Last Requests: finish Luigi and Joey’s remaining jobs, especially Pump-Action Pimp, The Fuzz Ball, Dead Skunk in the Trunk, The Getaway. Completing all available Portland contacts before leaving is the simplest safeguard.
- Before Waka-Gashira Wipeout!: complete all five Kenji missions: Kanbu Bust-out, Grand Theft Auto, Deal Steal, Shima, Smack Down. Kenji’s death permanently removes unfinished casino jobs.
- Before Grand Theft Aero: finish Asuka’s Two-Faced Tanner. It disappears when the later construction-site storyline advances.
Keep a separate manual save before each cutoff. For an easier Portland cleanup, finish El Burro and Marty’s chains before Sayonara Salvatore, when the Mafia becomes hostile. Other missions also change gang attitudes, so postponing every optional activity until after the ending can make travel harder.
Full mission list
Portland
Story and contact missions
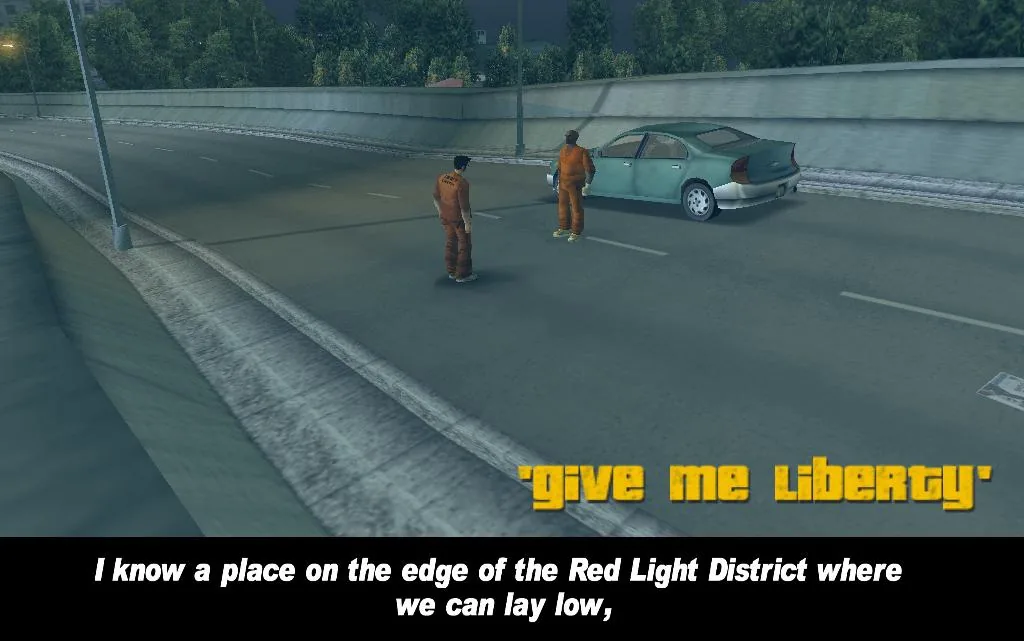
- Give Me Liberty Story scene
- Luigi's Girls
- Don't Spank Ma Bitch Up
- Drive Misty For Me
- Pump-Action Pimp Missable
- The Fuzz Ball Missable
- Mike Lips Last Lunch
- Farewell 'Chunky' Lee Chong
- Van Heist
- Cipriani's Chauffeur
- Dead Skunk in the Trunk Missable
- The Getaway Missable
- Taking Out The Laundry
- The Pick-Up
- Salvatore's Called A Meeting
- Chaperone
- Triads and Tribulations
- Blow Fish
- Cutting The Grass
- Bomb Da Base: Act I Story scene
- Bomb Da Base: Act II
- Last Requests
Payphone missions
- Turismo El Burro
- I Scream, You Scream El Burro
- Trial By Fire El Burro
- Big'N Veiny El Burro
- The Crook Marty Chonks
- The Thieves Marty Chonks
- The Wife Marty Chonks
- Her Lover Marty Chonks
Staunton Island
Story and contact missions
- Sayonara Salvatore
- Under Surveillance
- Paparazzi Purge
- Payday For Ray
- Two-Faced Tanner Missable
- Kanbu Bust-out Missable
- Grand Theft Auto Missable
- Deal Steal Missable
- Shima Missable
- Smack Down Missable
- Silence The Sneak
- Arms Shortage
- Evidence Dash
- Gone Fishing
- Plaster Blaster
- Liberator
- Waka-Gashira Wipeout!
- A Drop In The Ocean
- Grand Theft Aero
- Escort Service
- Decoy
- Love's Disappearance Story scene
- Marked Man
- Bait
- Espresso-2-Go!
- S.A.M.
- Ransom Story scene
Payphone missions
- Bling-Bling Scramble King Courtney
- Uzi Rider King Courtney
- Gangcar Round-Up King Courtney
- Kingdom Come King Courtney
Shoreside Vale
Story and contact missions
Payphone missions
- Uzi Money D-Ice
- Toyminator D-Ice
- Rigged to Blow D-Ice
- Bullion Run D-Ice
- Rumble D-Ice
Where to start the payphone missions
- El Burro: Hepburn Heights, Portland, after Van Heist. Begin with Turismo; four jobs in total.
- Marty Chonks: the unmarked phone outside Bitch’n’ Dog Food in Trenton, near Joey’s garage. It rings from 09:00 to 19:00 after Drive Misty For Me. Begin with The Crook; four jobs in total.
- King Courtney: the Liberty Campus payphone on Staunton Island, after Sayonara Salvatore. Begin with Bling-Bling Scramble; four jobs in total.
- D-Ice: Wichita Gardens in Shoreside Vale, after A Drop In The Ocean. Begin with Uzi Money; five jobs in total.
How to reach the other islands
Last Requests takes the story from Portland to Staunton Island. A Drop In The Ocean opens Shoreside Vale. Follow the main contacts if a bridge or route is still unavailable; the walkthrough does not require early-access glitches.
Preparing for the finale
Ransom leads to Catalina’s meeting in Cedar Grove. You need $500,000 to begin The Exchange. Save before entering, restore health and armour, and remember that your carried weapons are confiscated at the start. Ray’s special Patriot from Marked Man is useful but optional.
Classic GTA III and The Definitive Edition
The contact chains and core objectives apply to both editions. Aiming, controls, retry options and some timer allowances differ, so use the prompts and countdown displayed in your version. Claude cannot swim in either version. Avoid planning water escapes on foot, and leave a manual save before a long or missable assignment.
Does the ending mean 100% completion?
No. Finishing The Exchange completes the main story. Full game completion also requires the optional missions here and activities beyond this mission catalogue, including service-vehicle tasks, collectibles, rampages, unique jumps and other challenges. This section covers the complete story and payphone mission list; it is not a claim that the ending alone awards 100%.
GTA Vice City walkthrough · GTA San Andreas walkthrough · GTA IV walkthrough · GTA V walkthrough