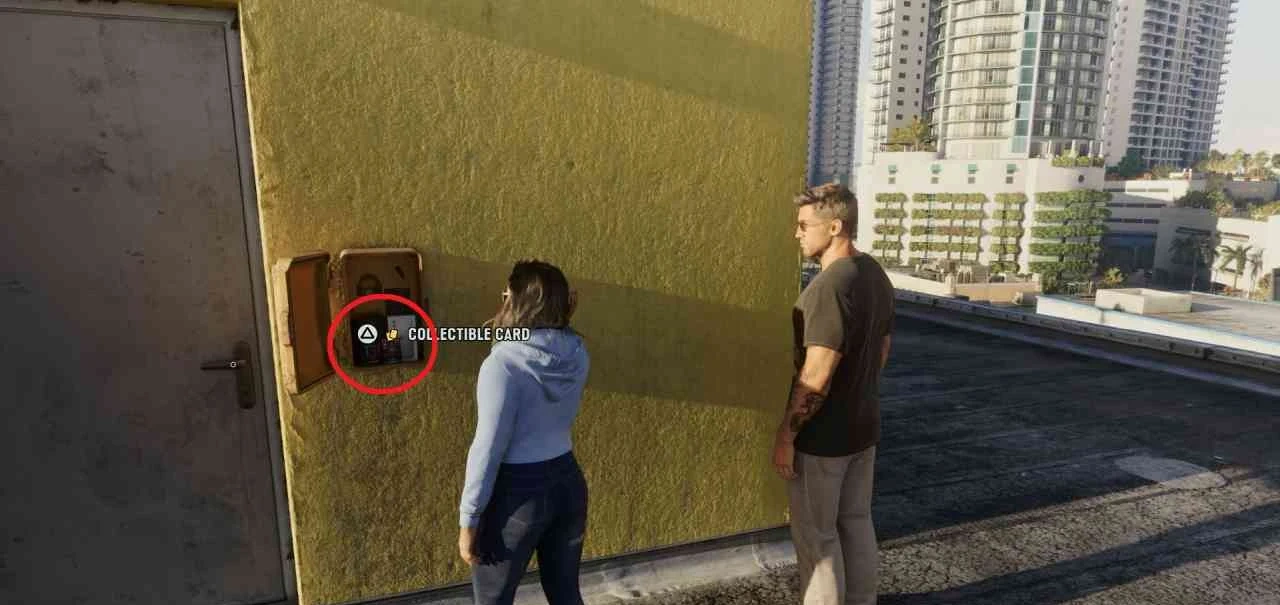
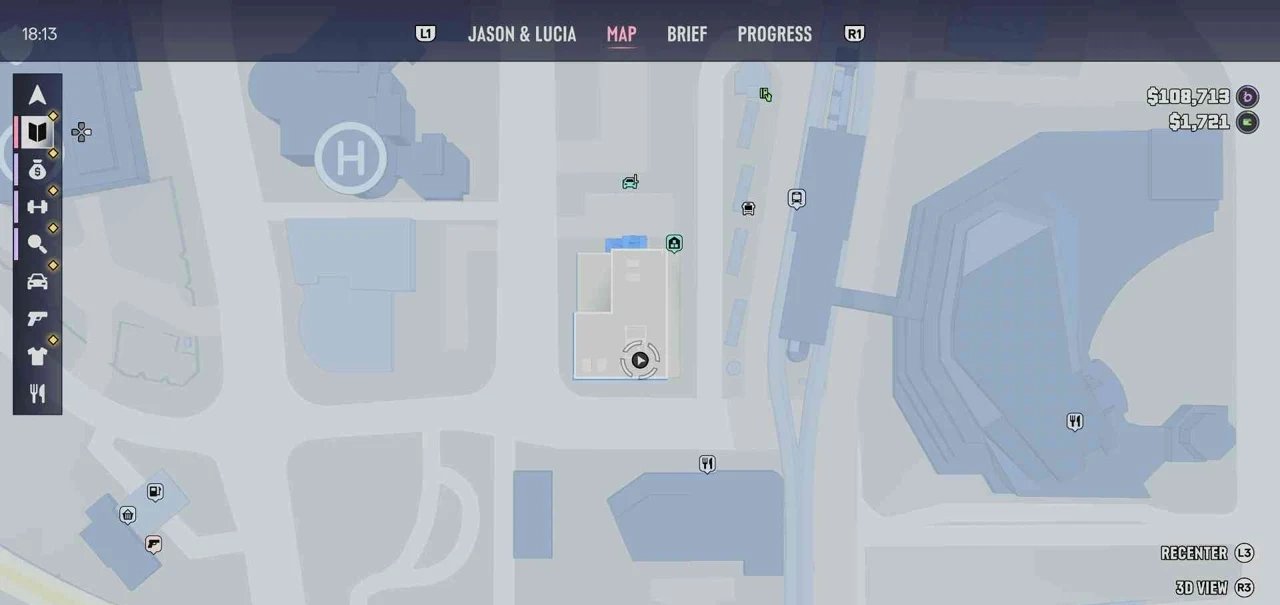
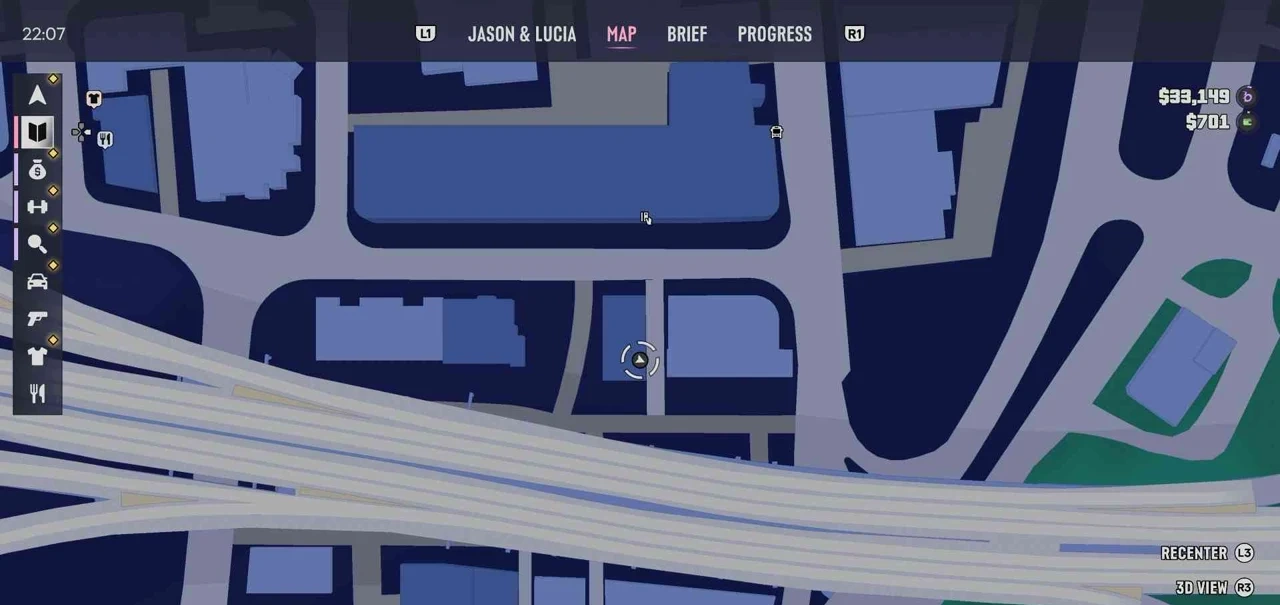
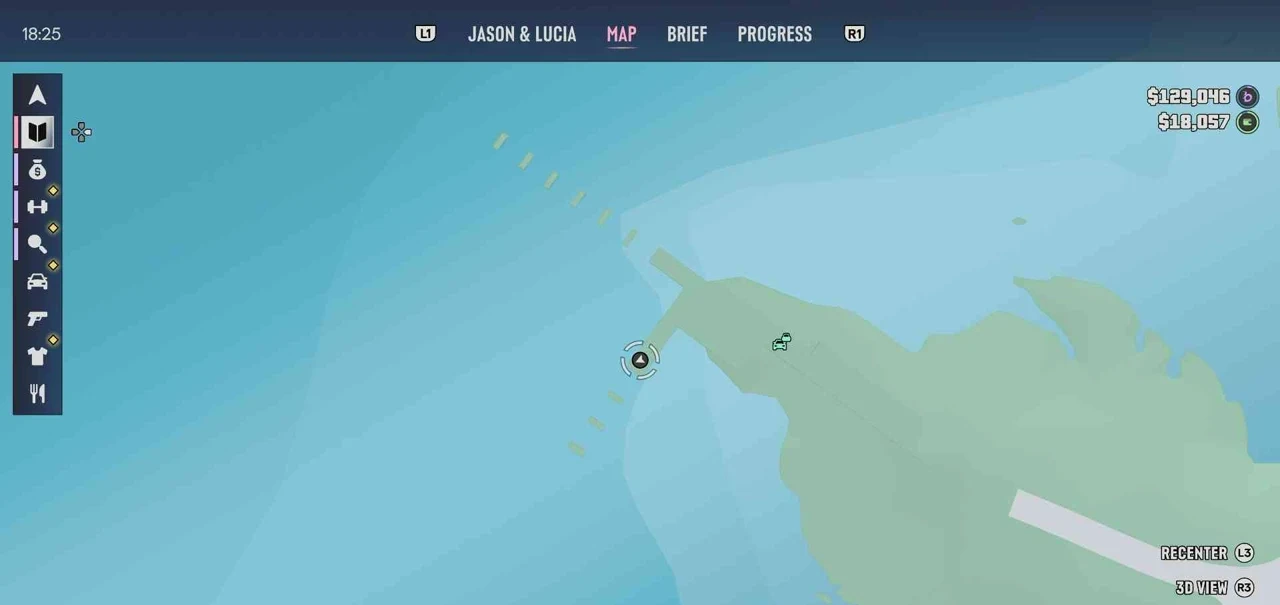
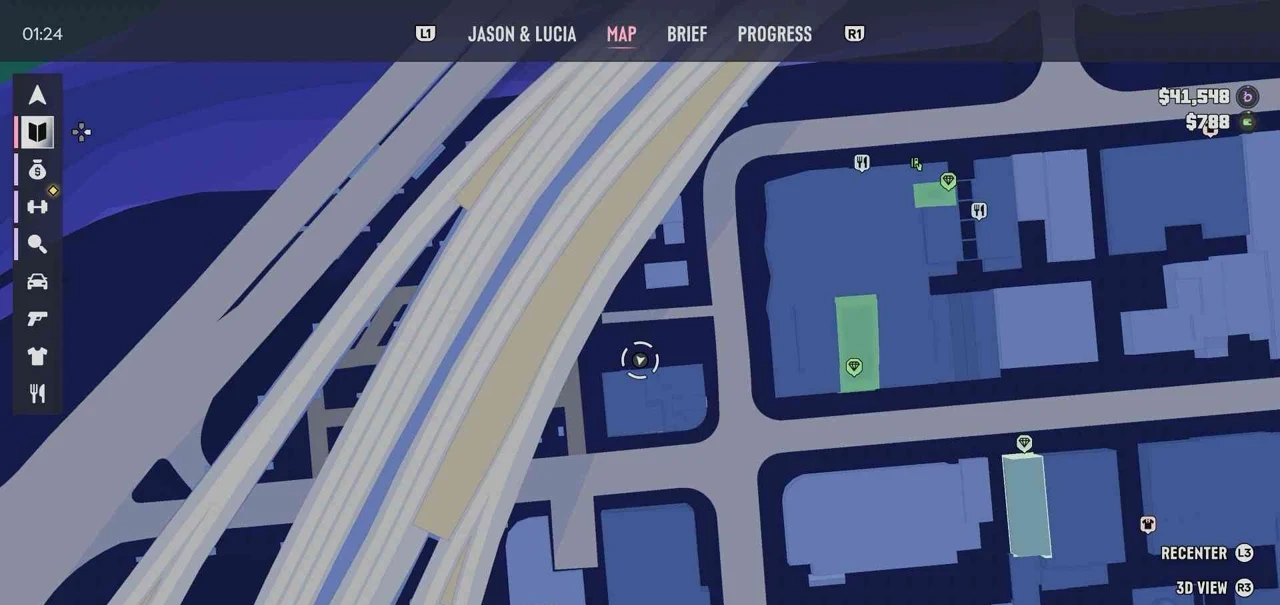
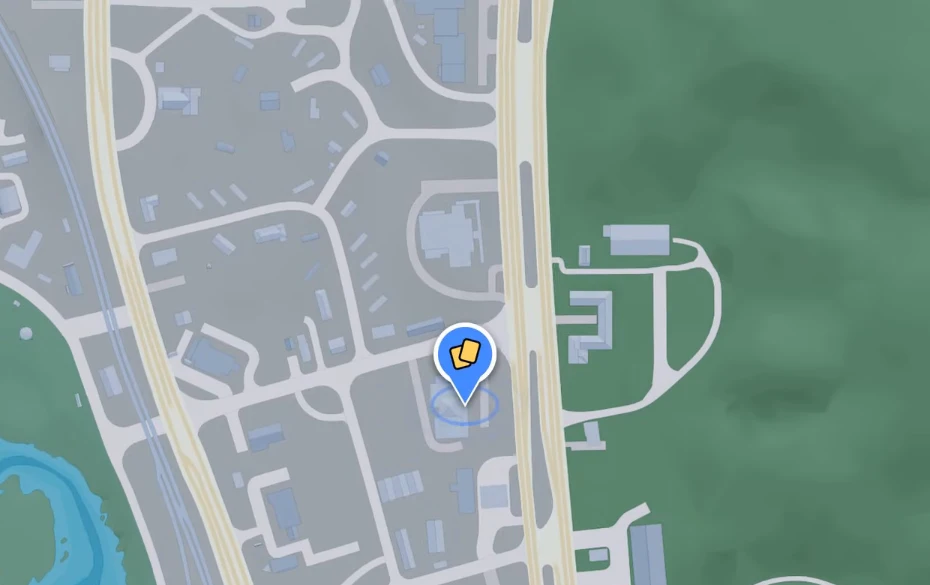
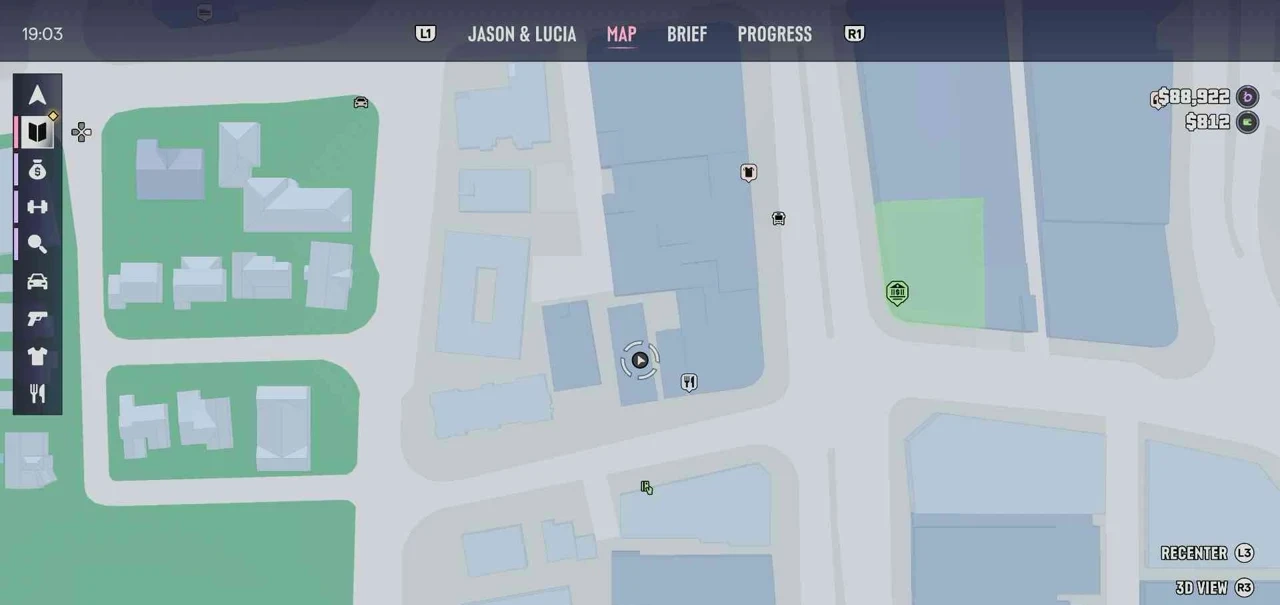
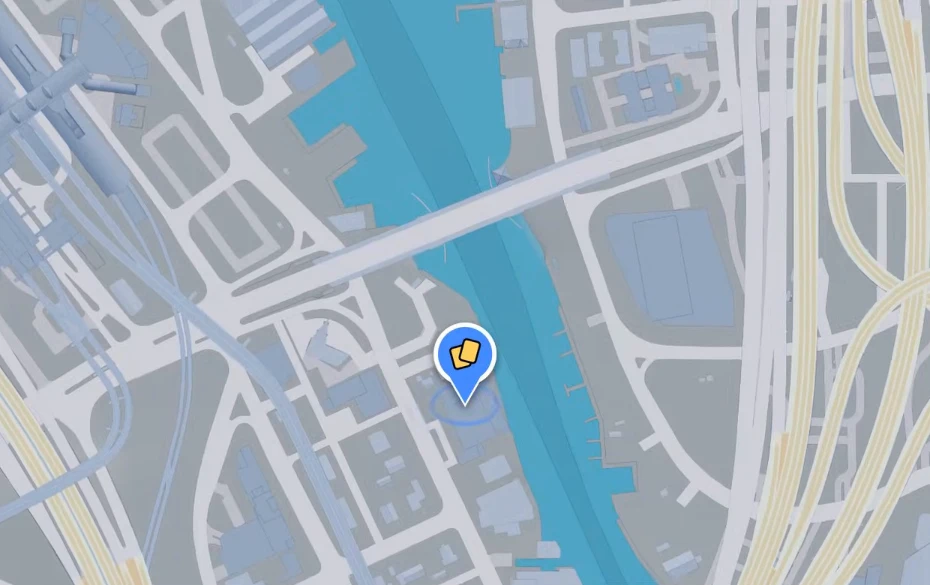
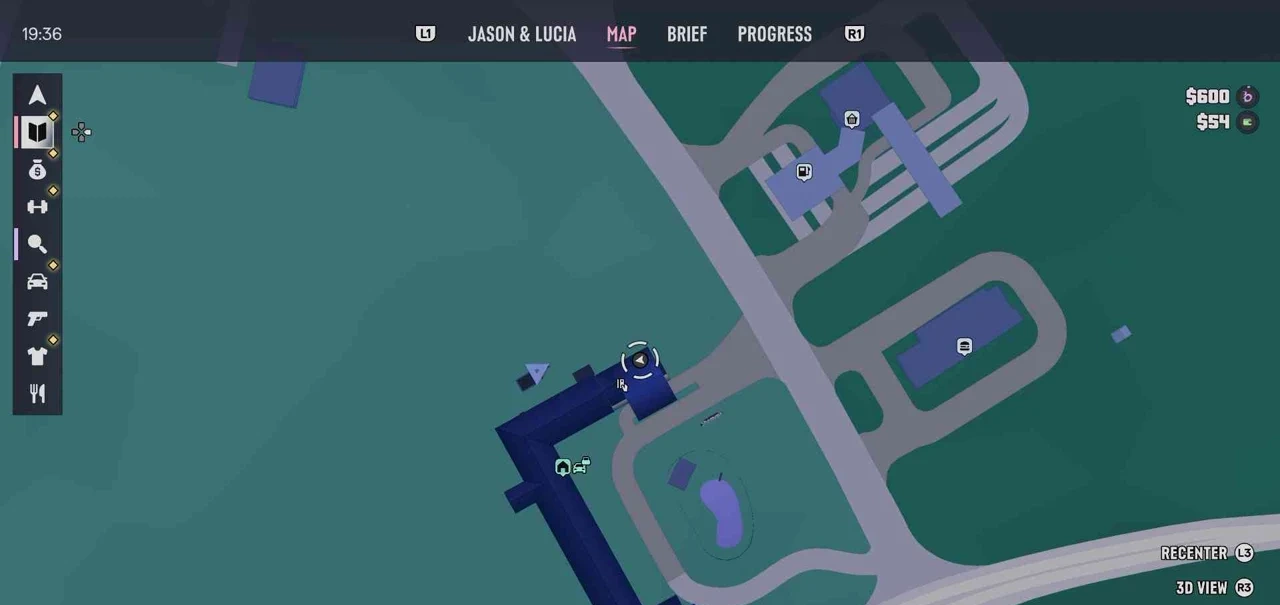
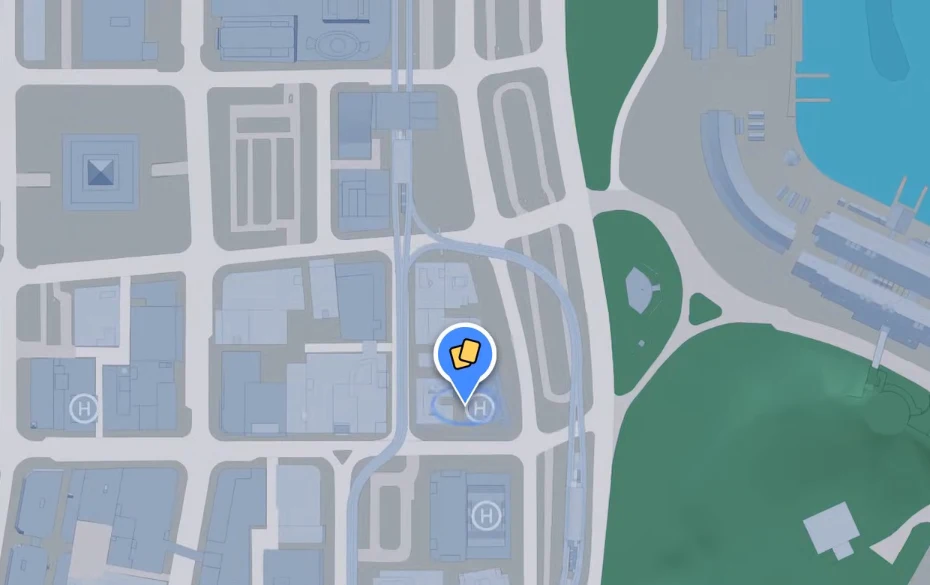
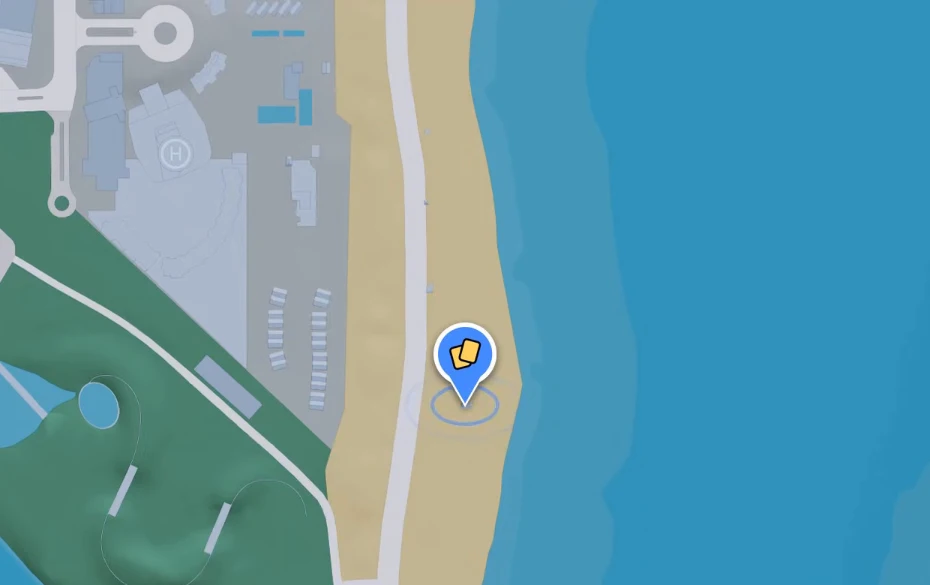
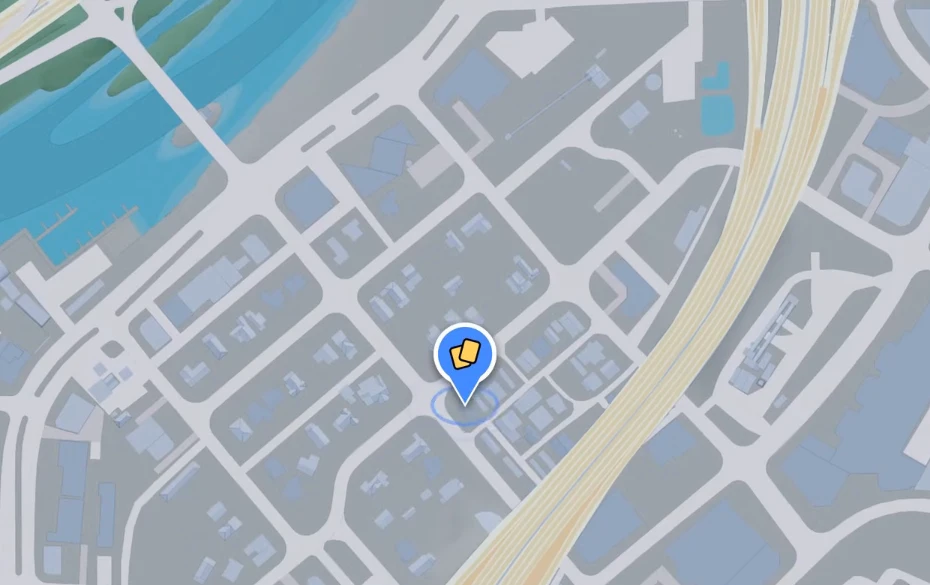
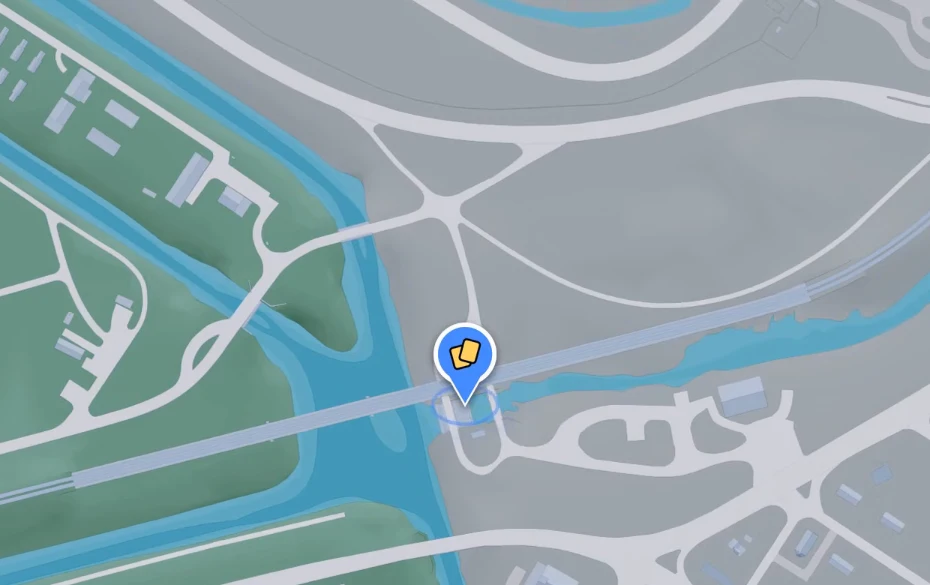
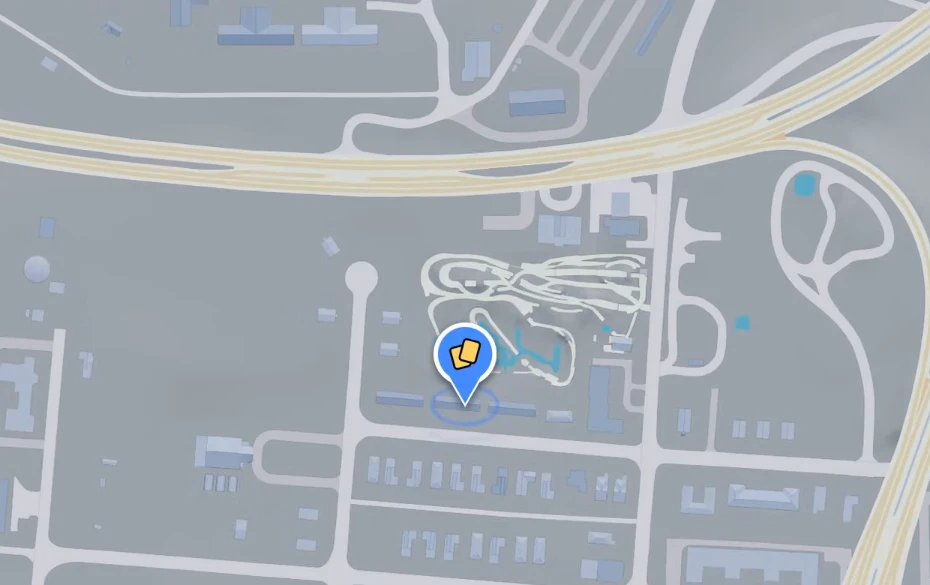
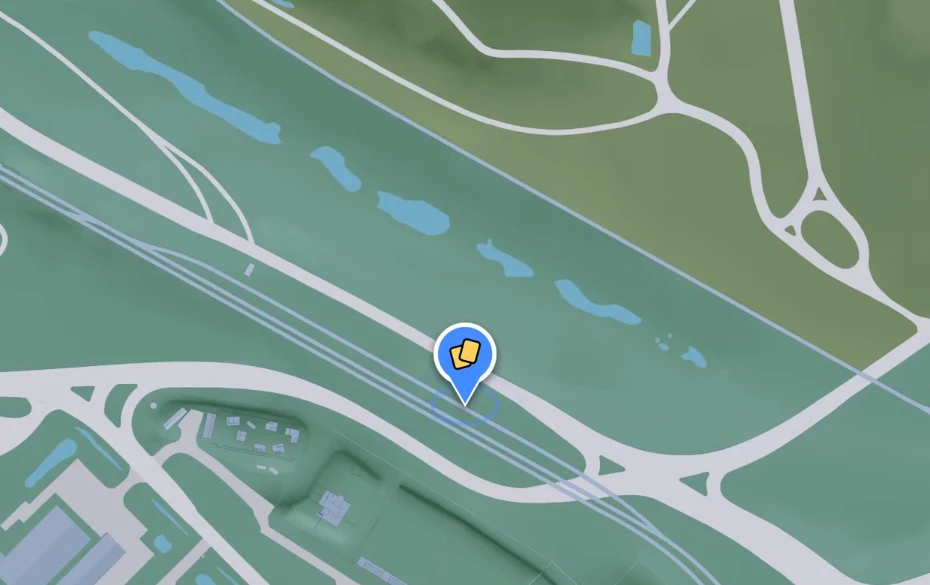
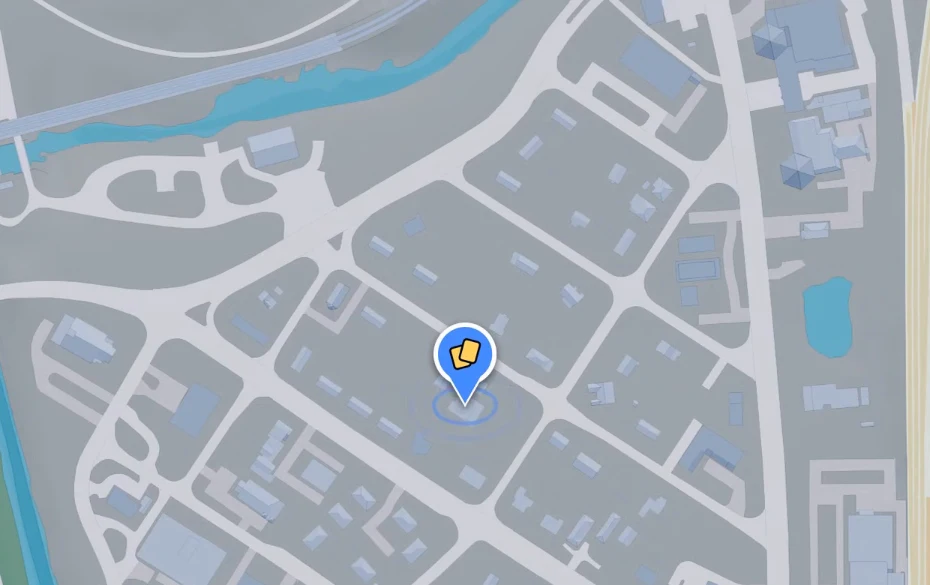
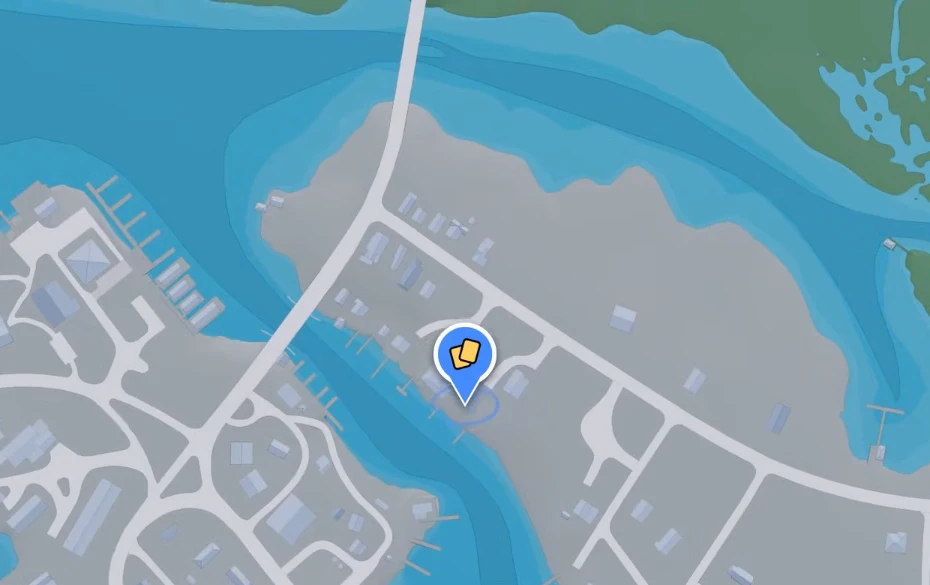
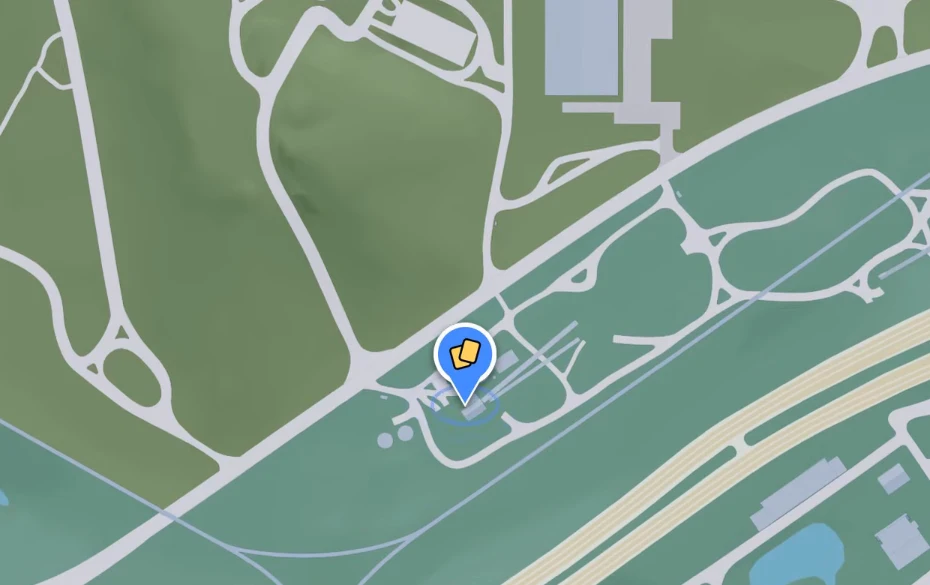
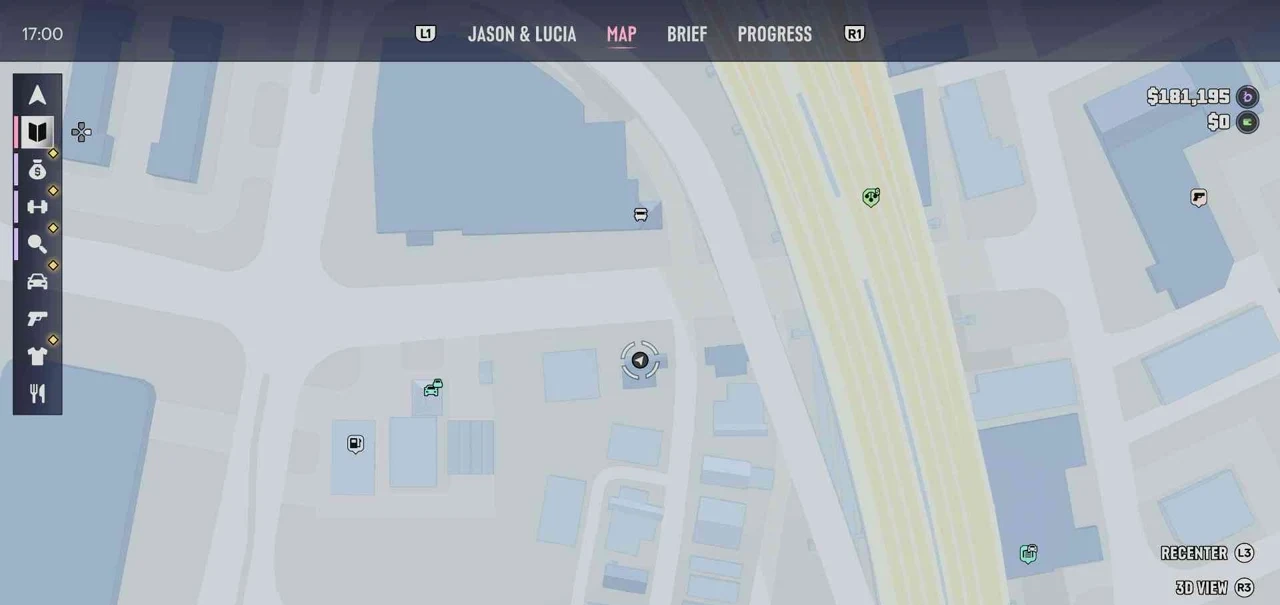
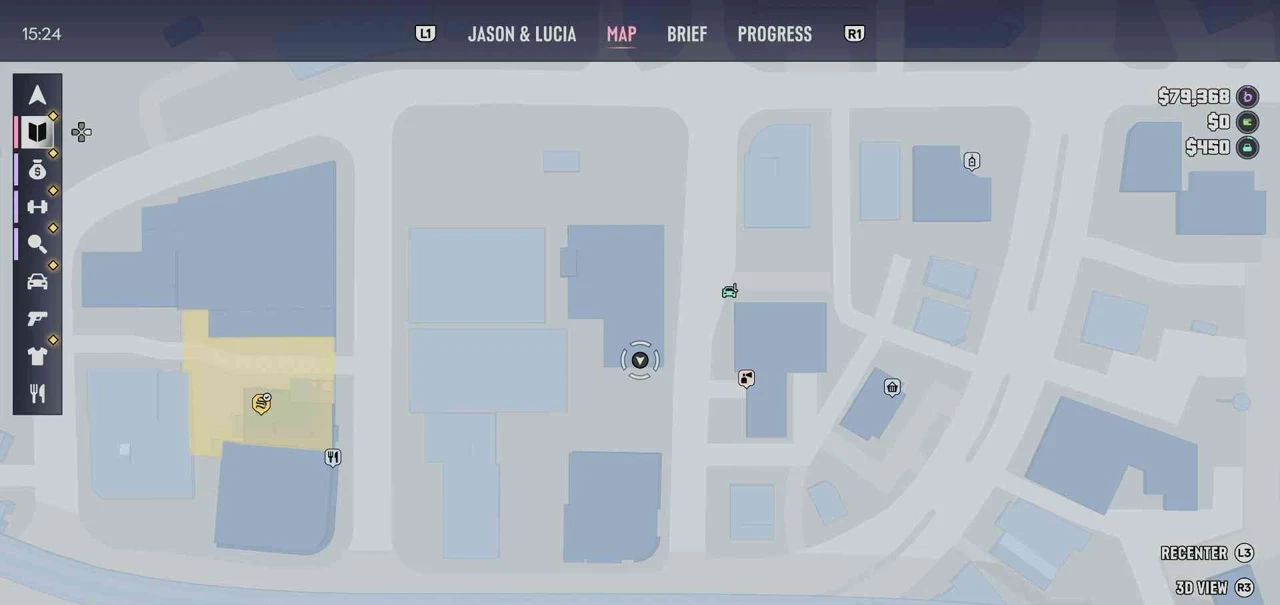
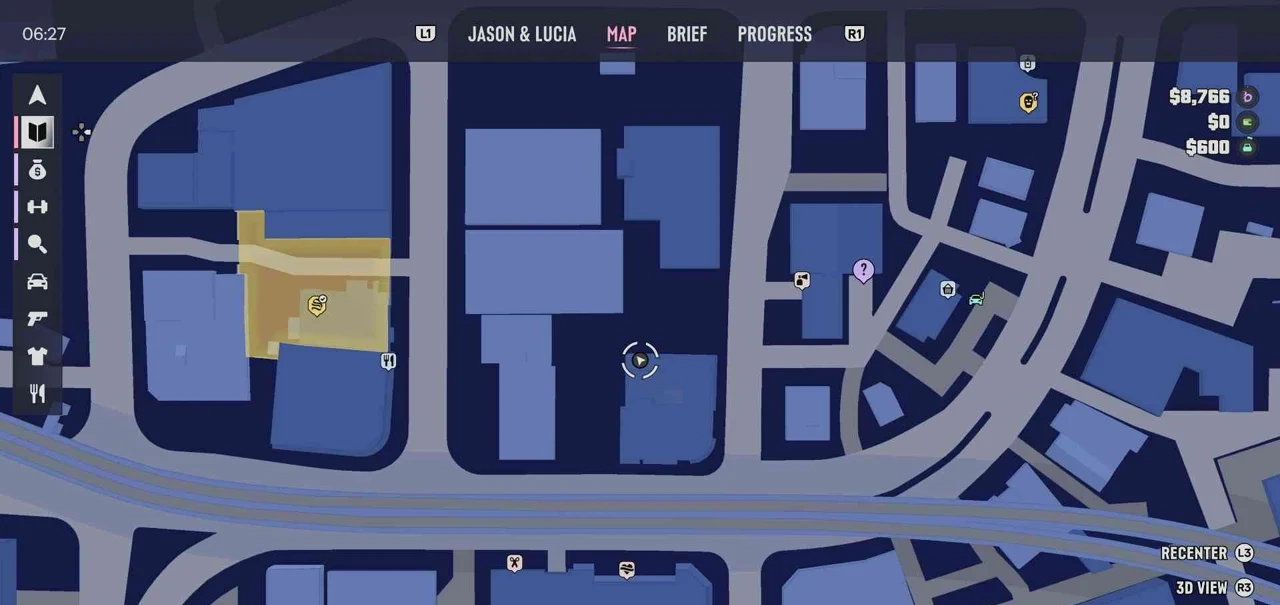
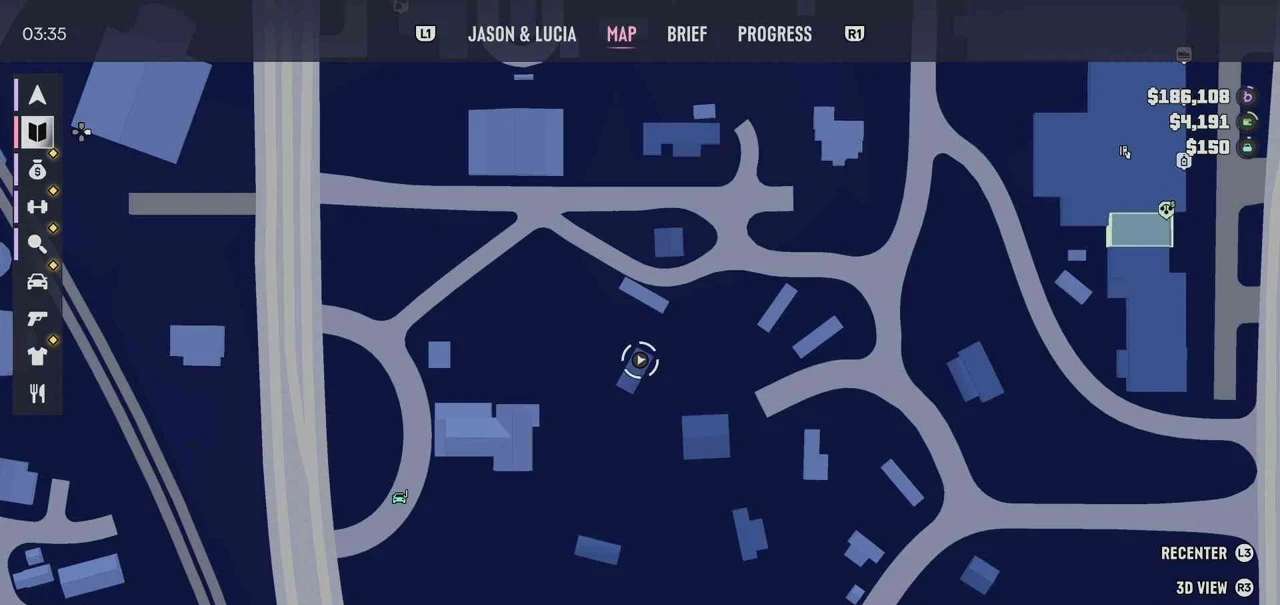
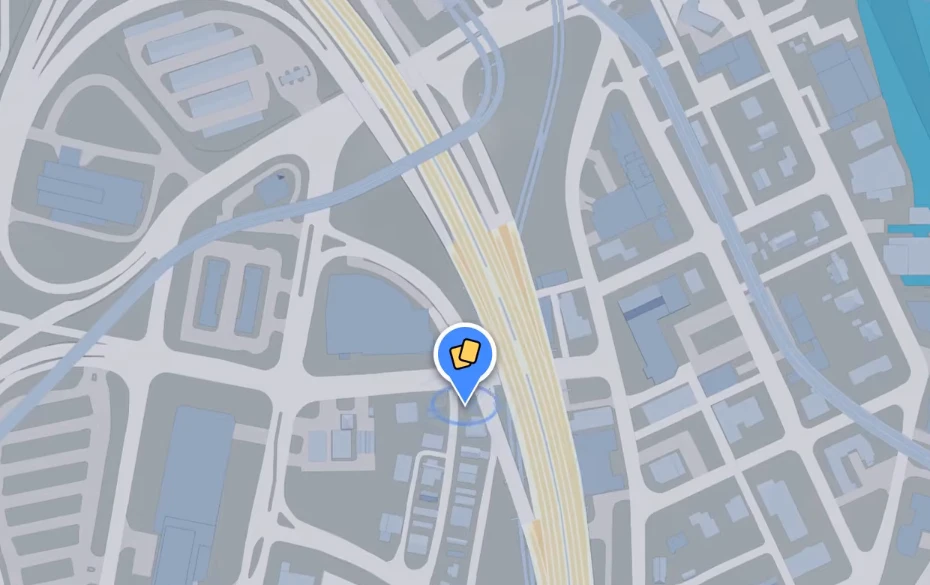
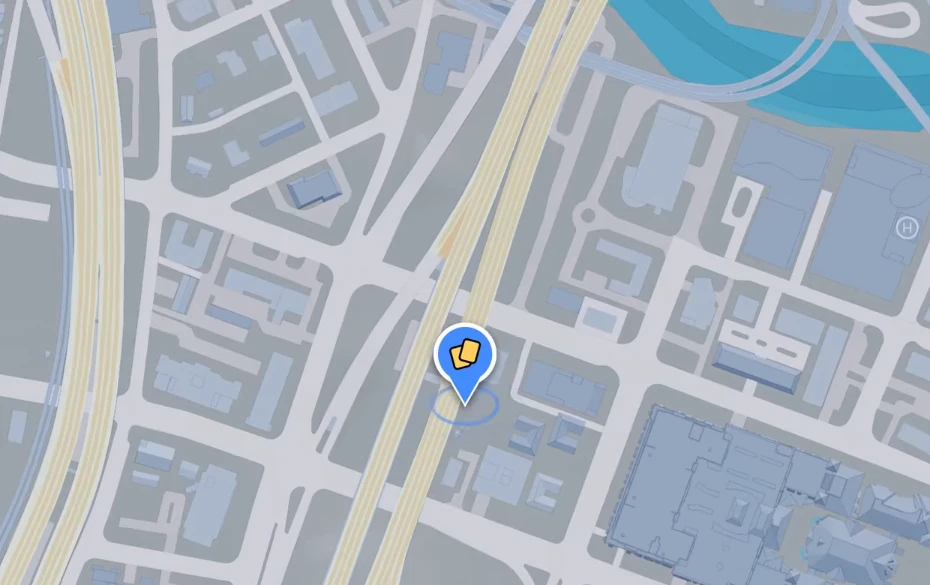
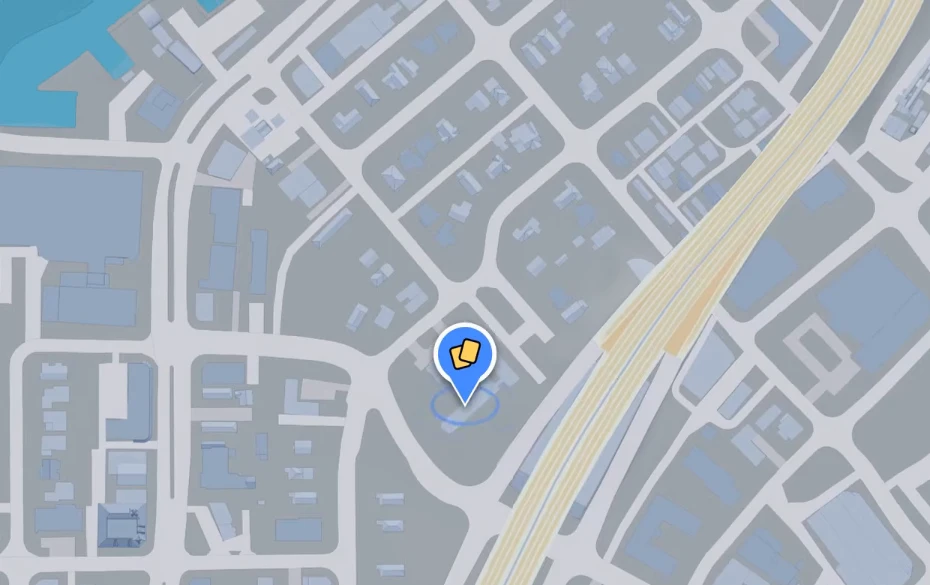
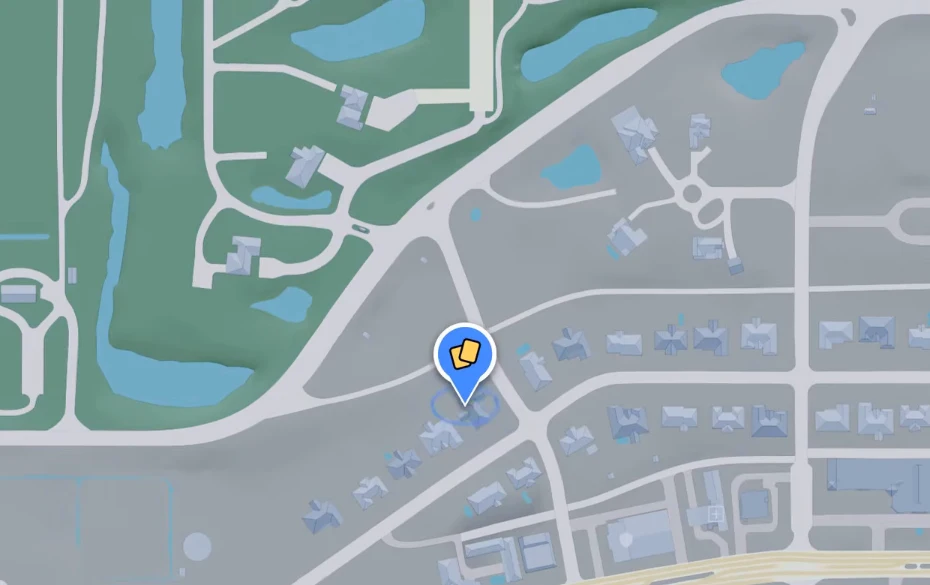
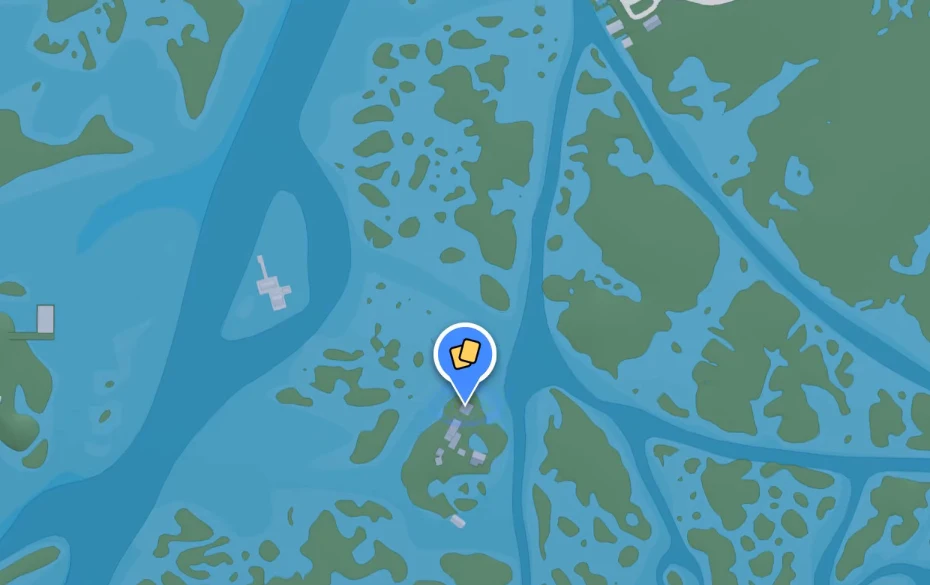
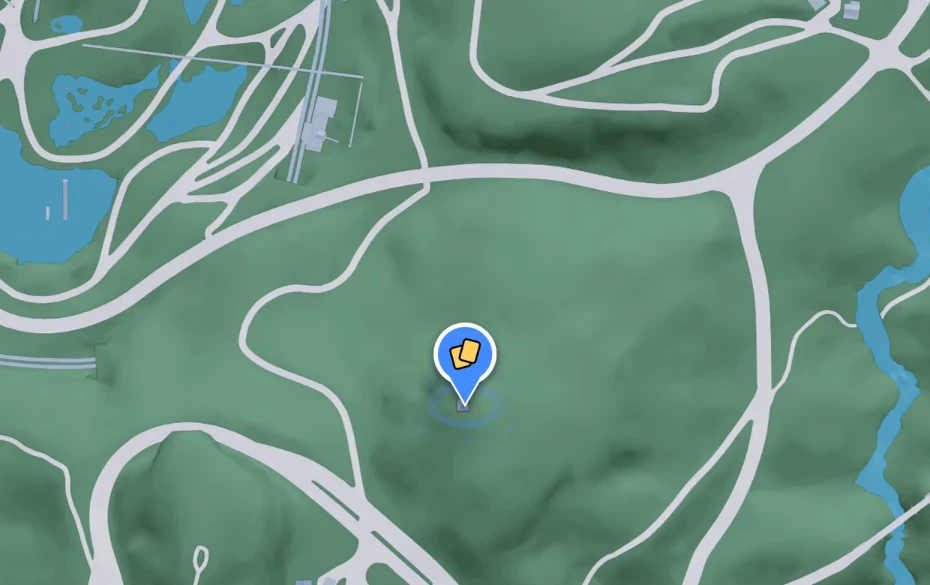
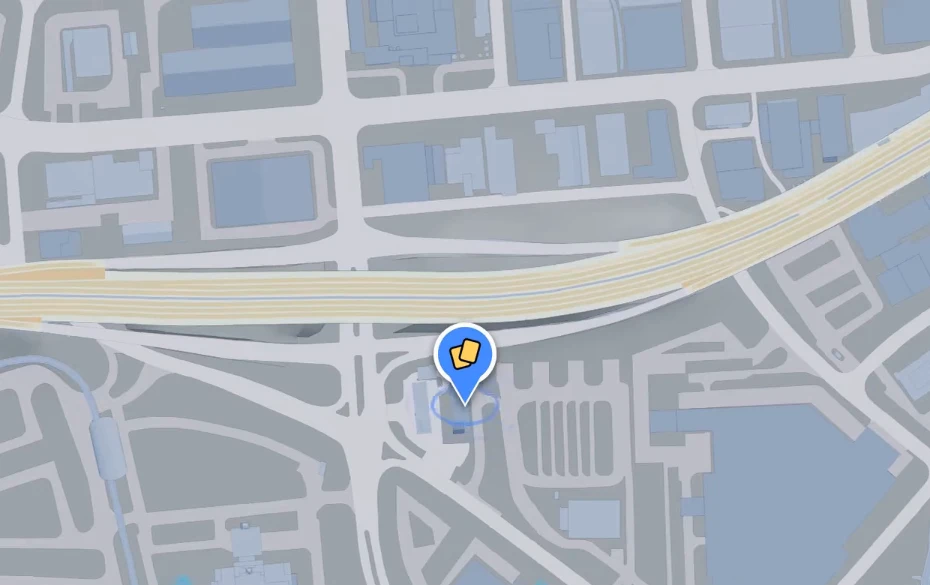
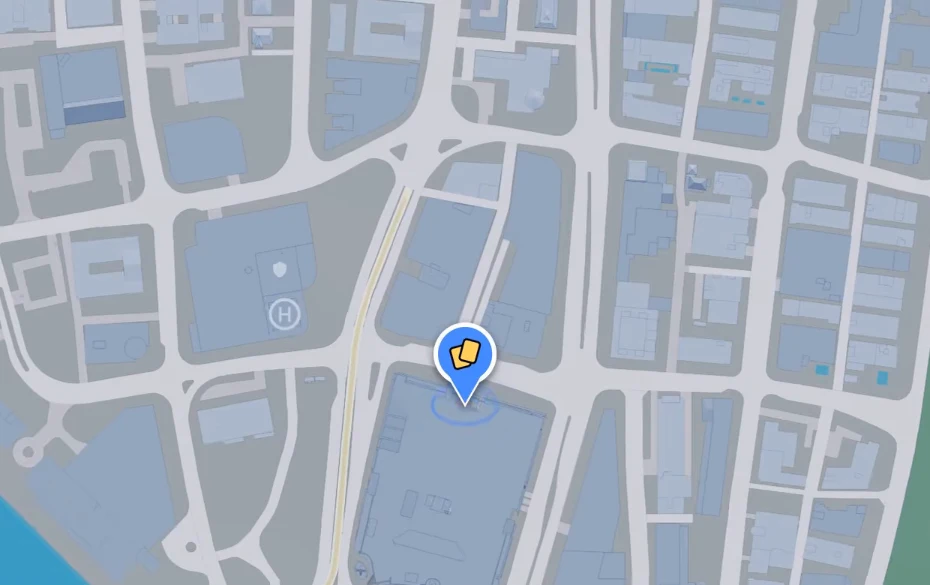
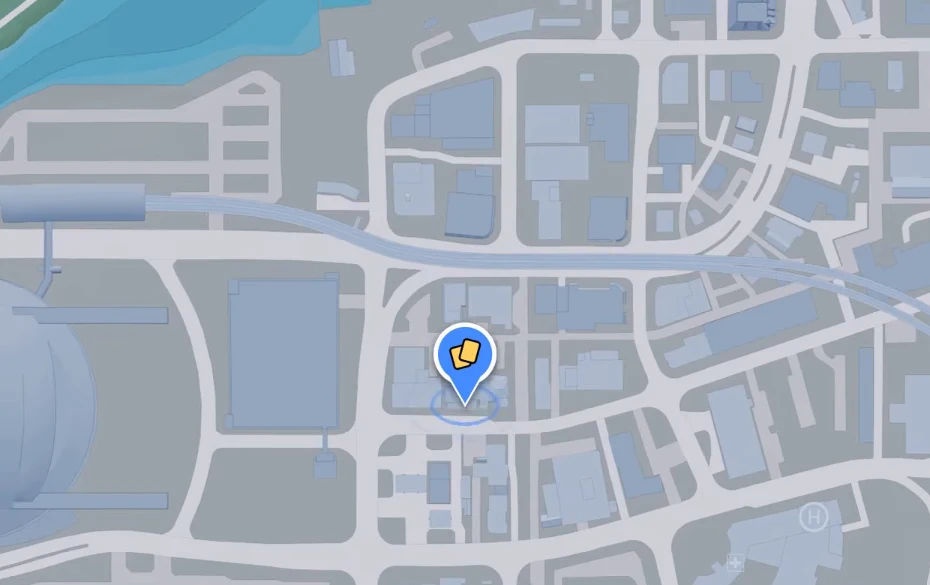
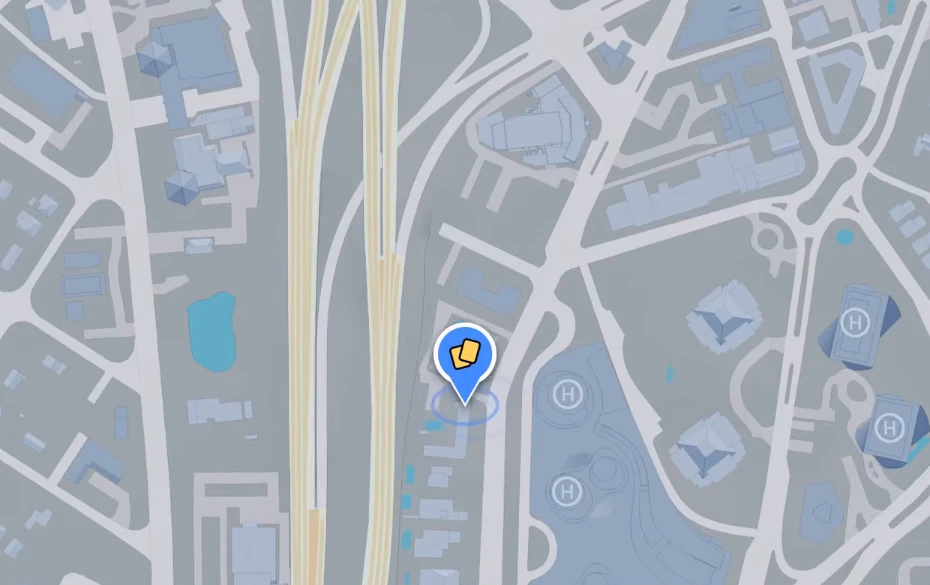
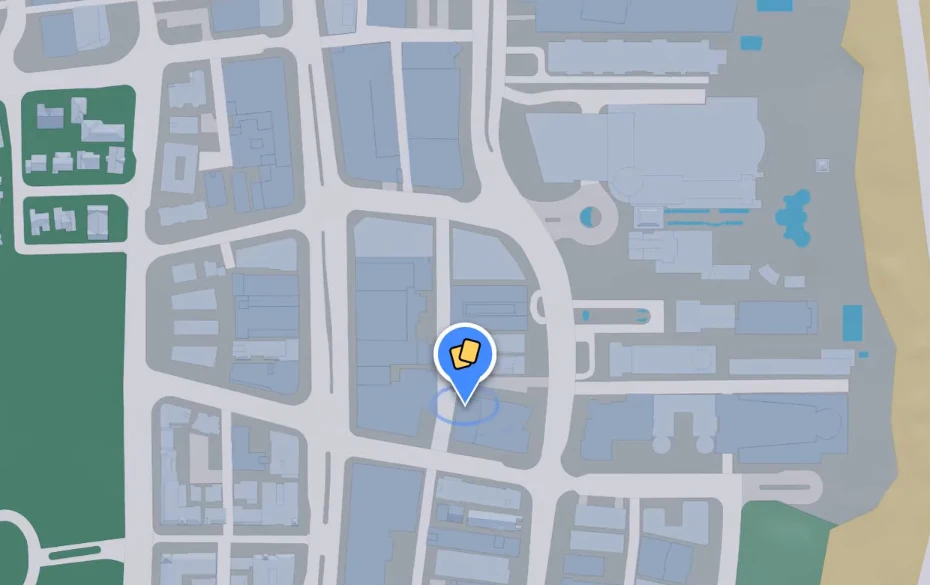
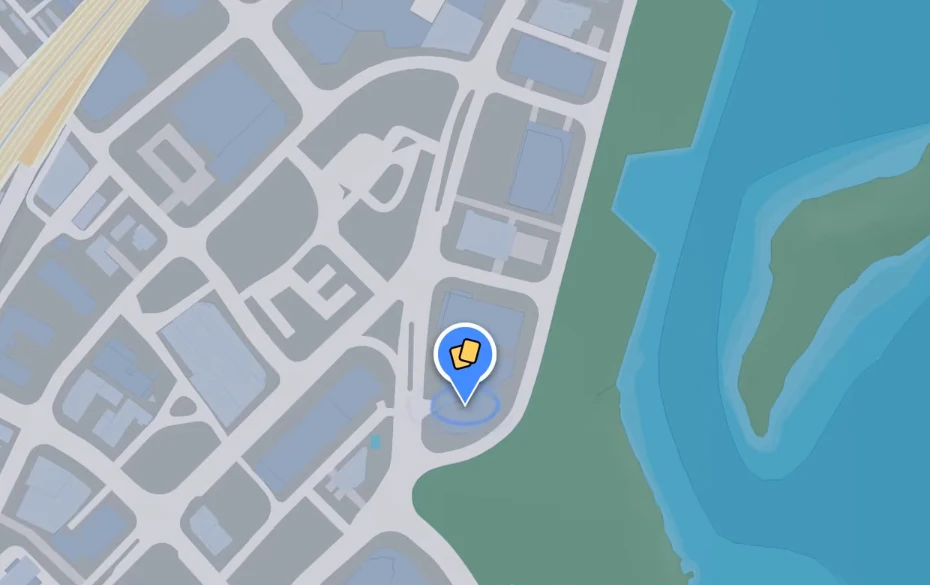
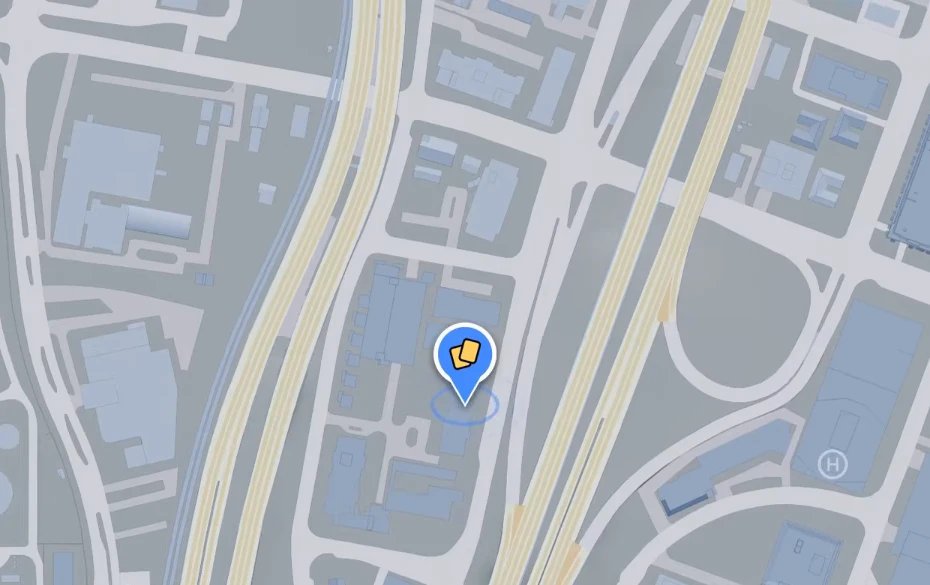
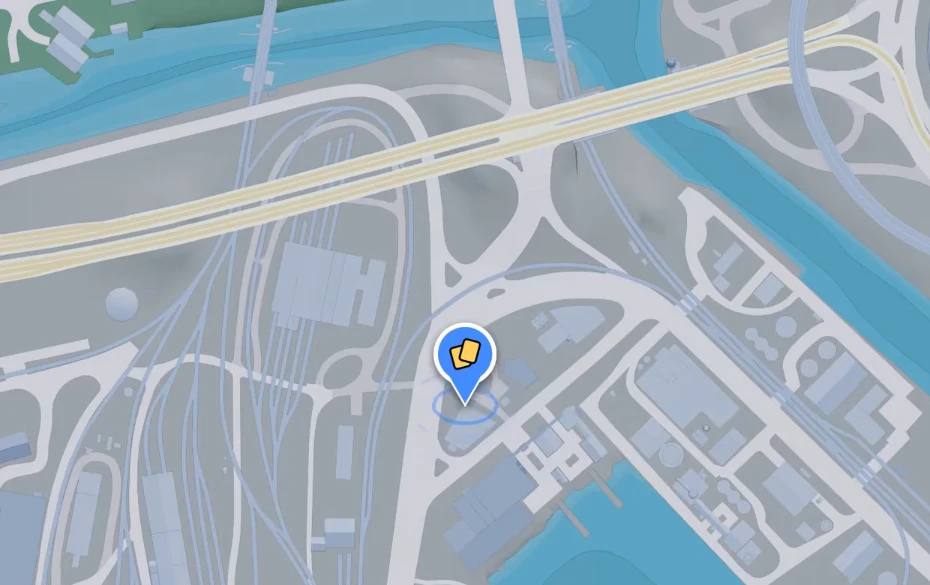
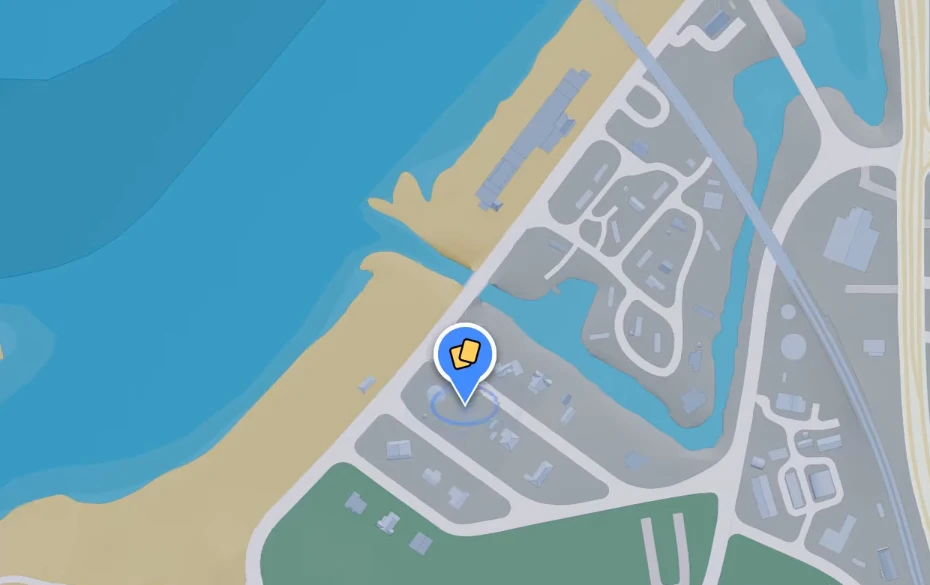
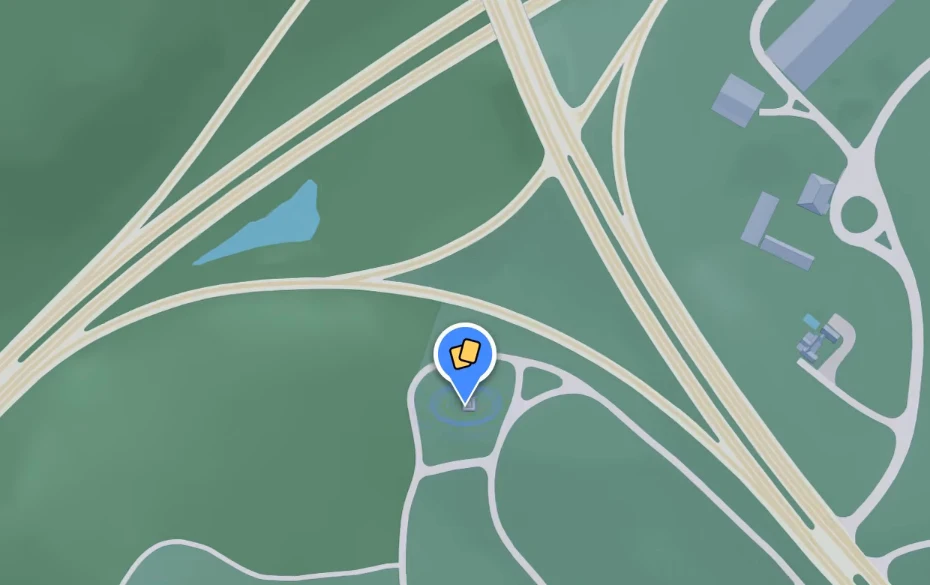
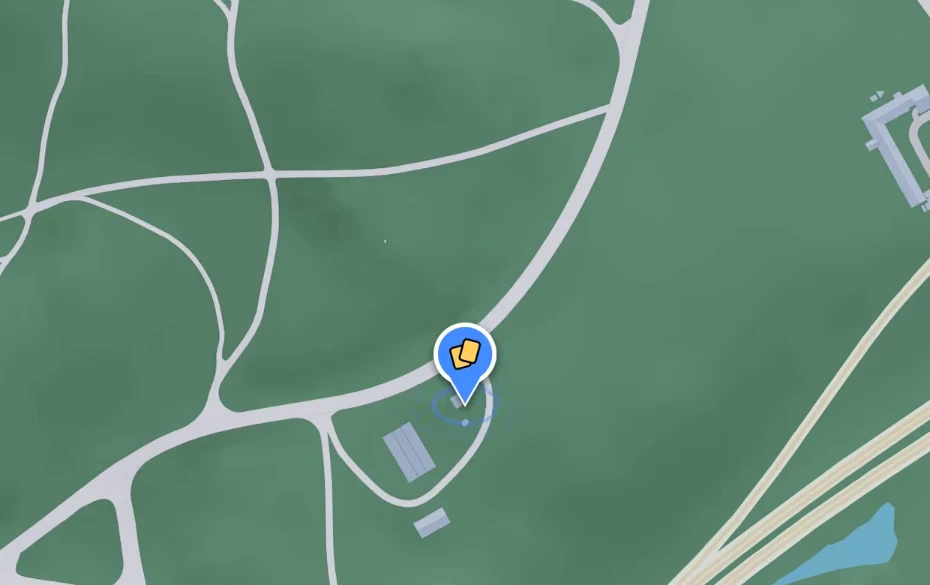
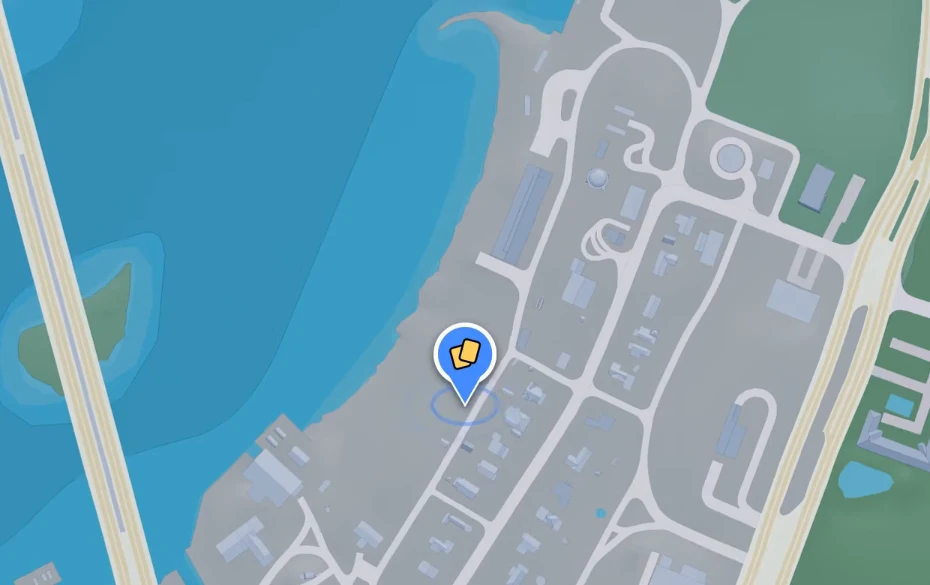
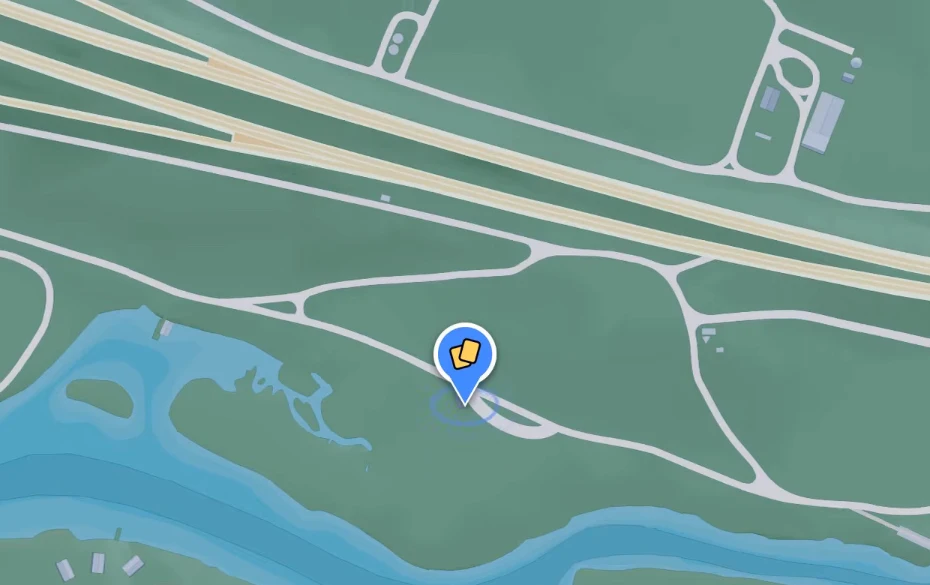
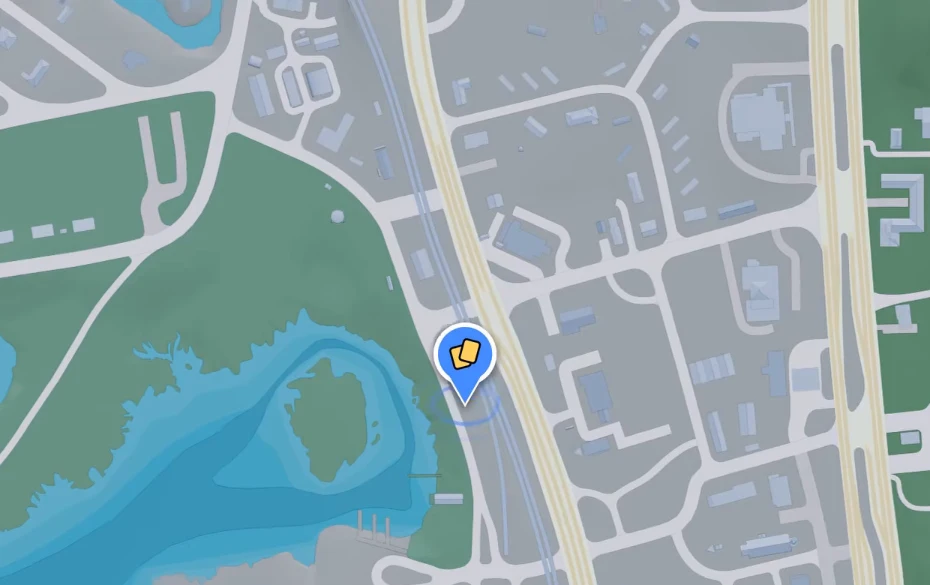
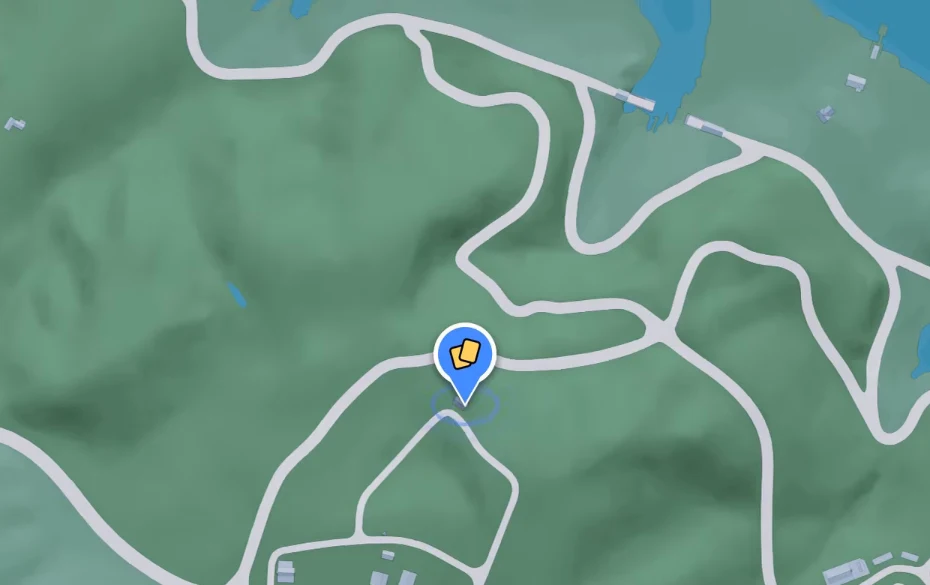
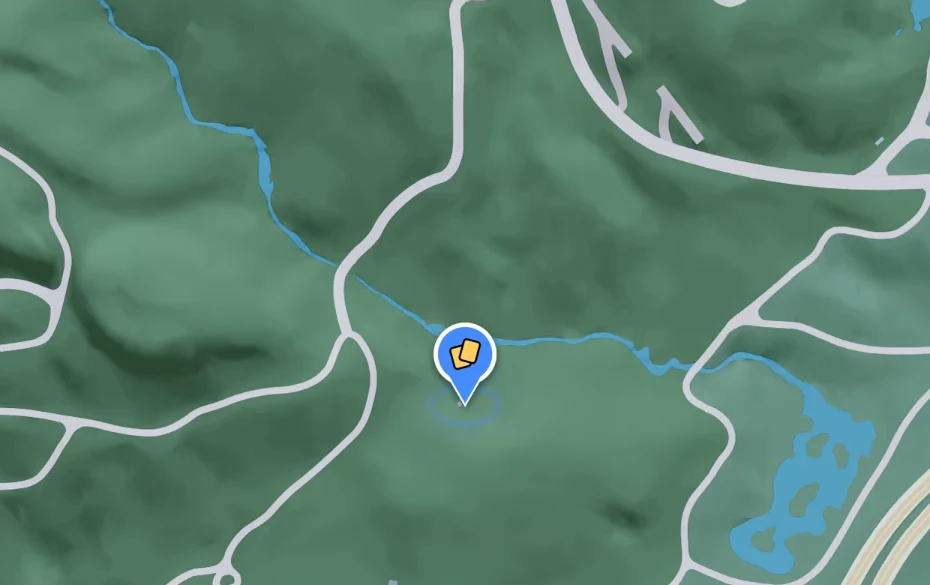
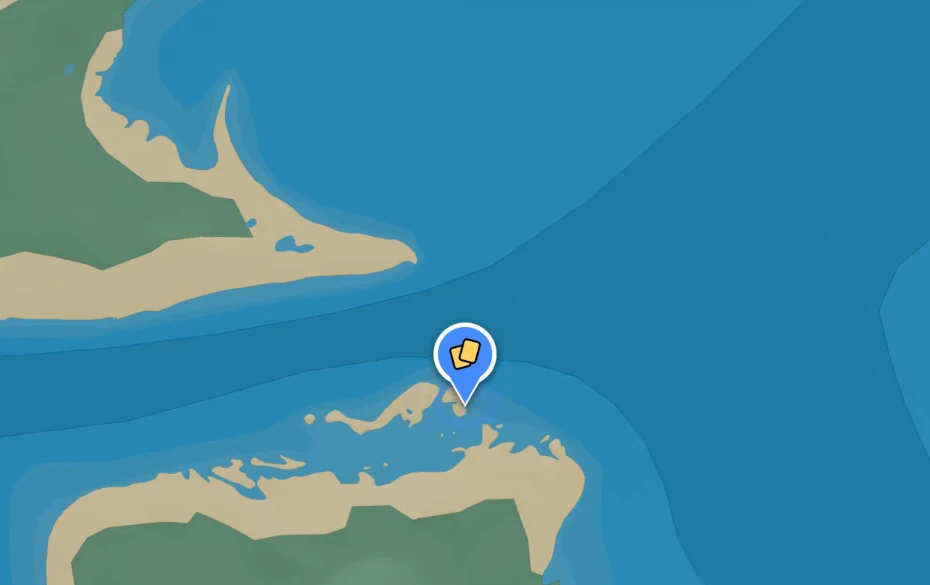
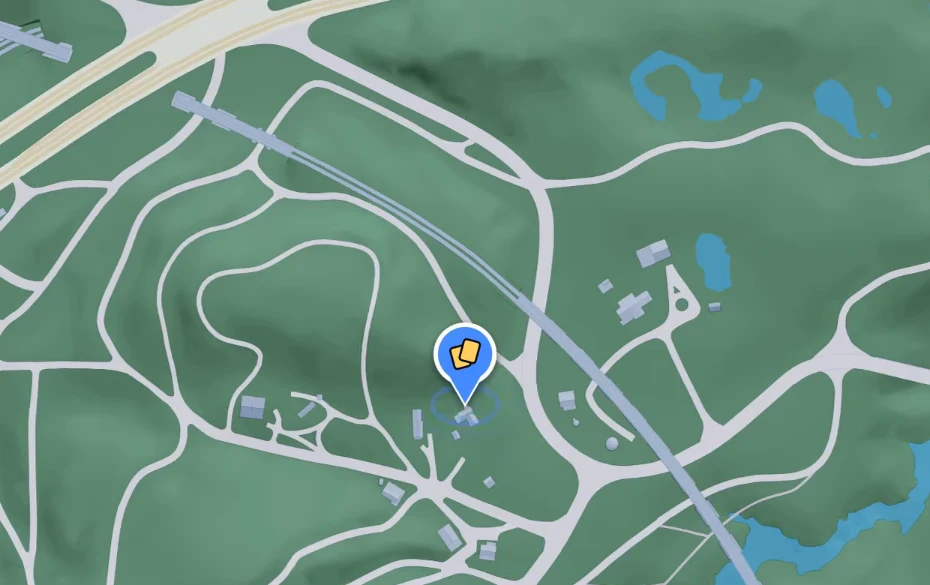
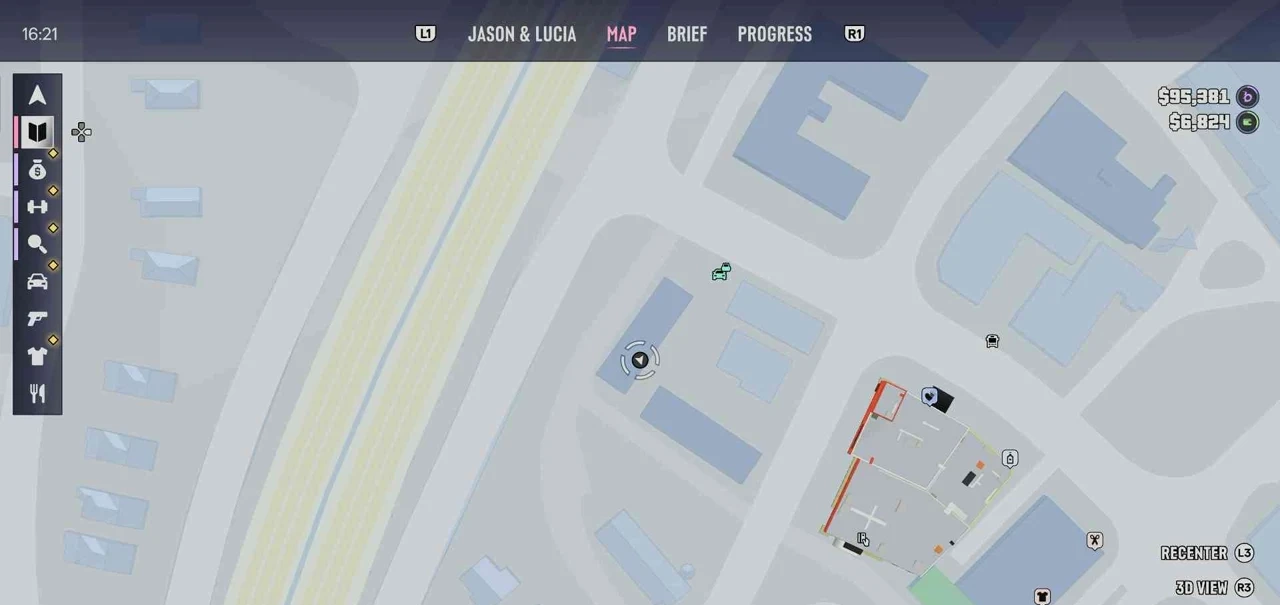
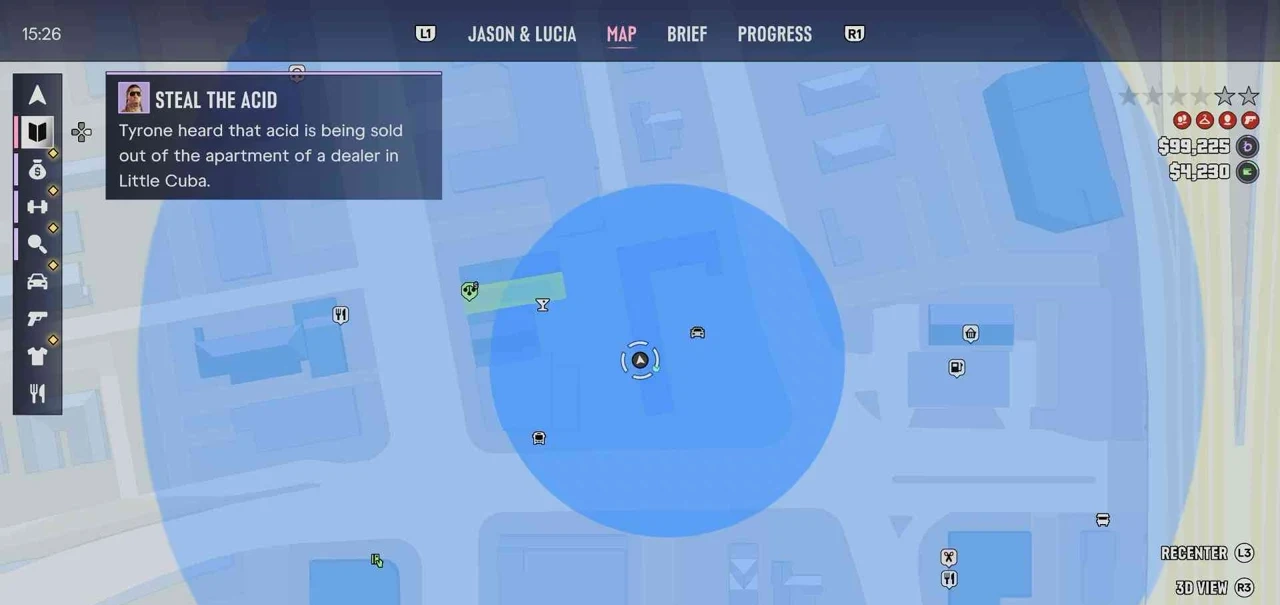
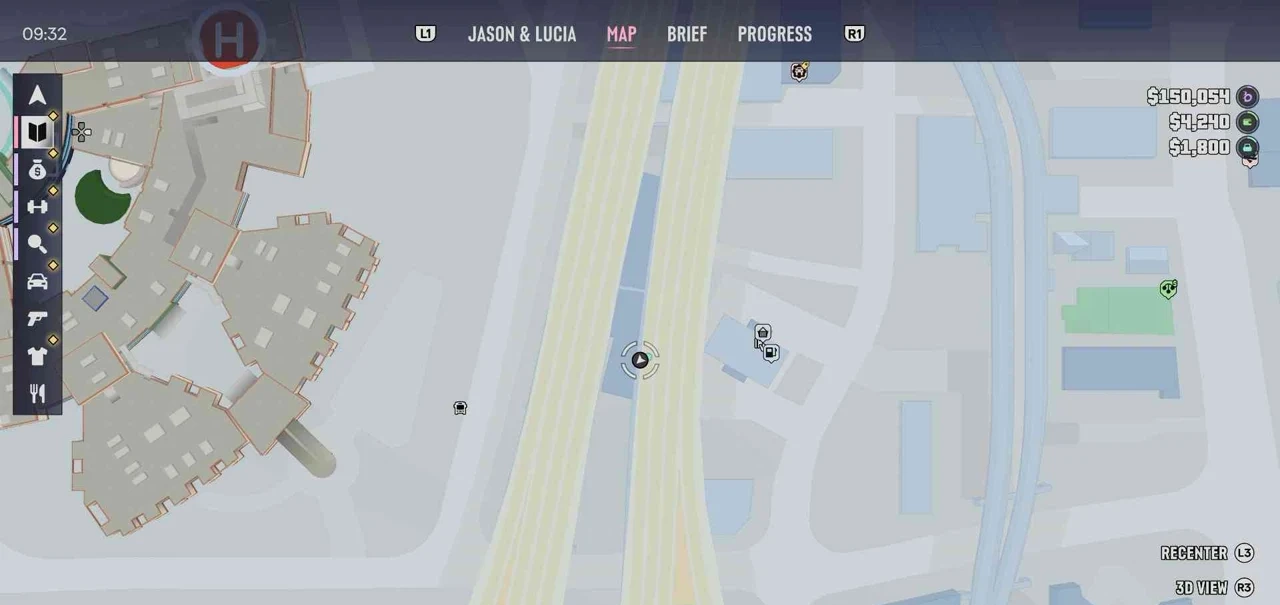
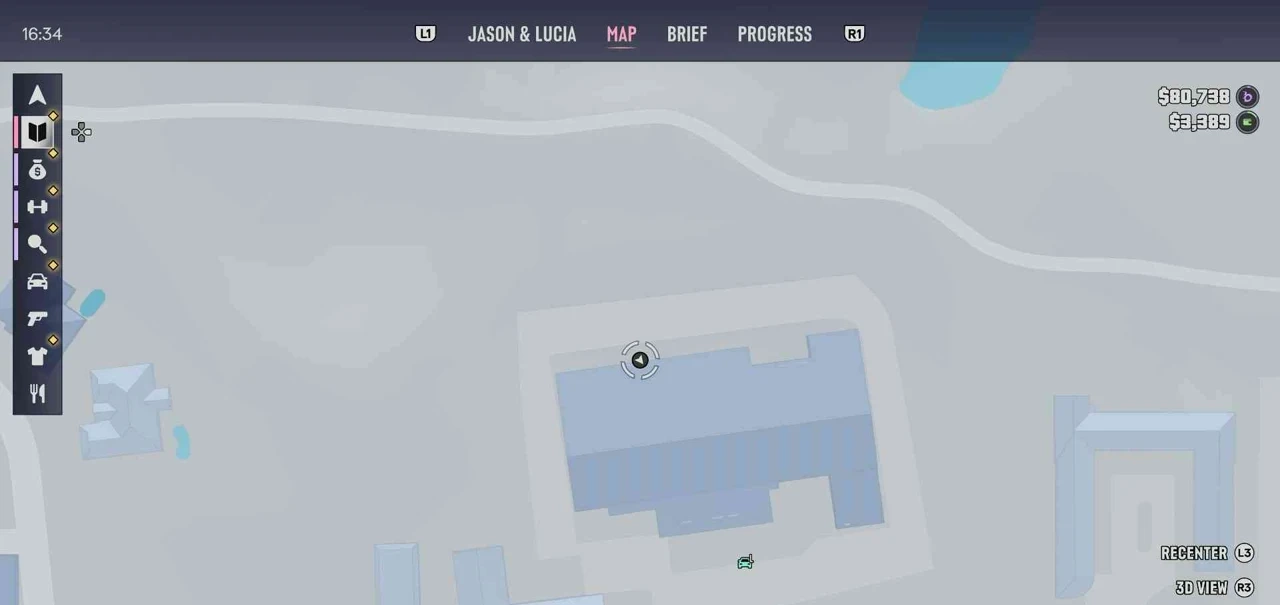
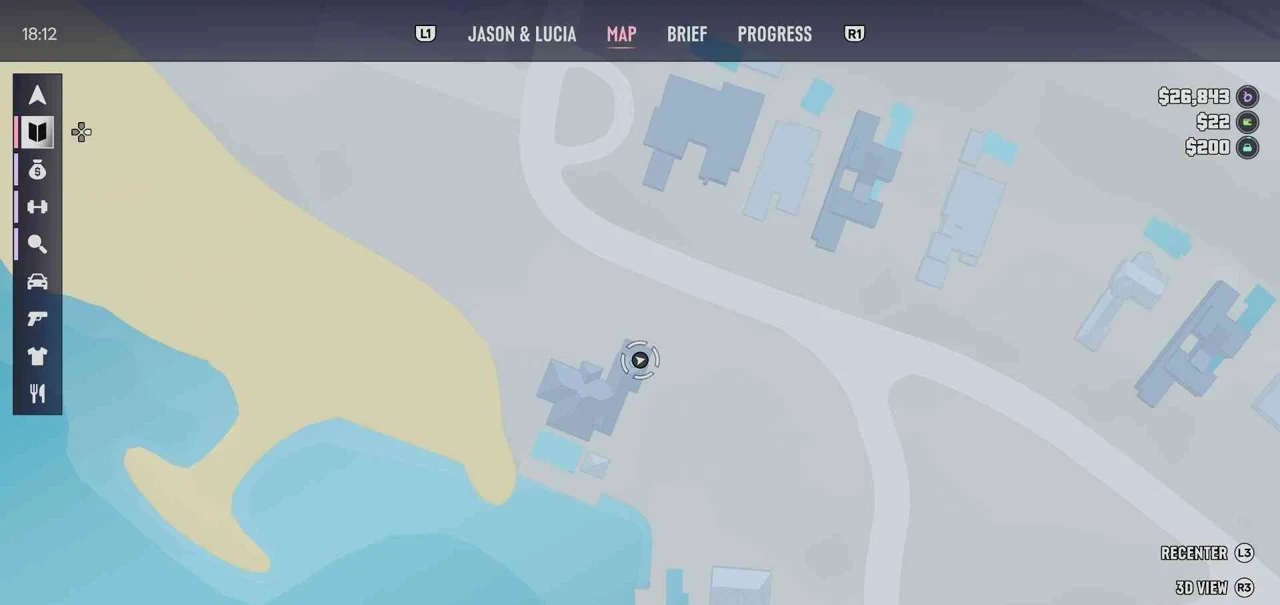
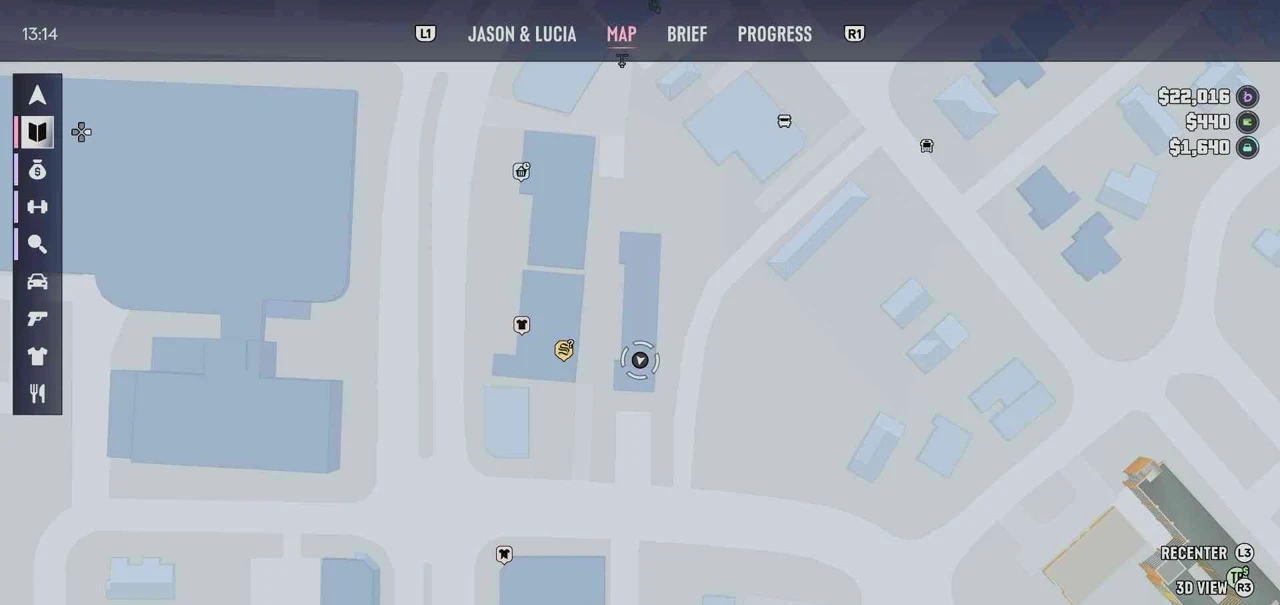
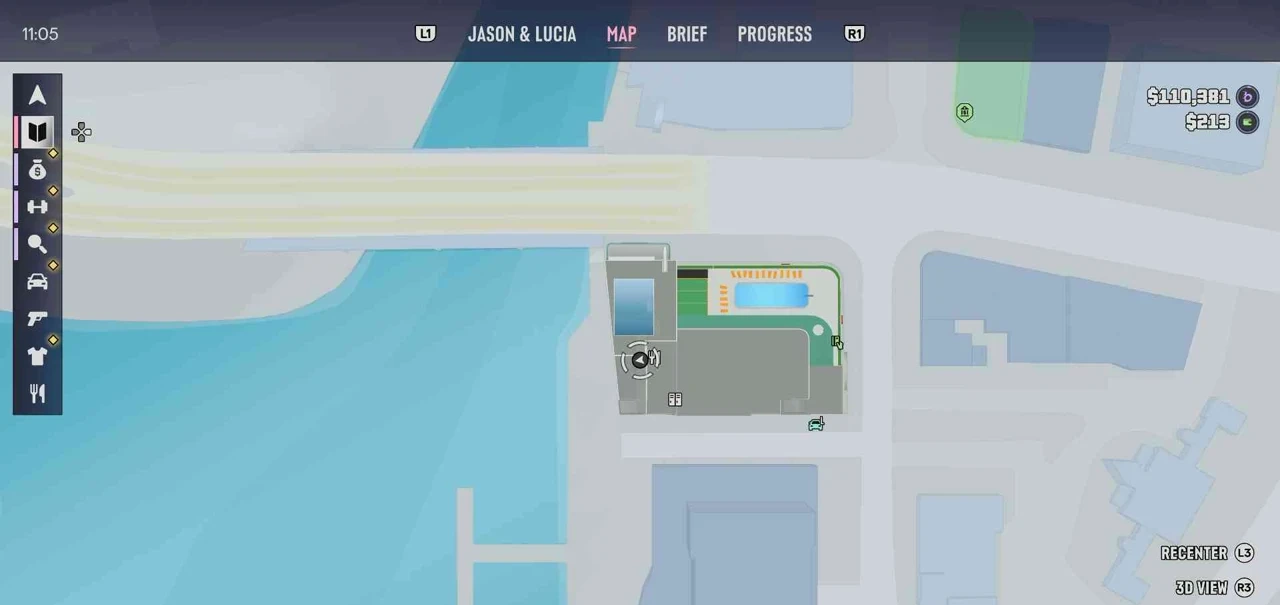
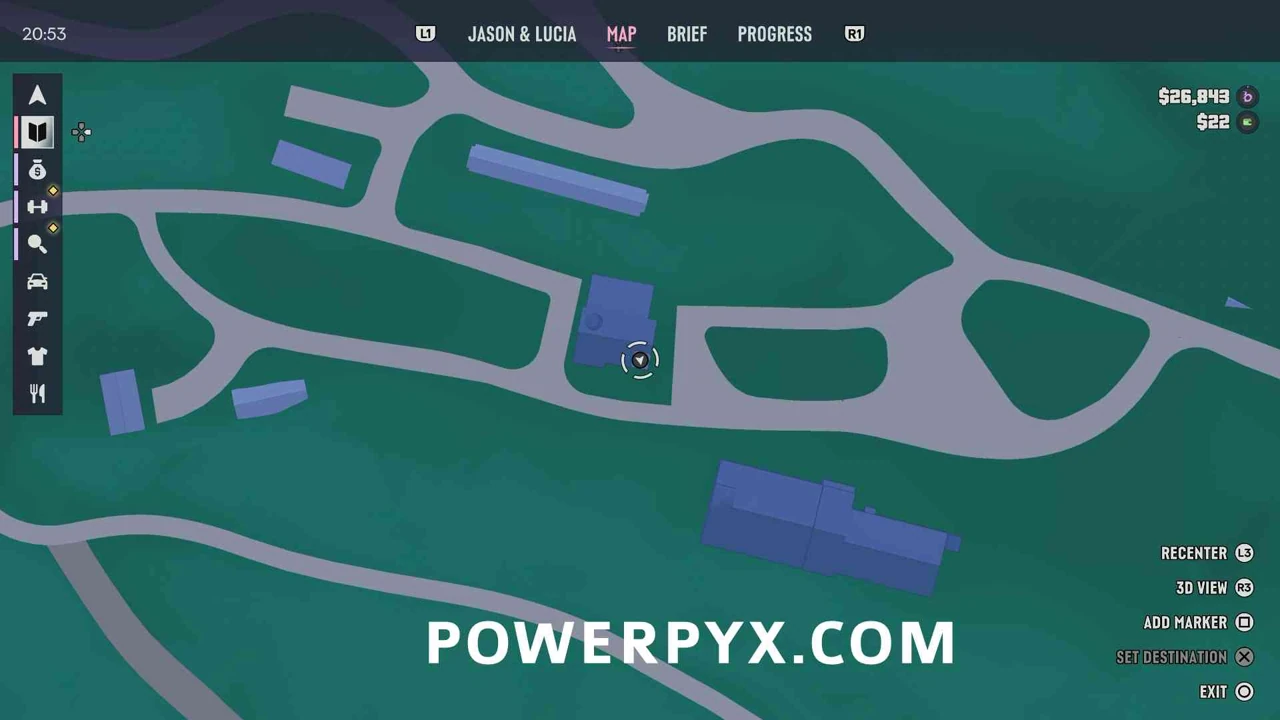
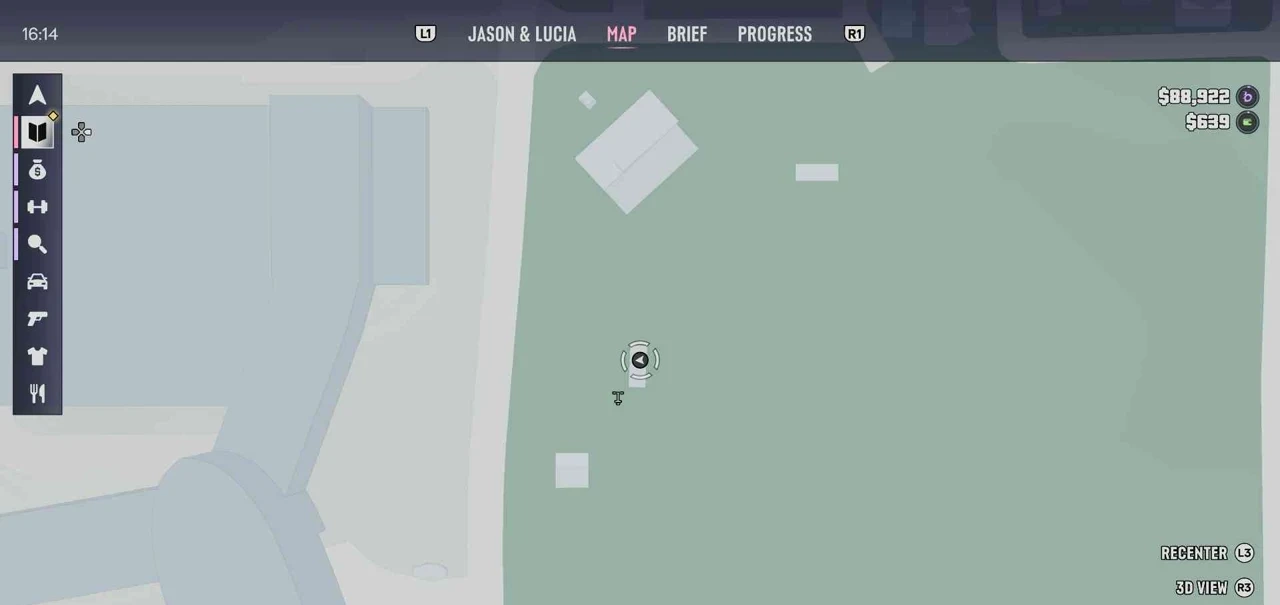
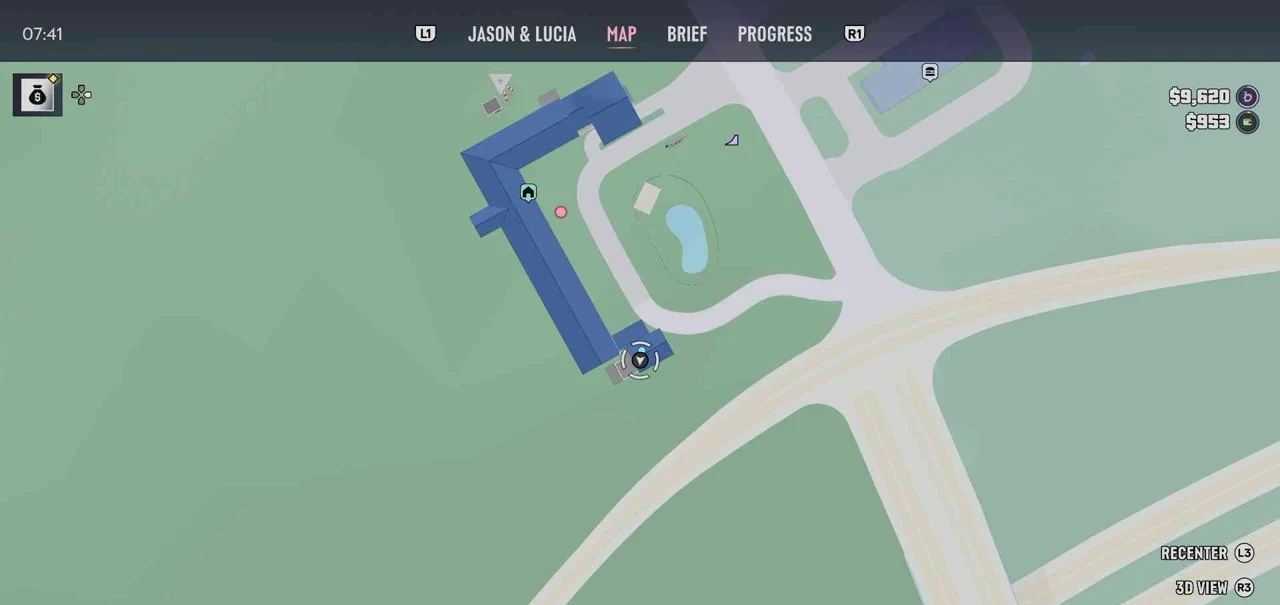
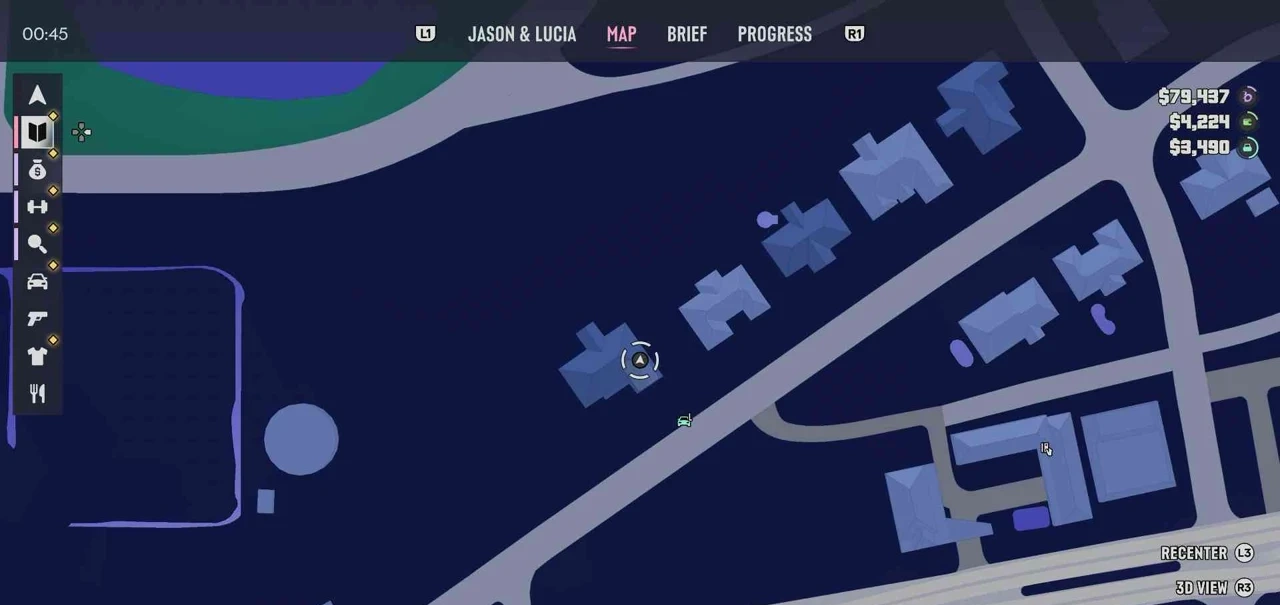
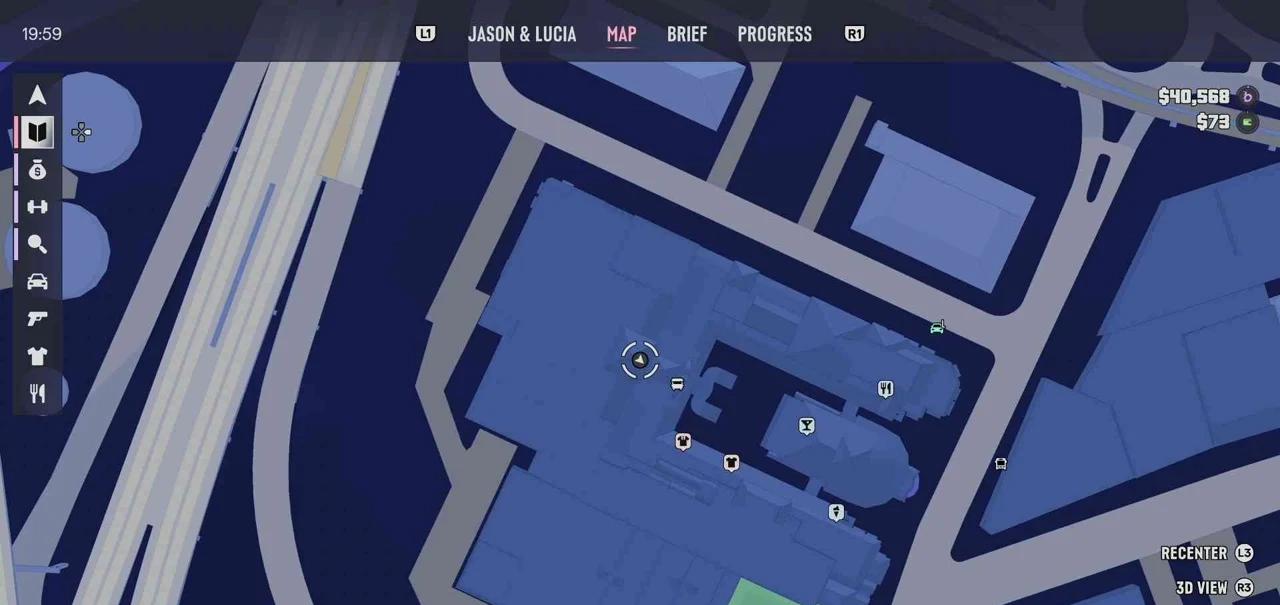
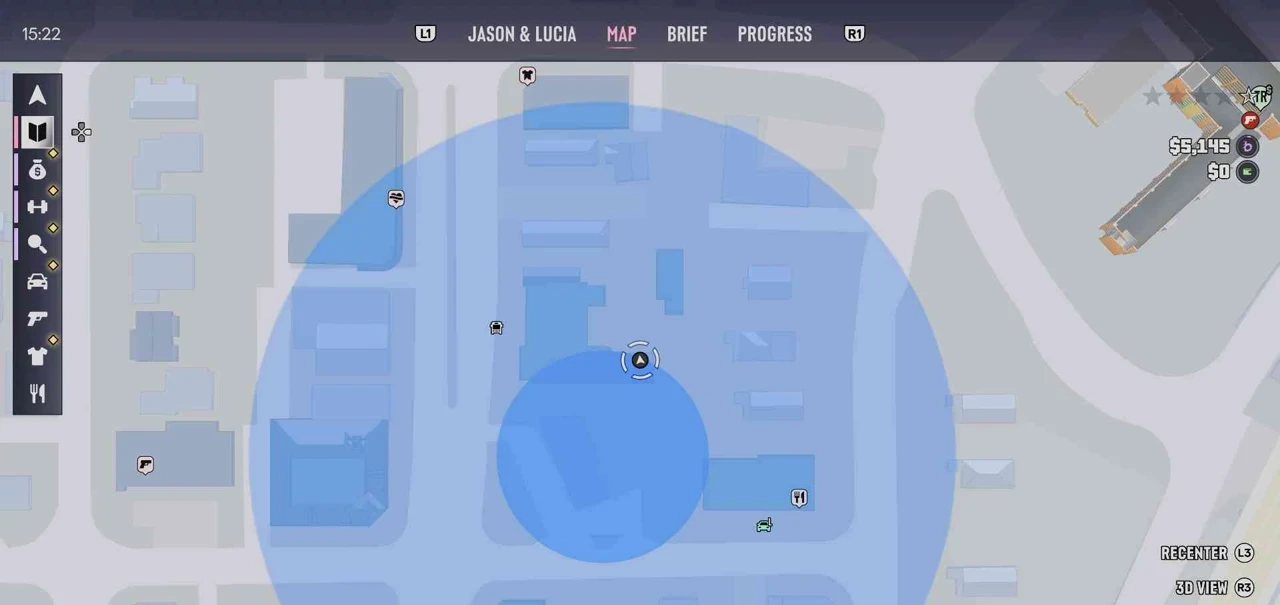
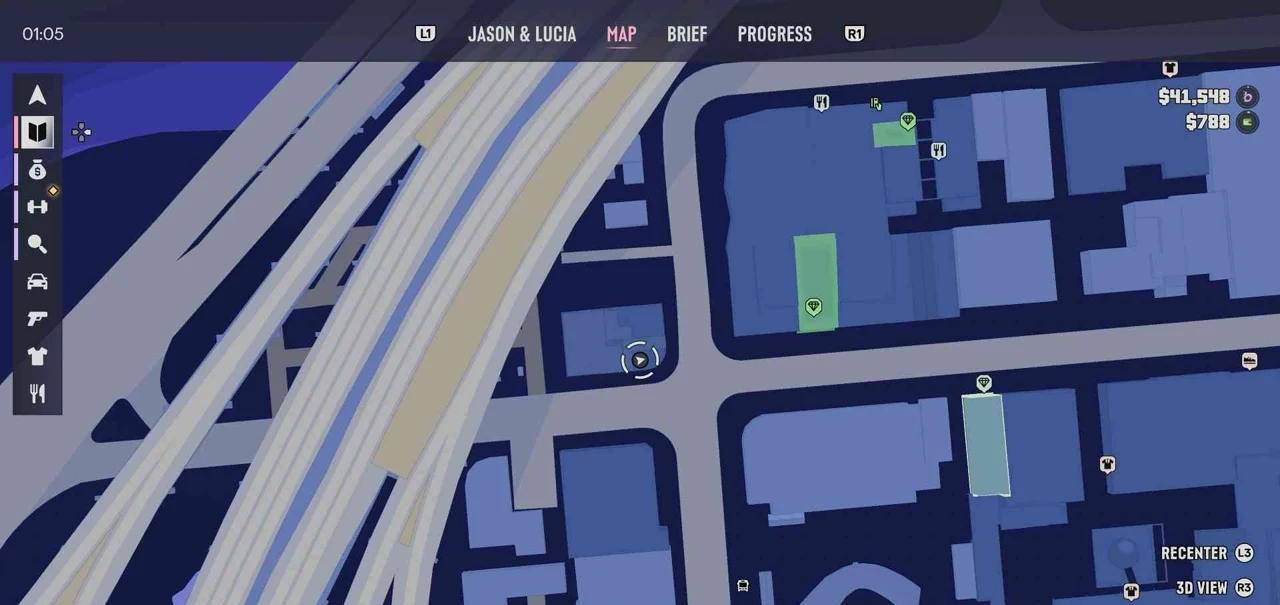
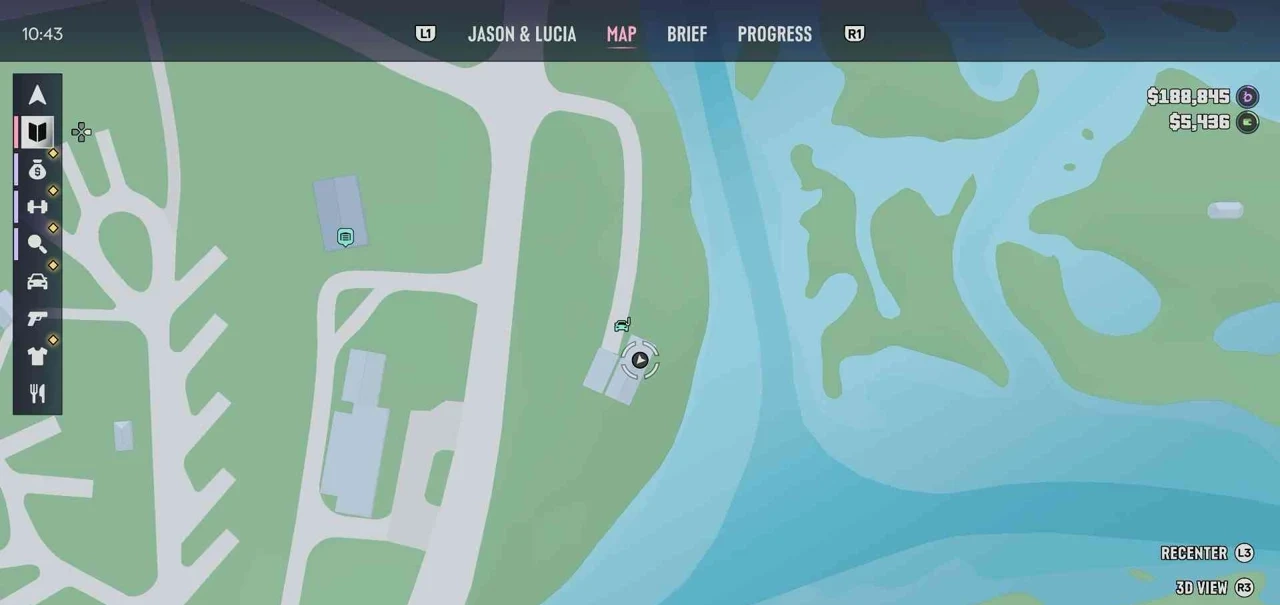
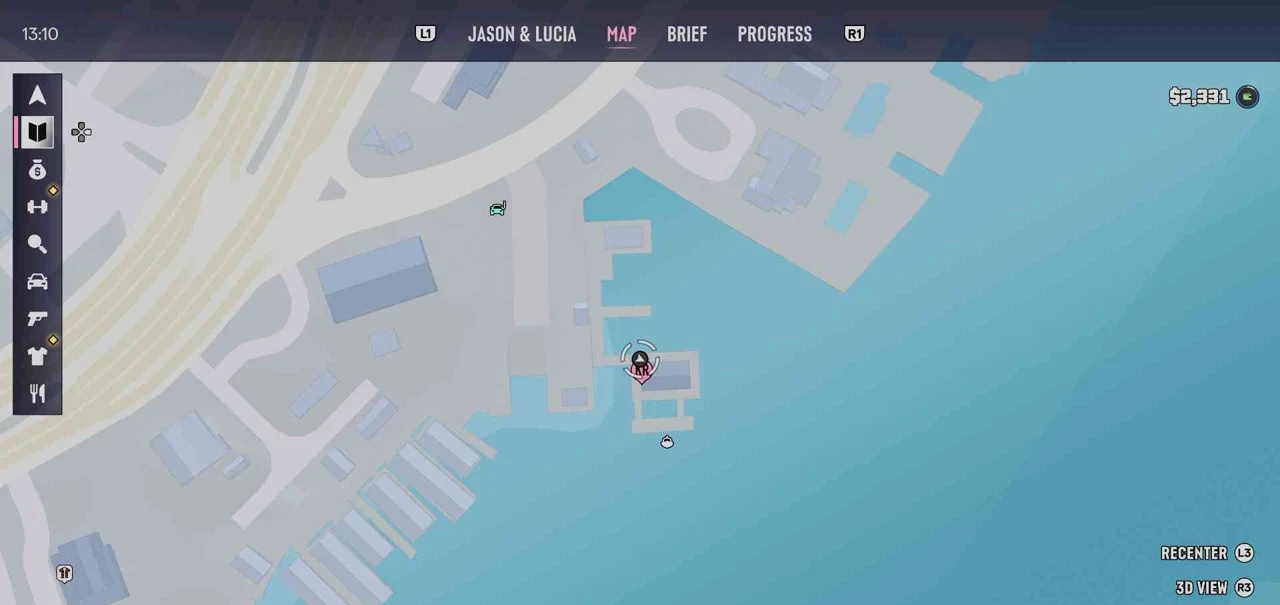
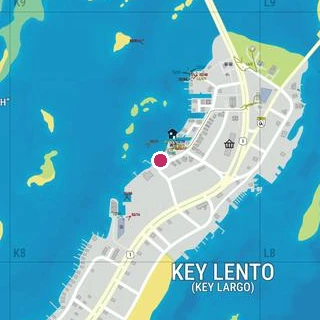
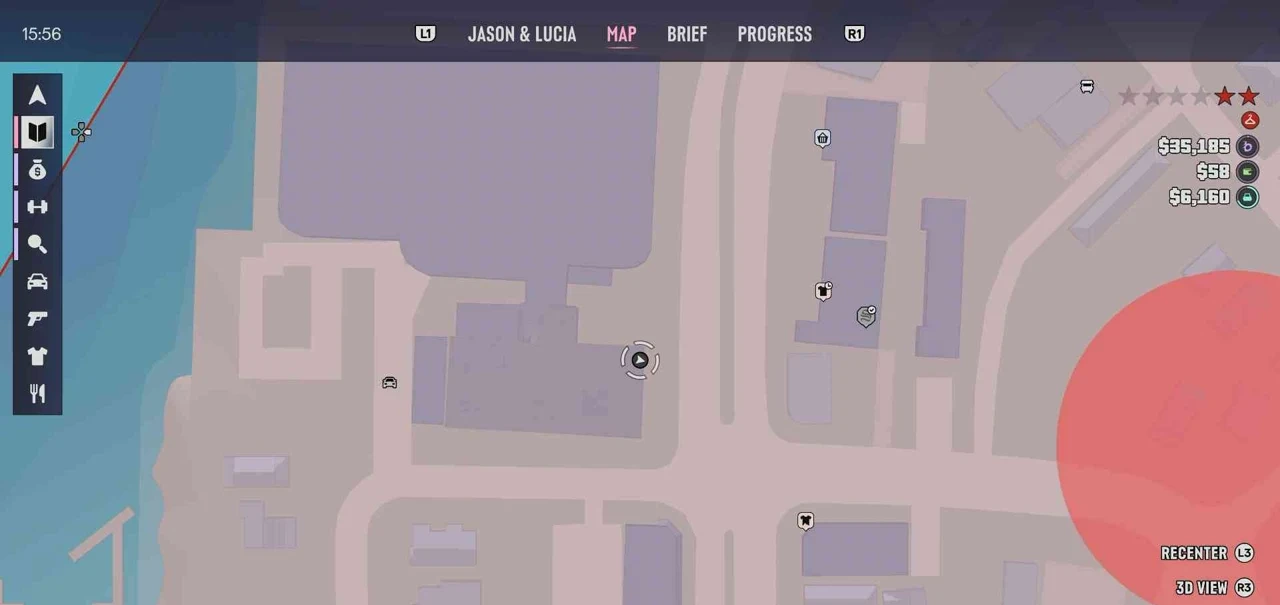
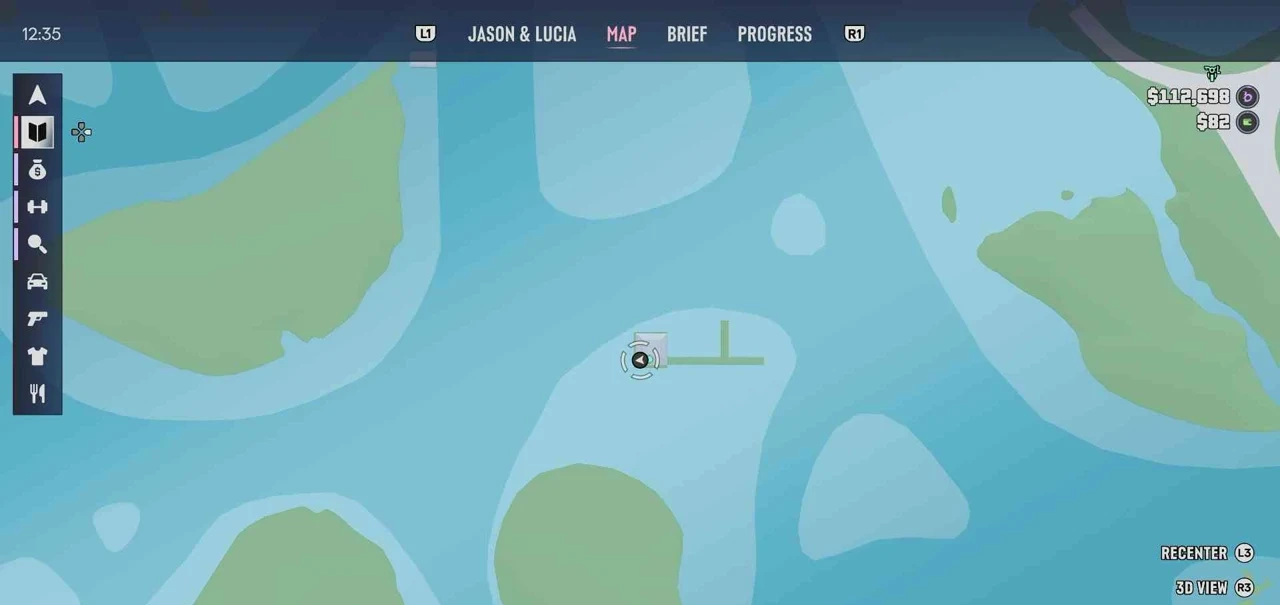
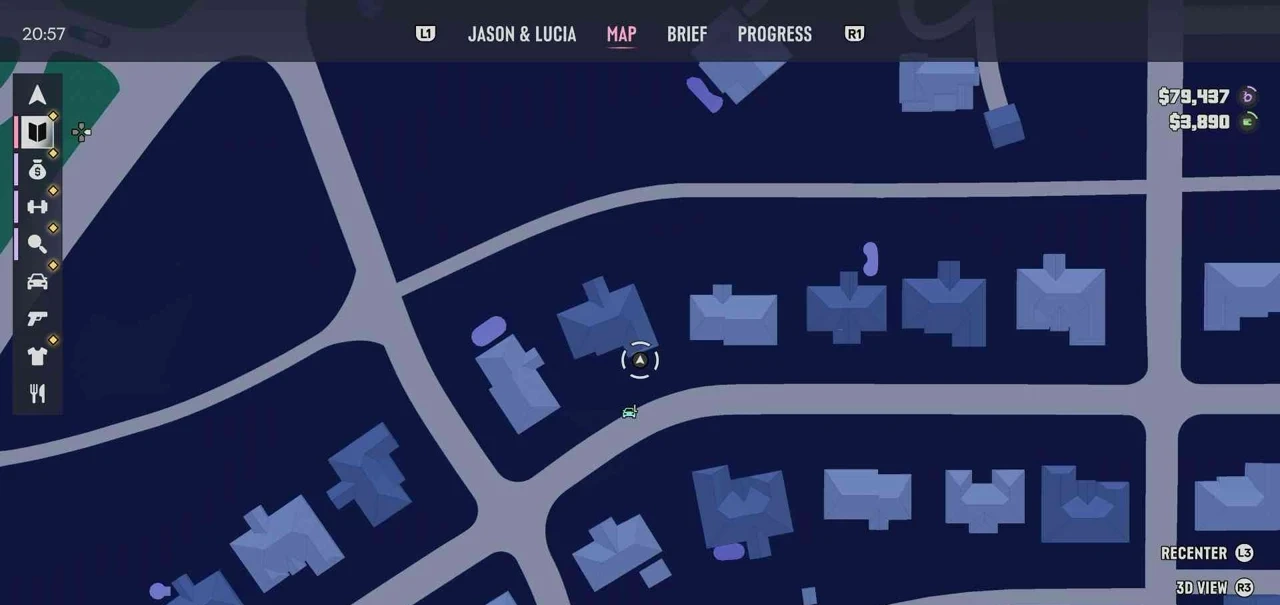
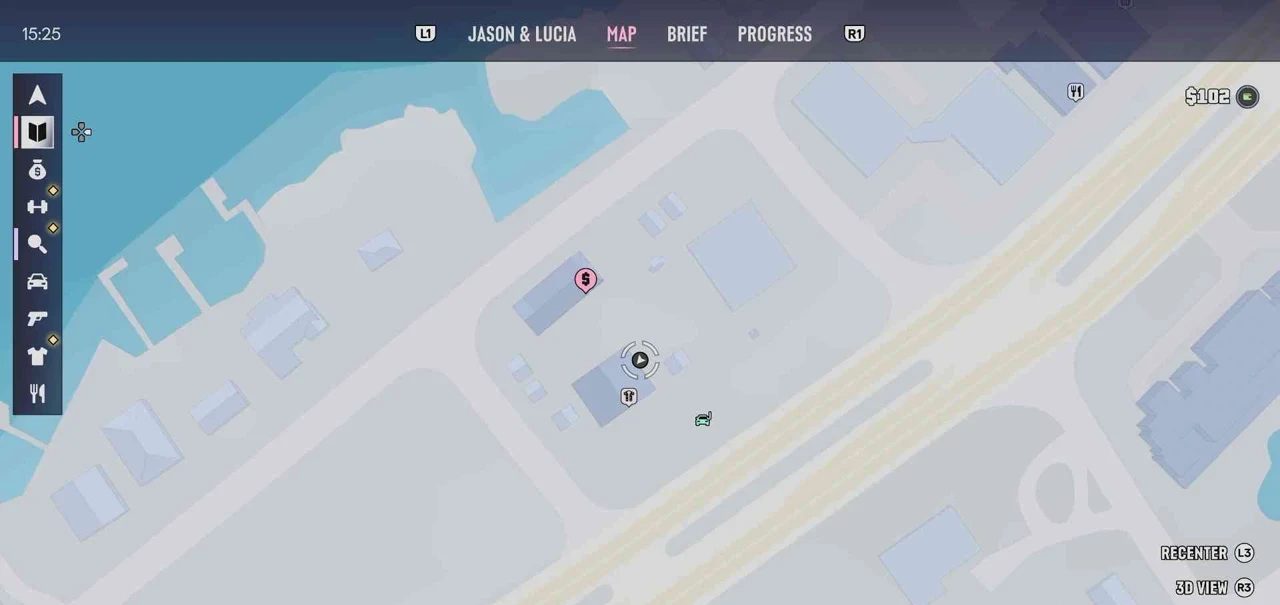
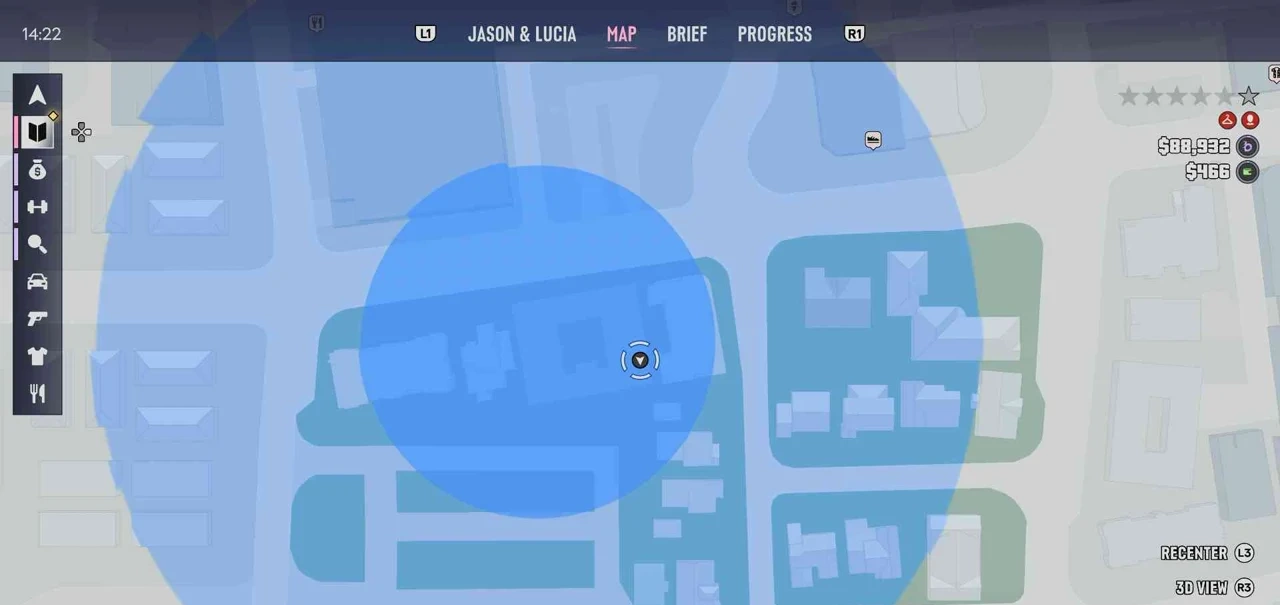
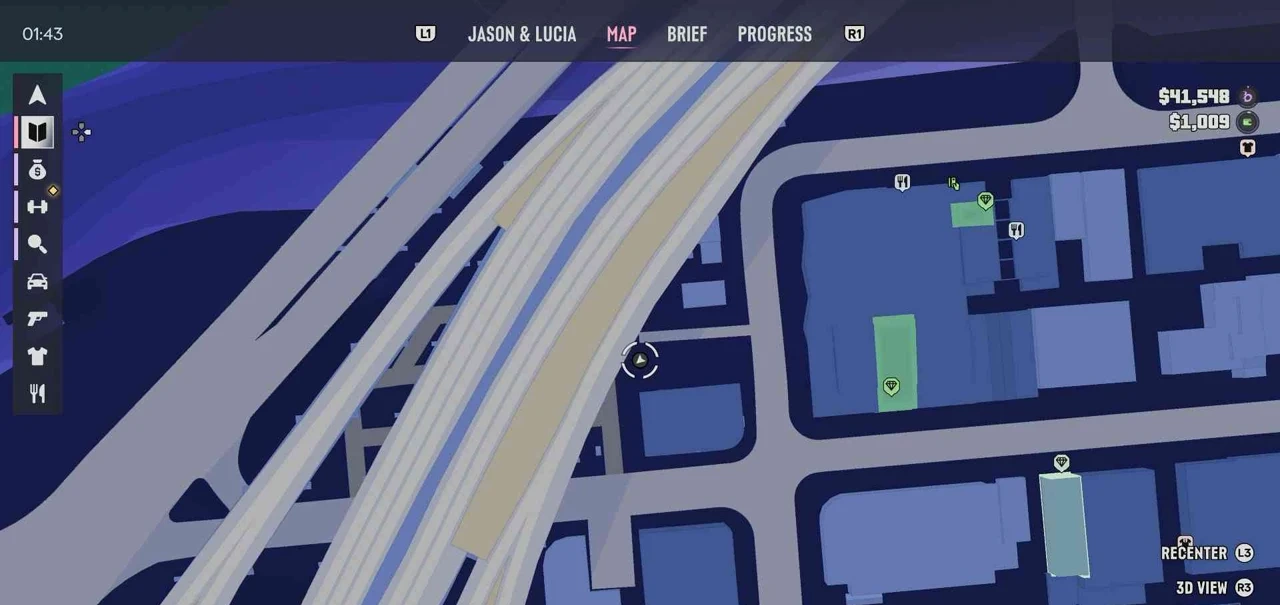
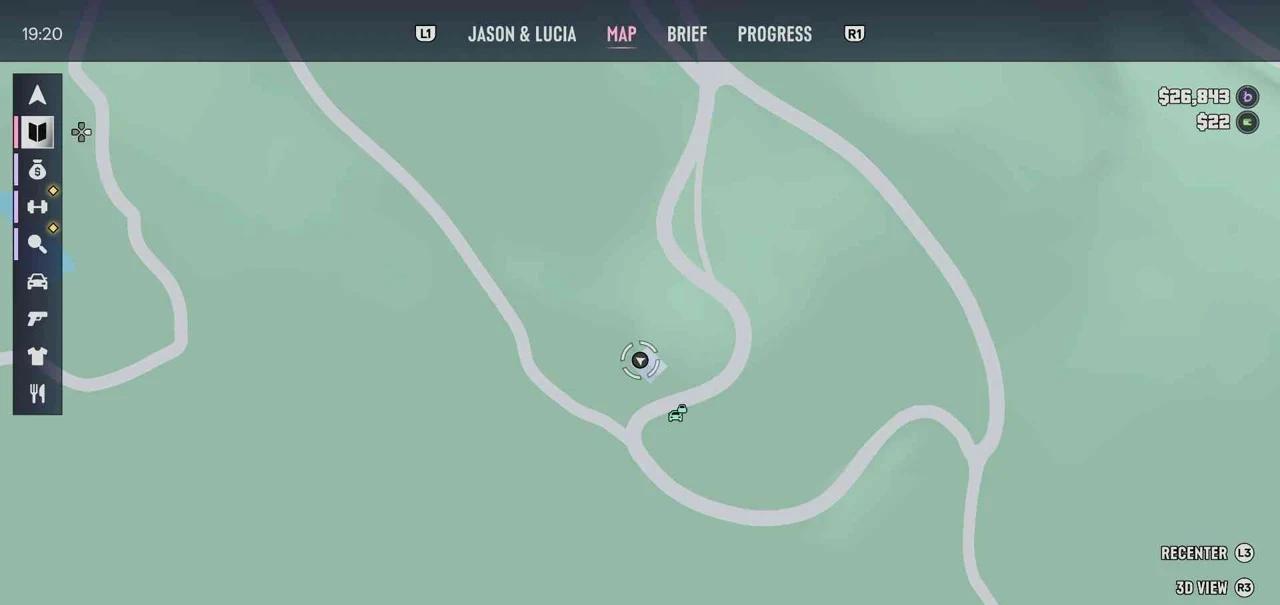
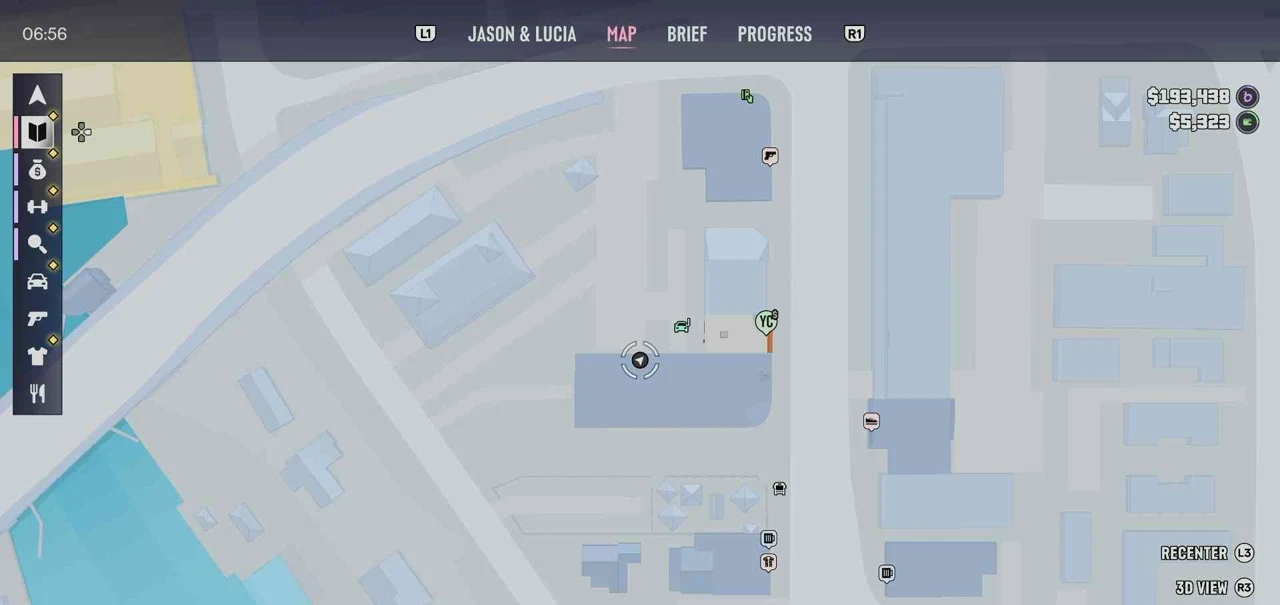
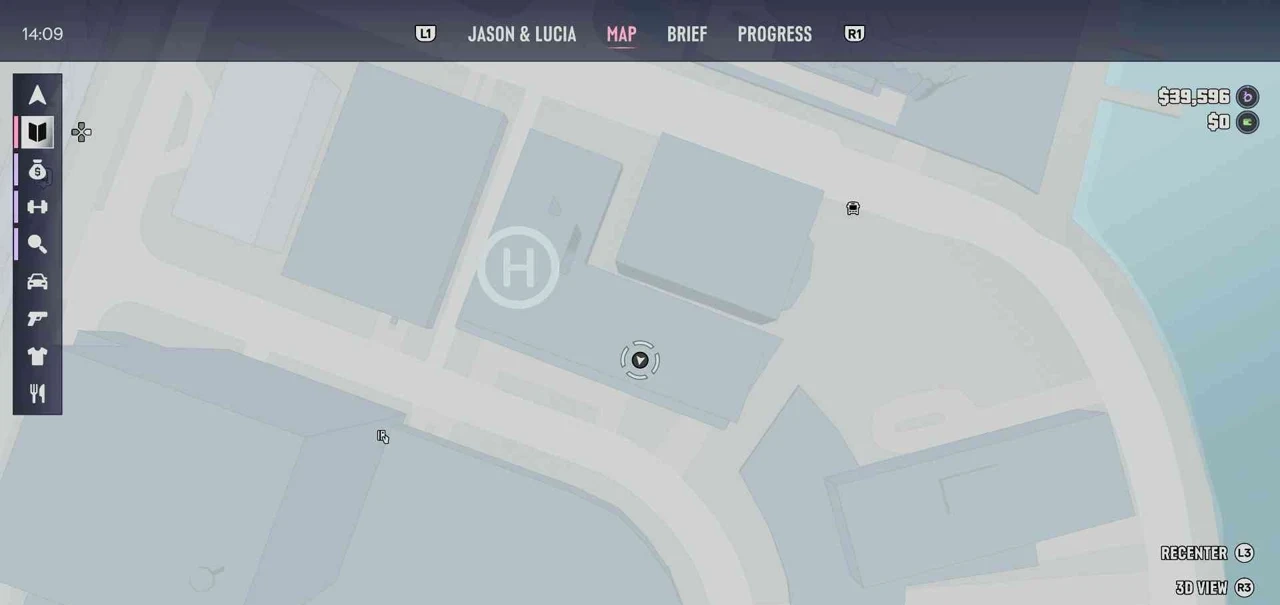
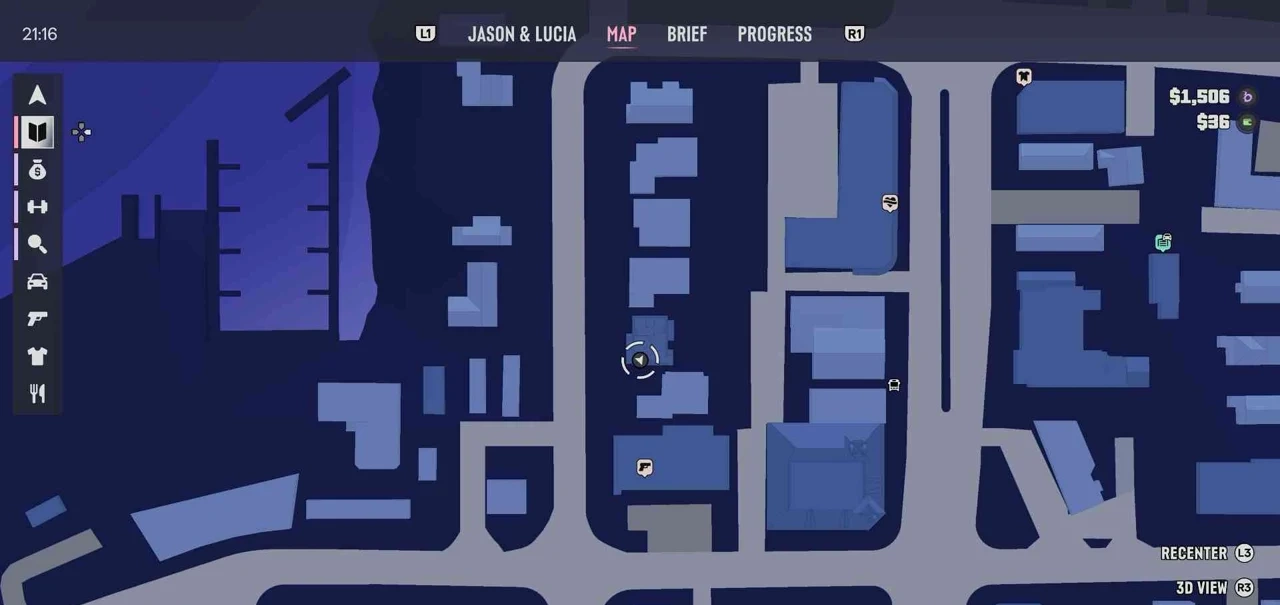
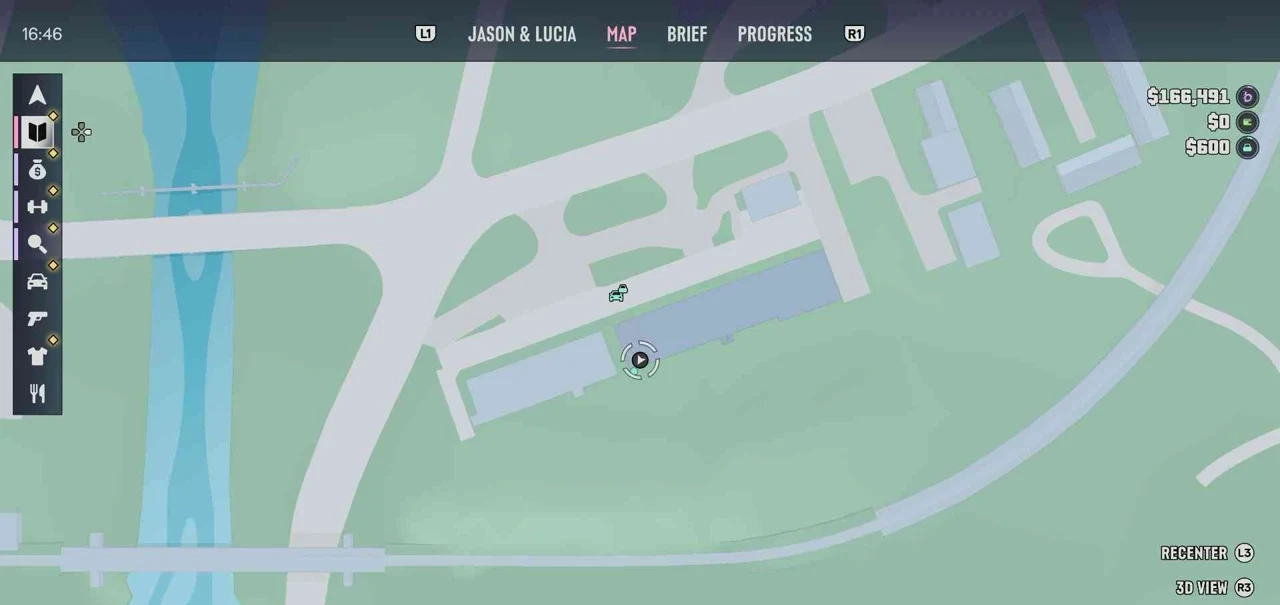
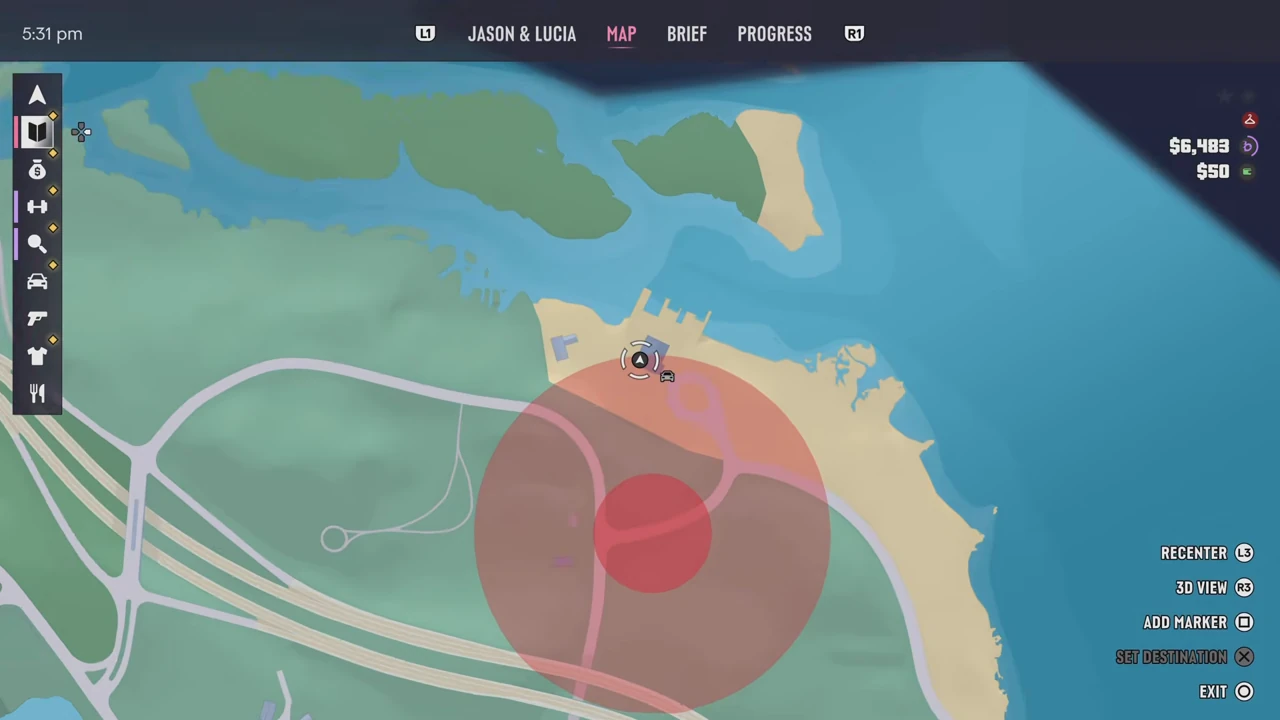
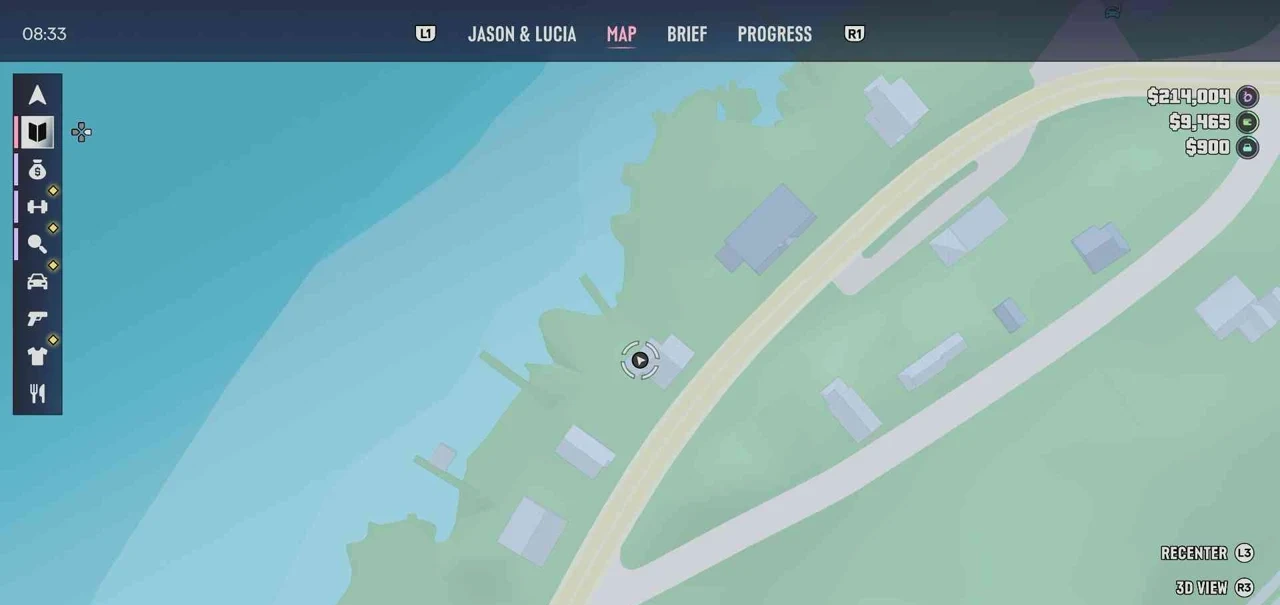
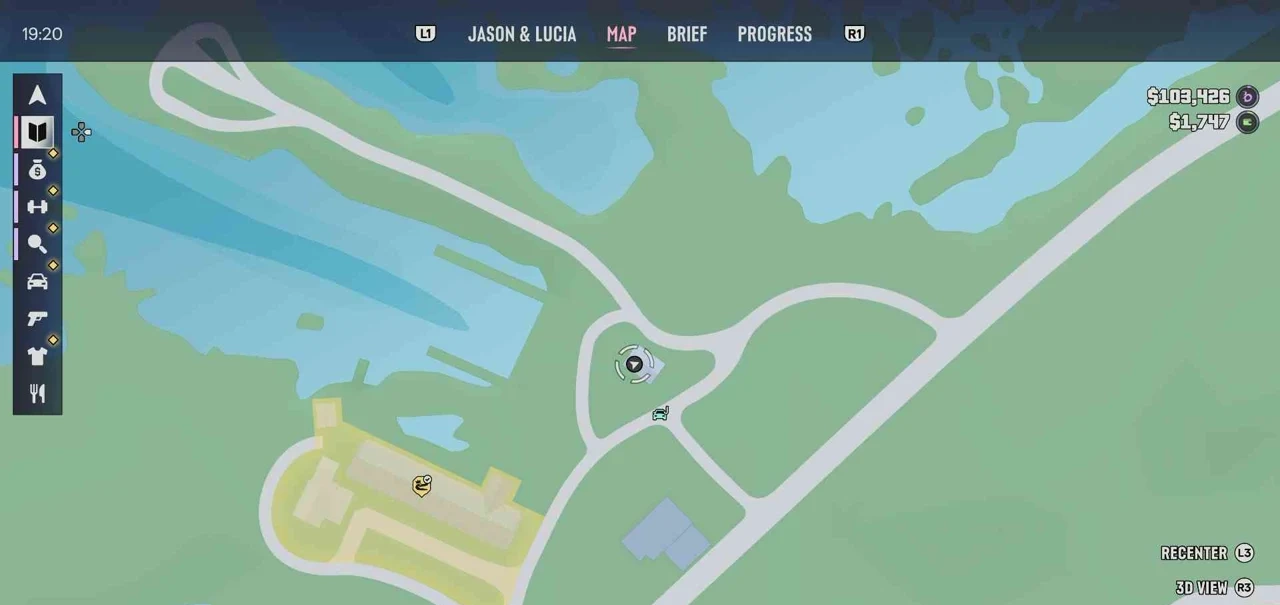
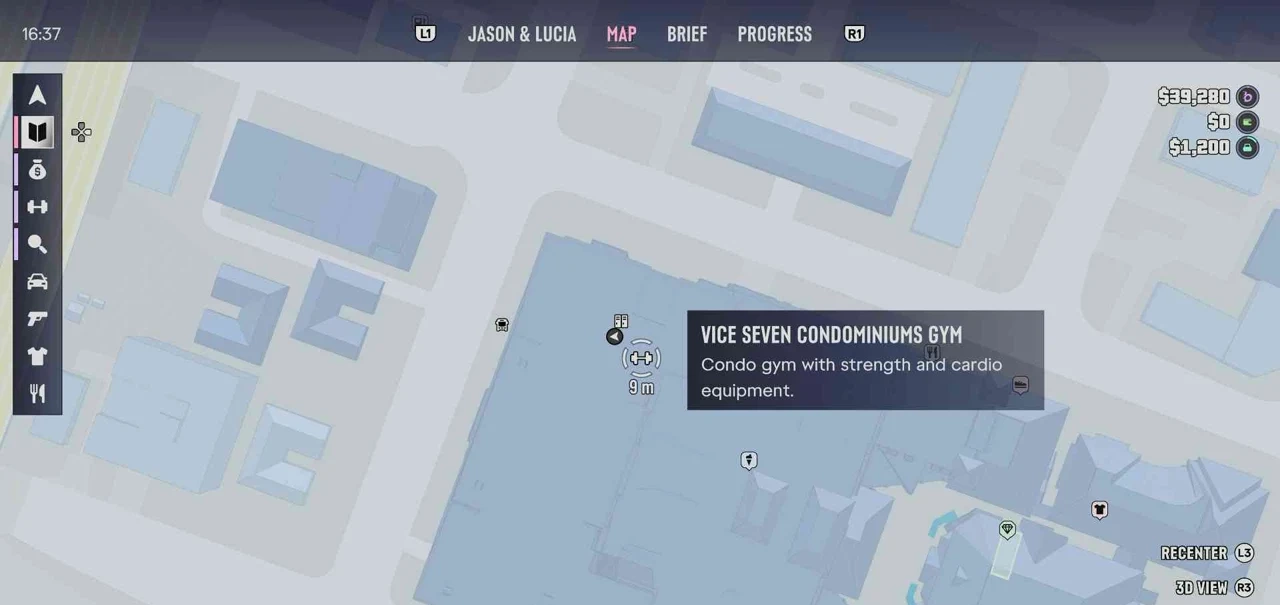
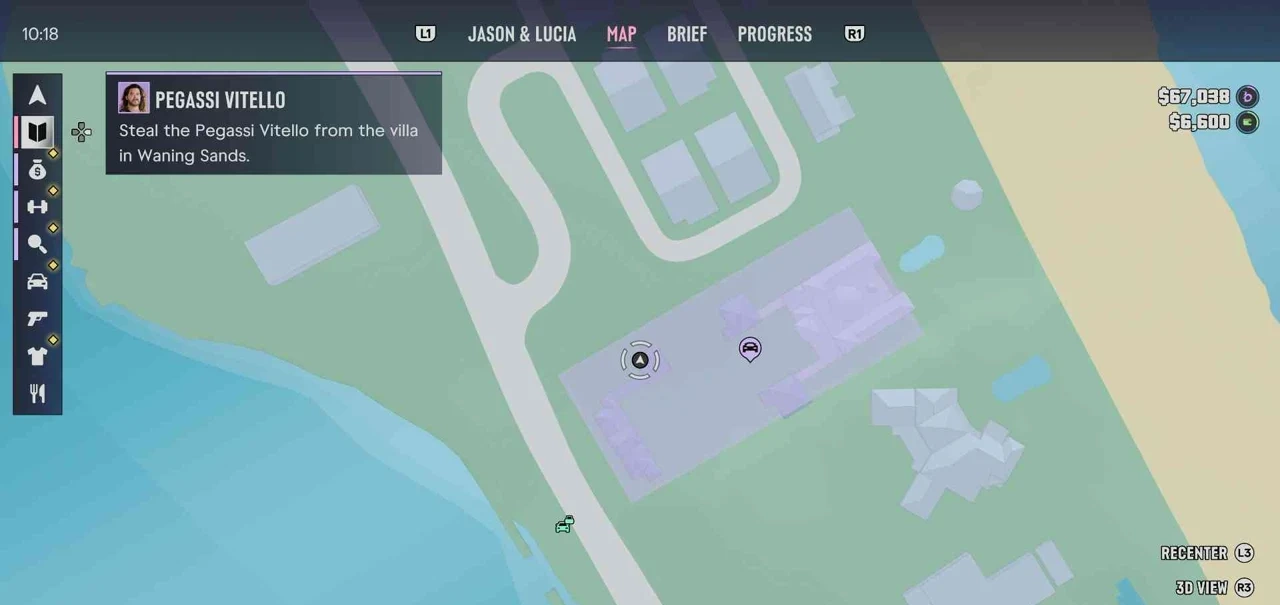
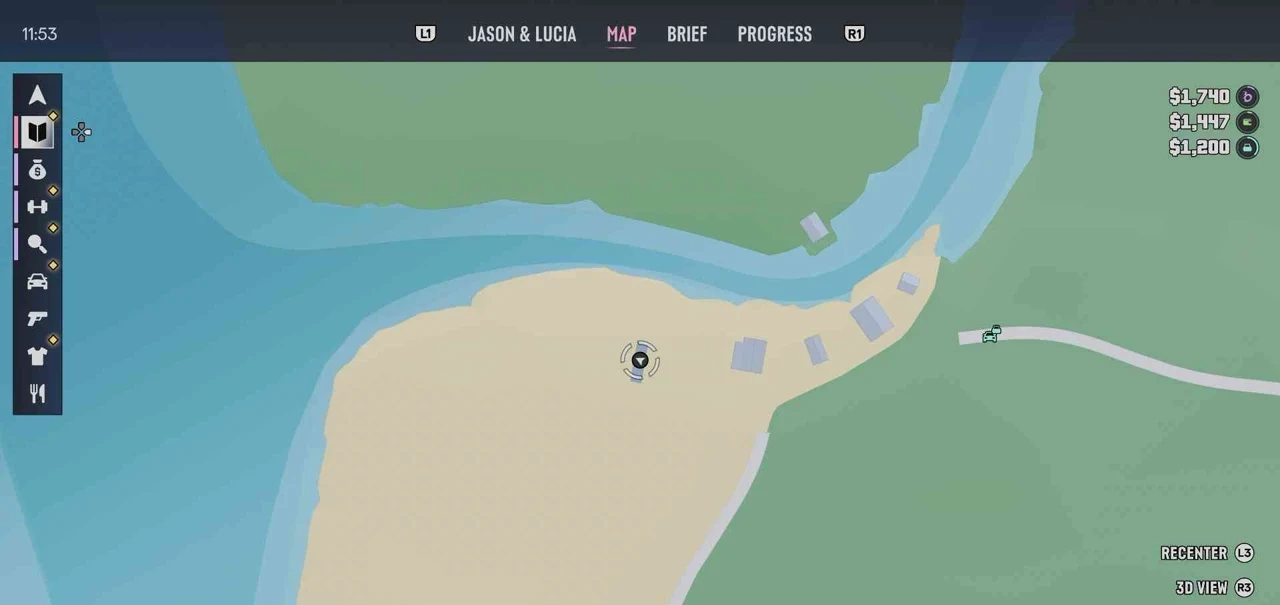
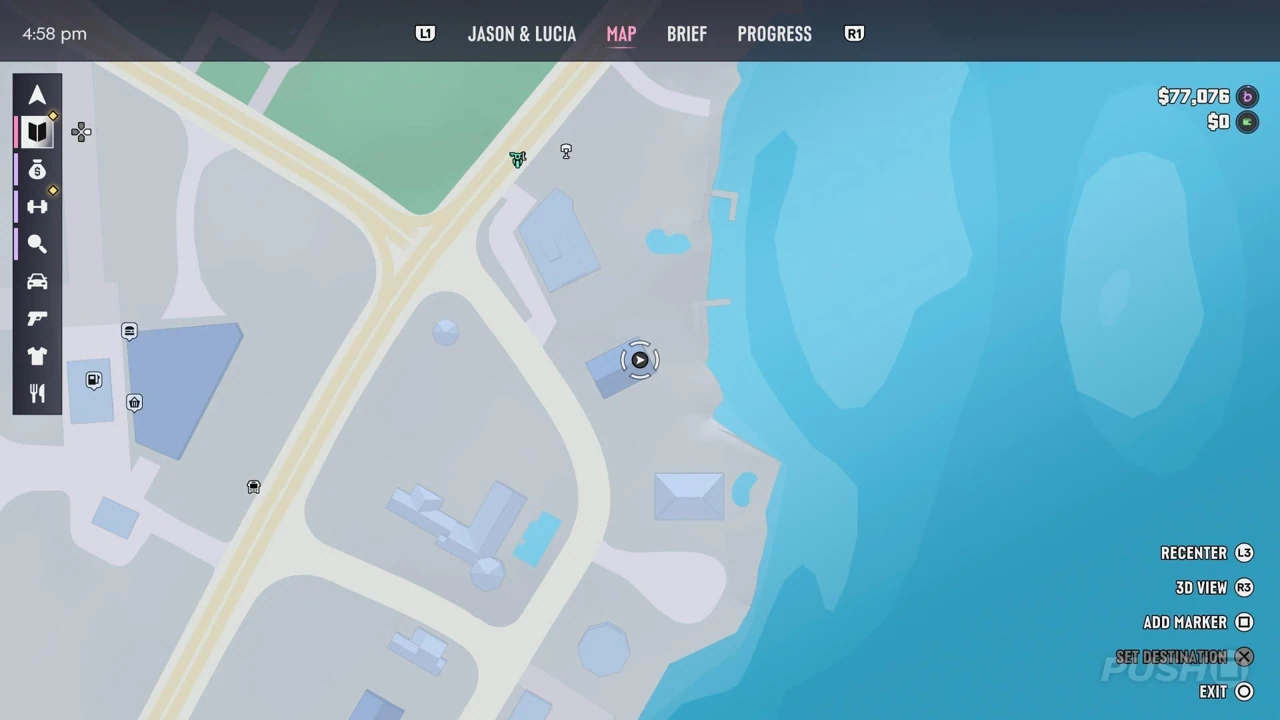
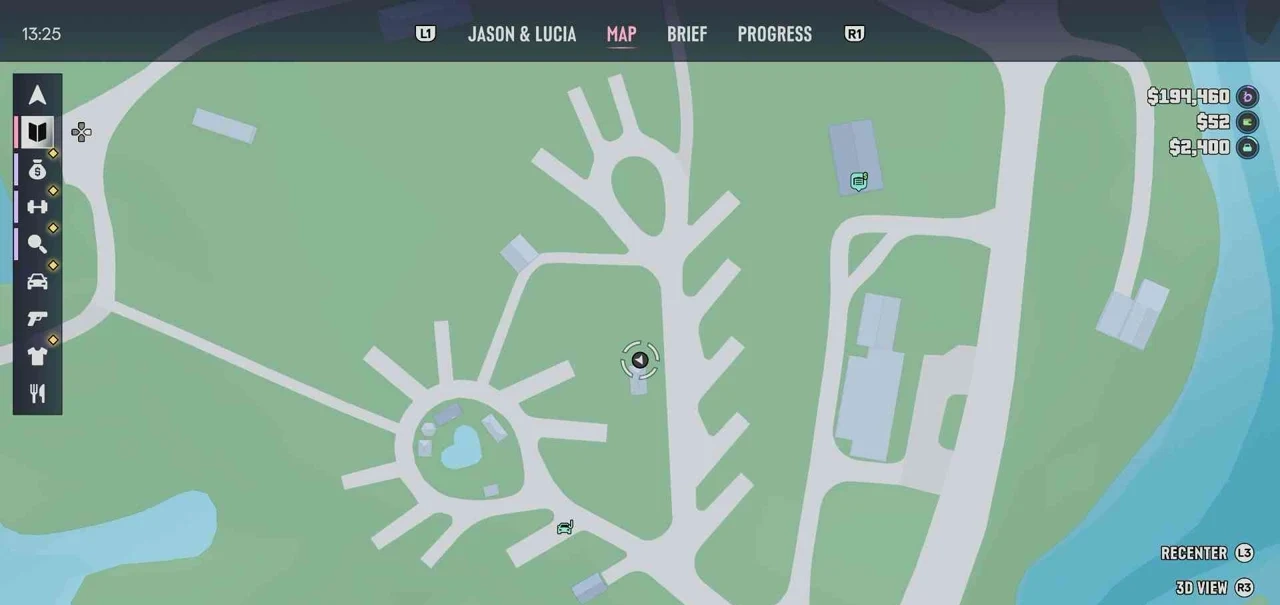
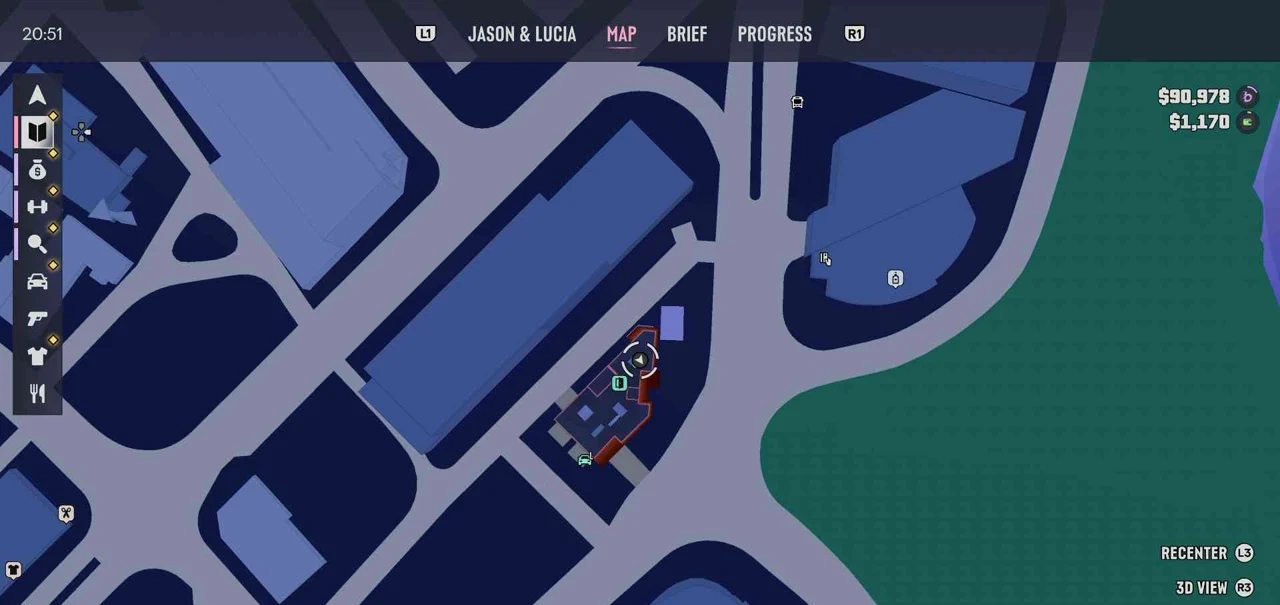
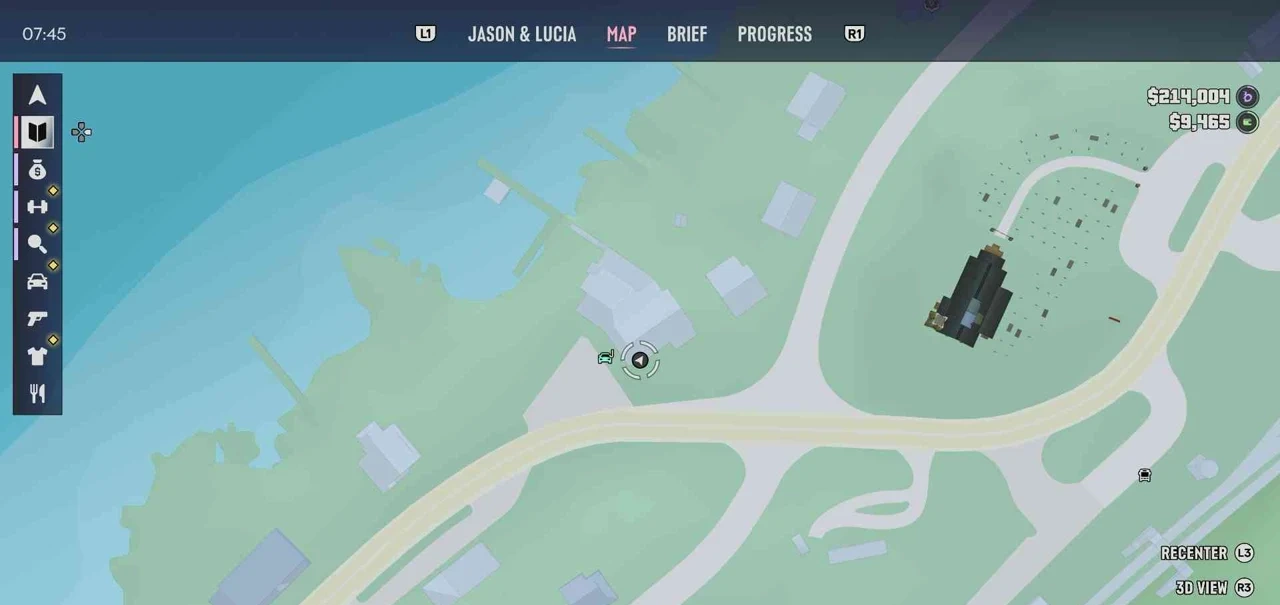
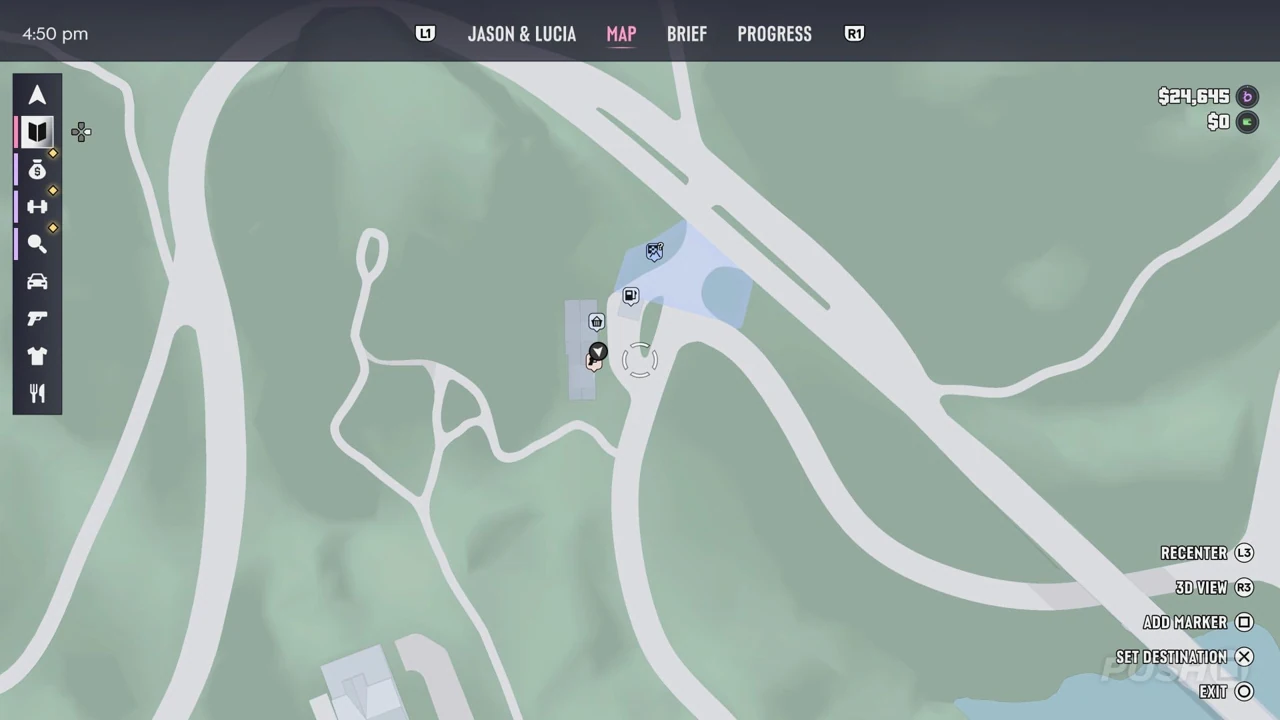
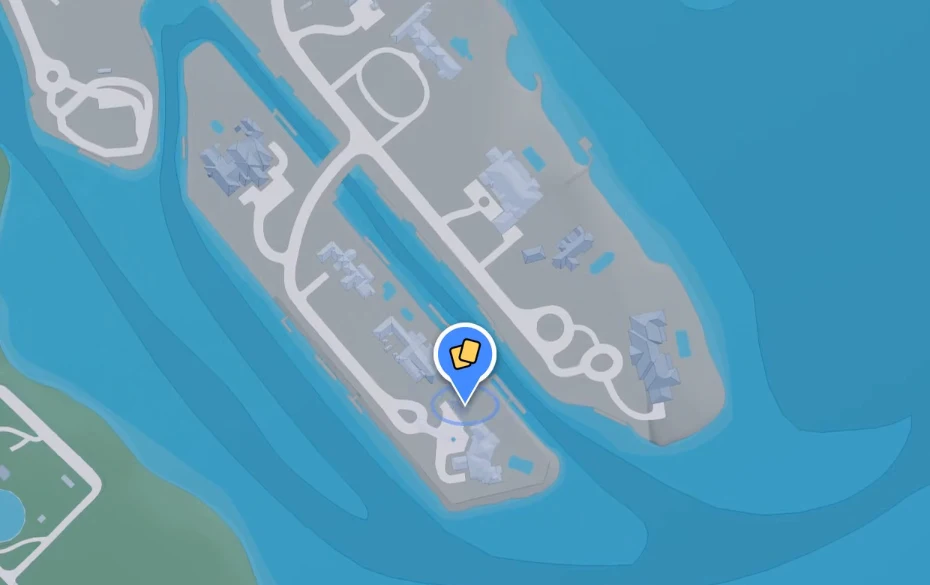
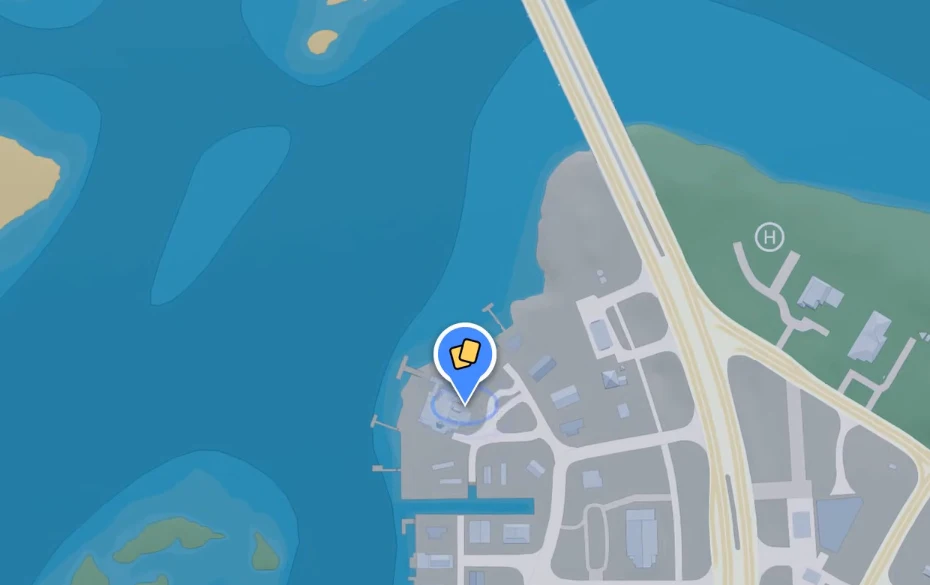
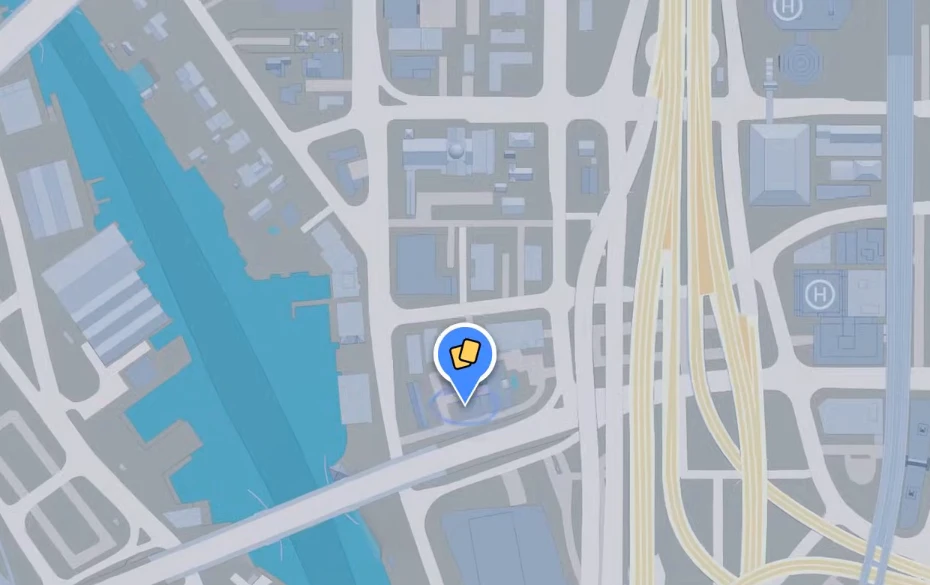
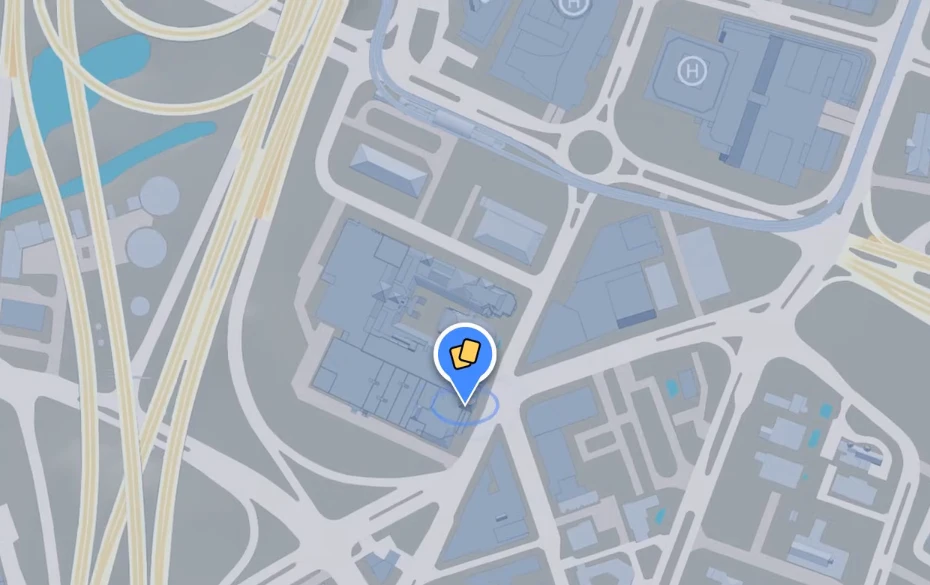
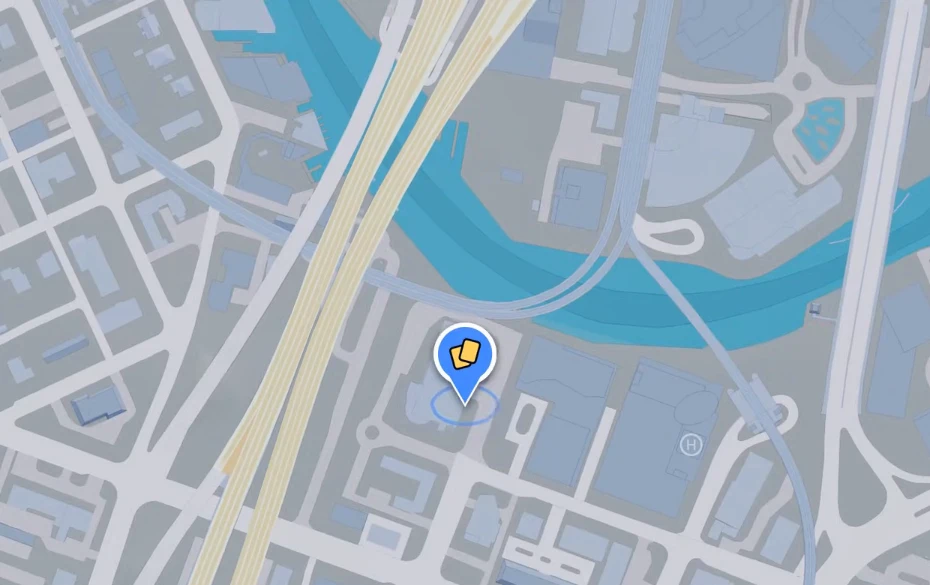
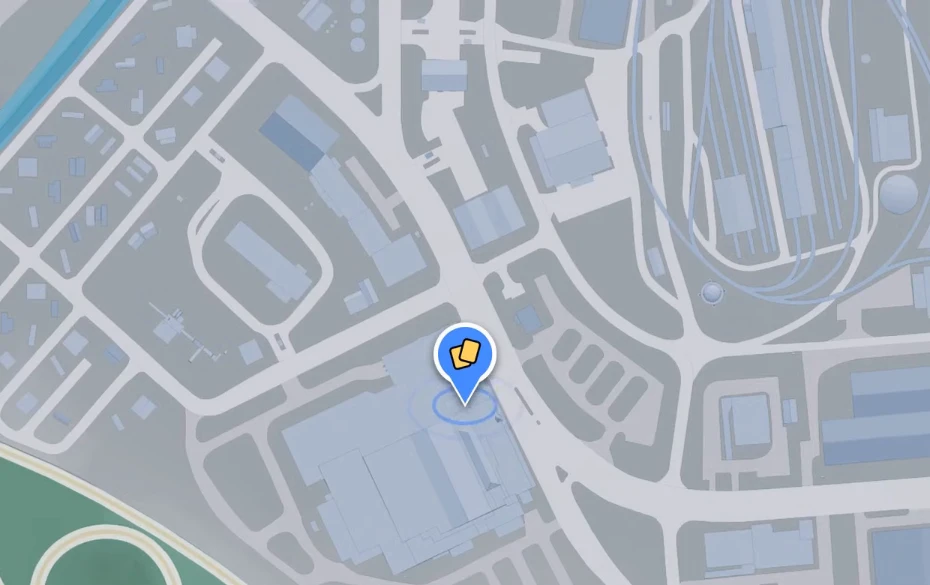
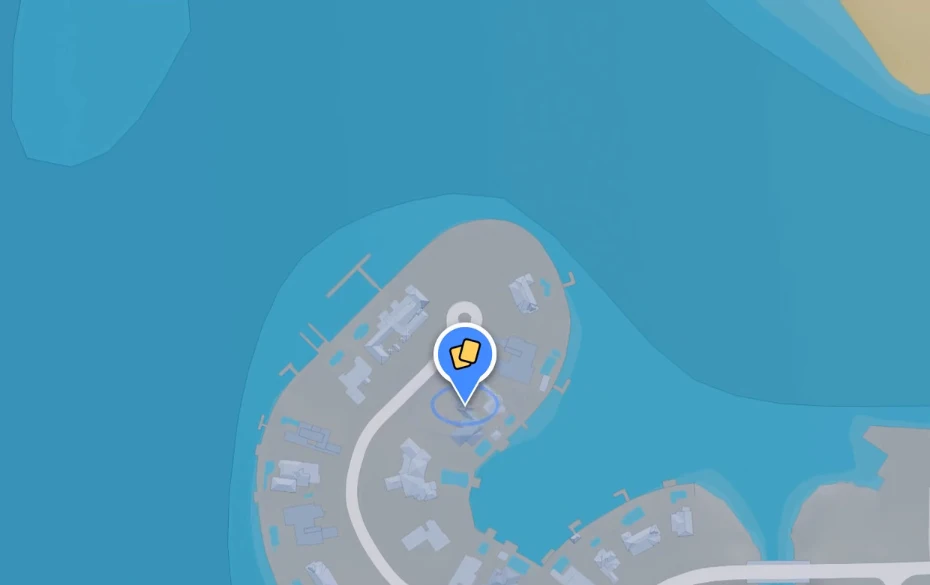
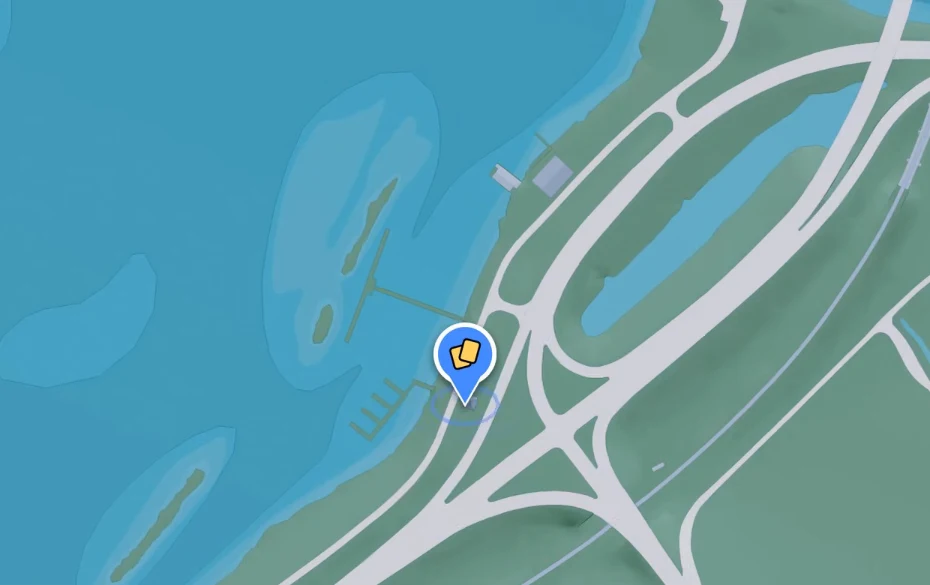
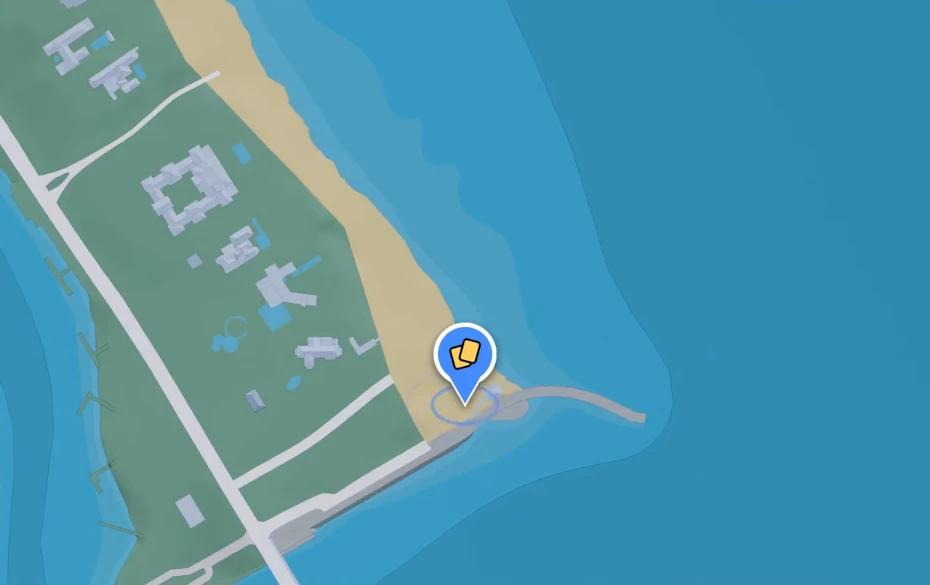
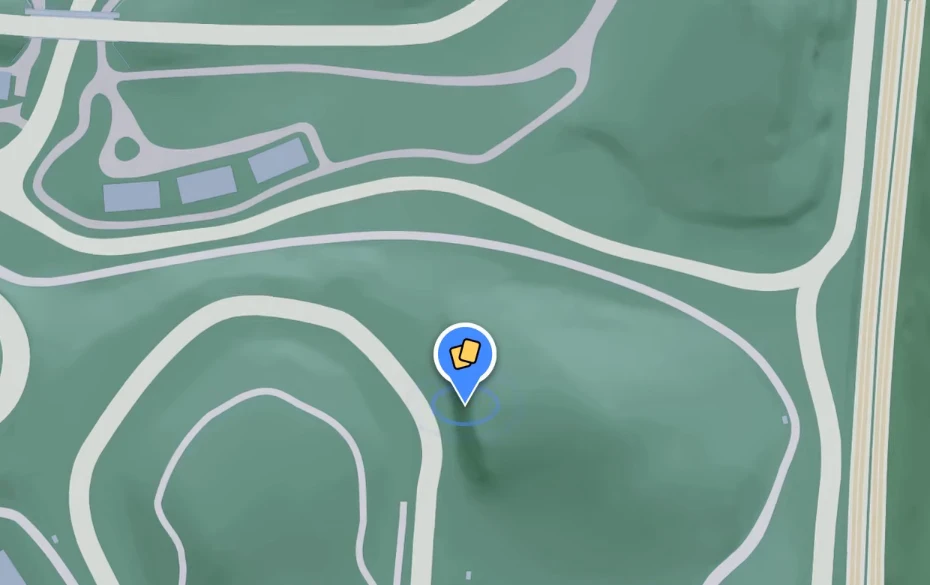
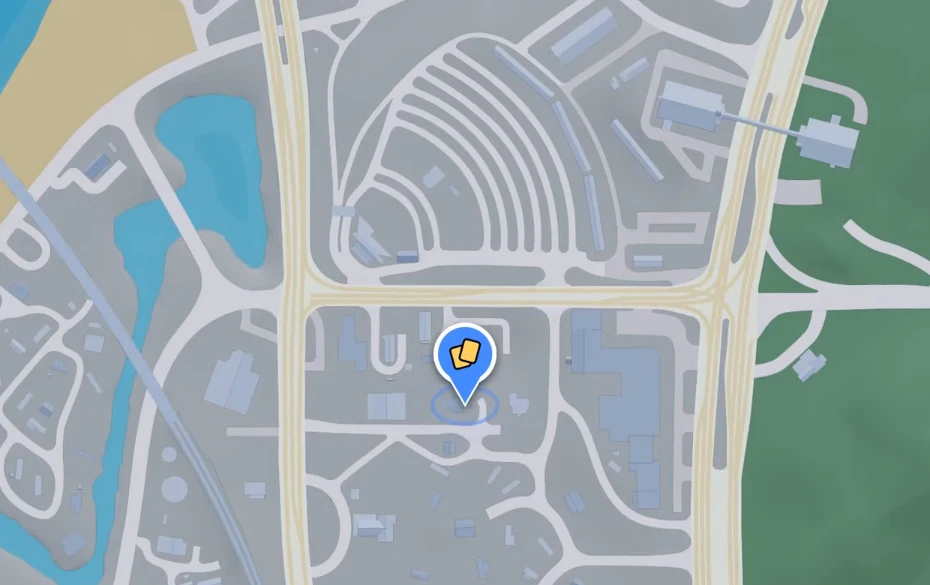
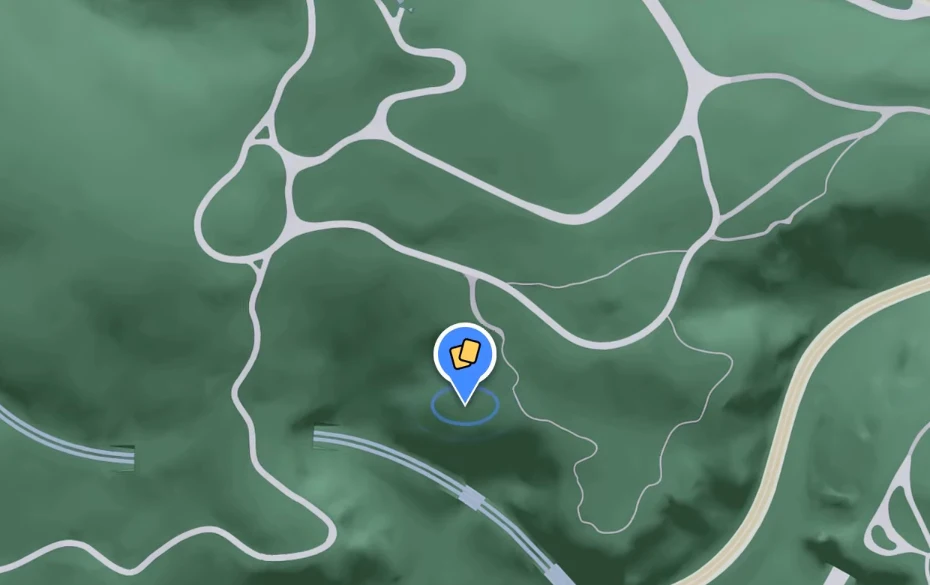
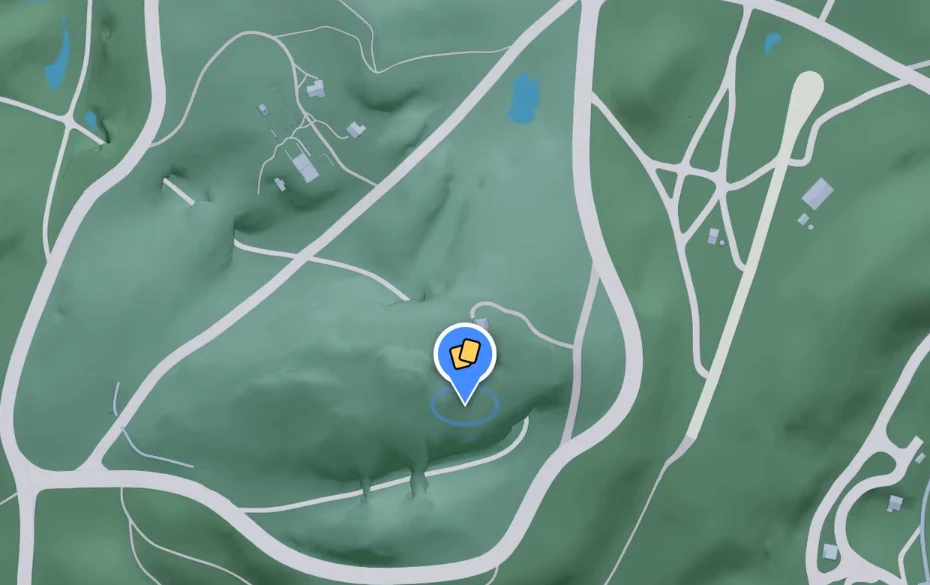
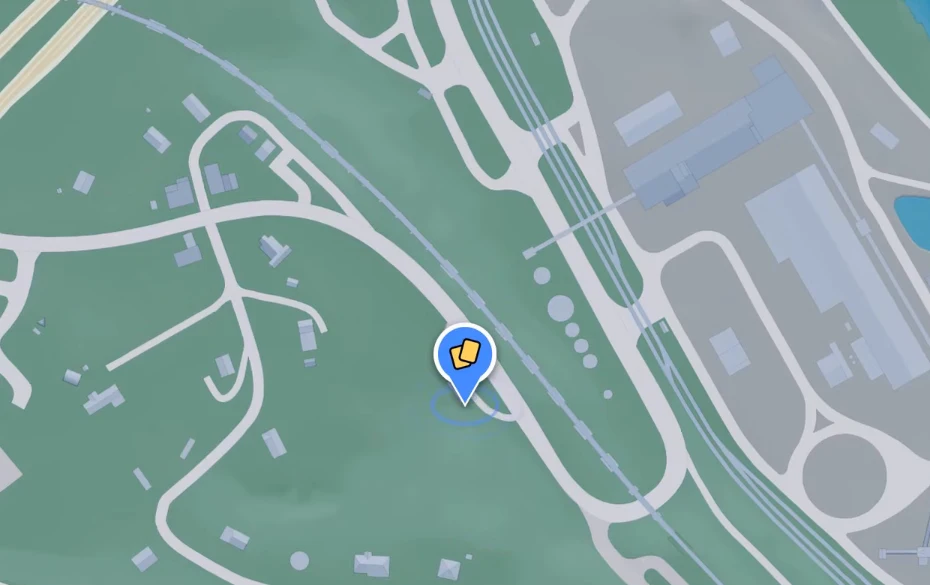
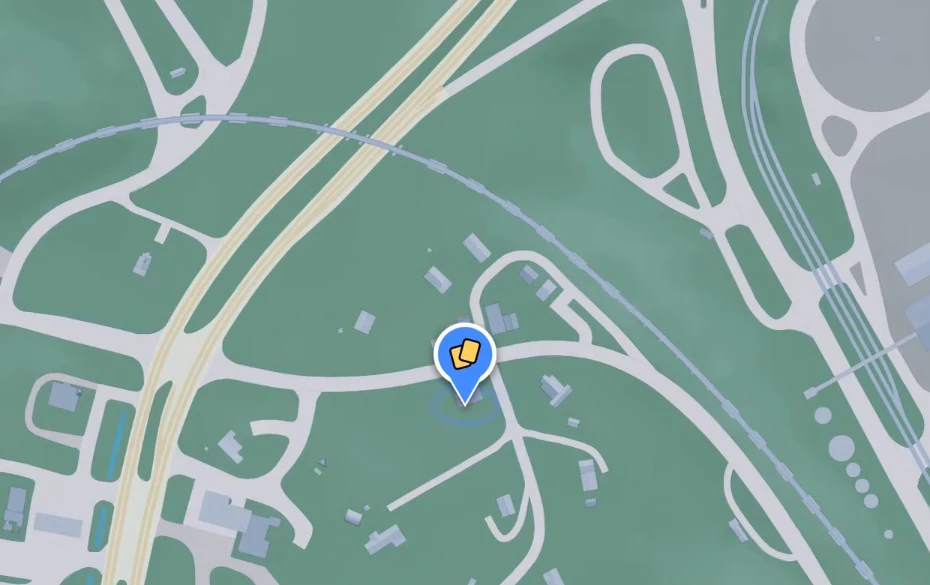
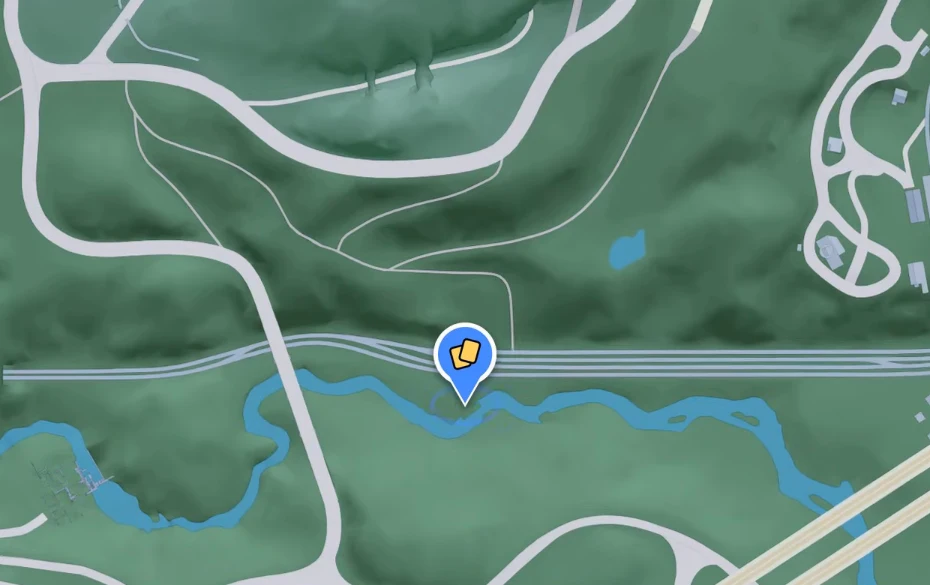
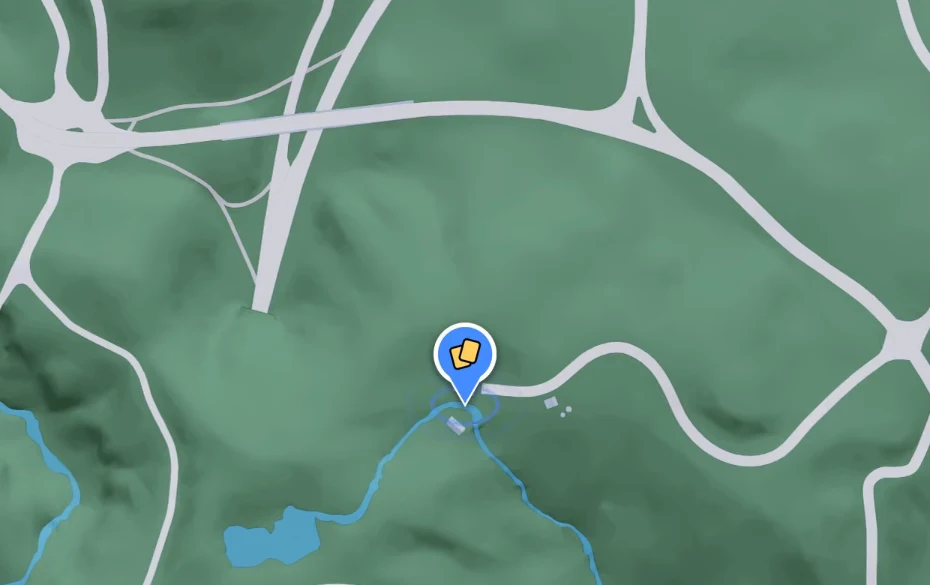
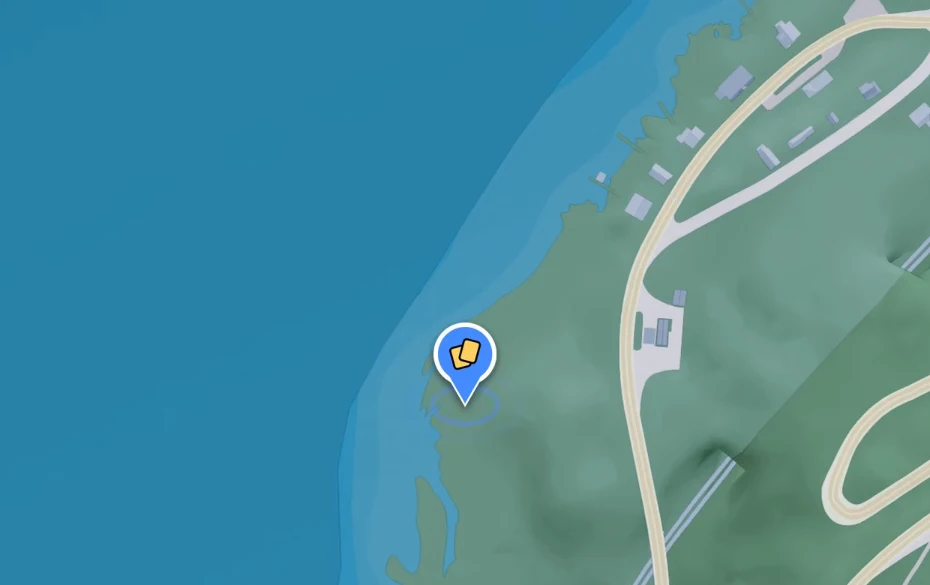
Kalvyn · Crosstown — Check the phone box beside the stairwell door on the Big House Storage roof. Location map
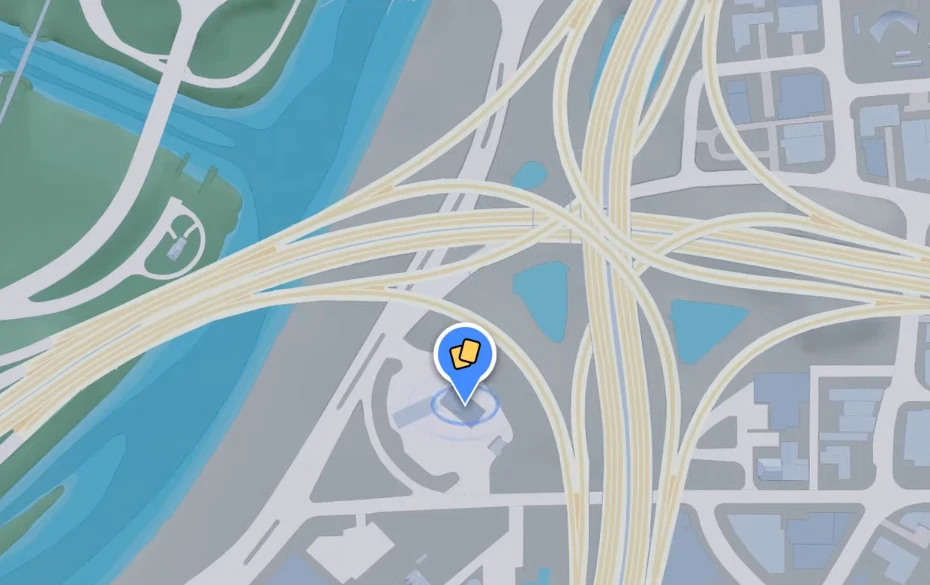
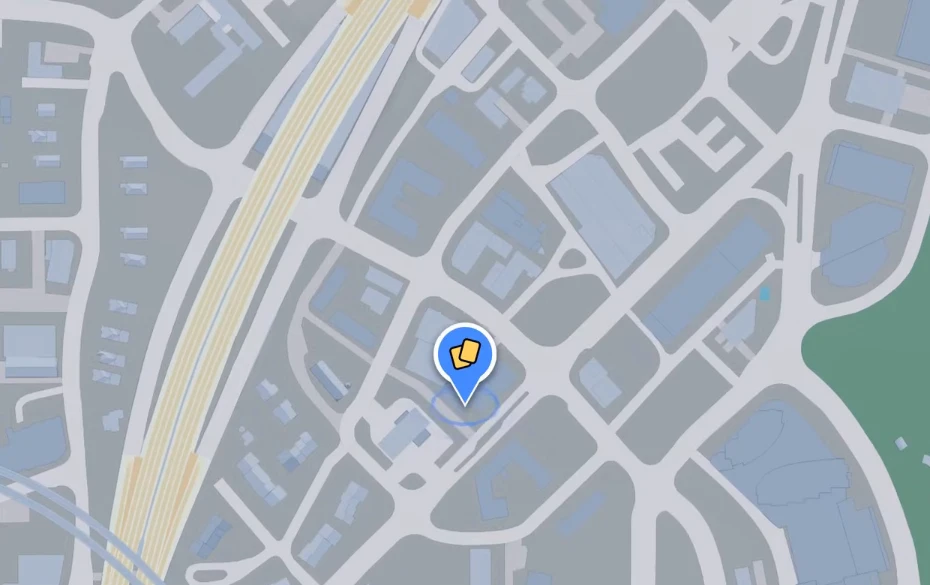
Chastity · Decor District — Enter the robot-filled garage northeast of Stockyard Speedshop. Look on the table at the back. Location map
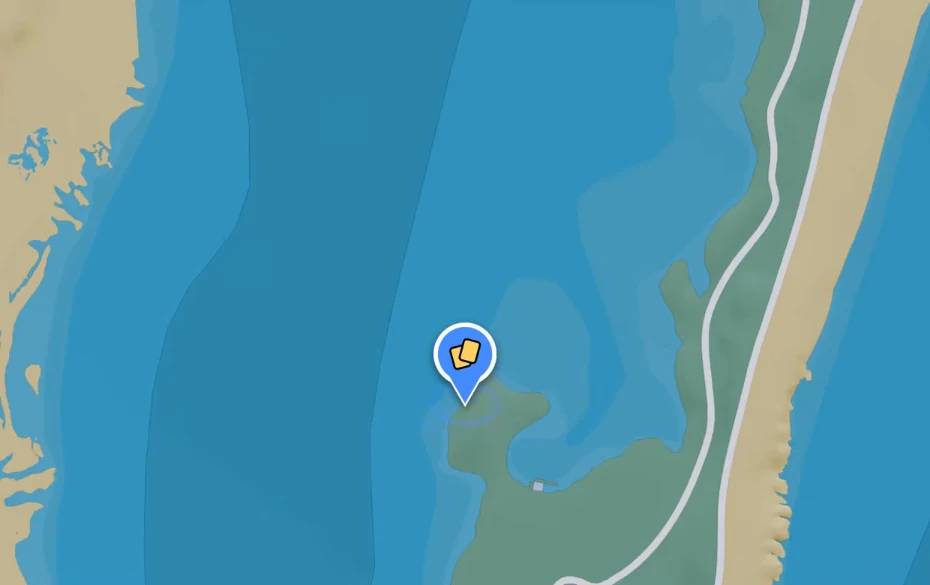
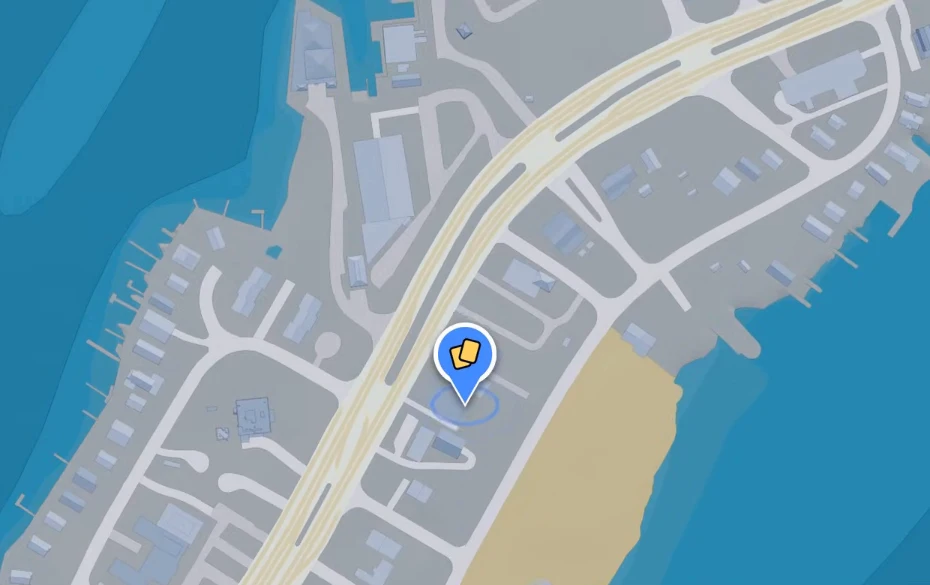
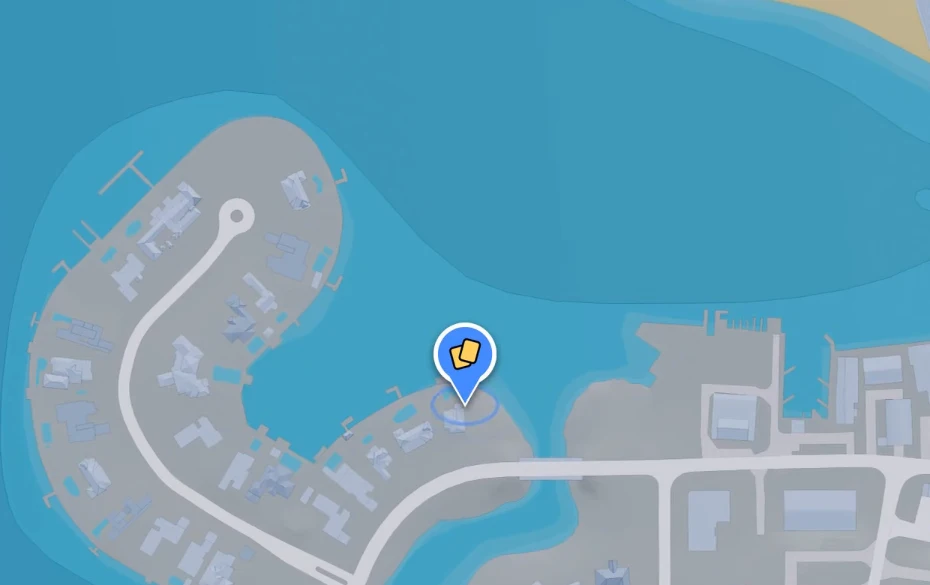
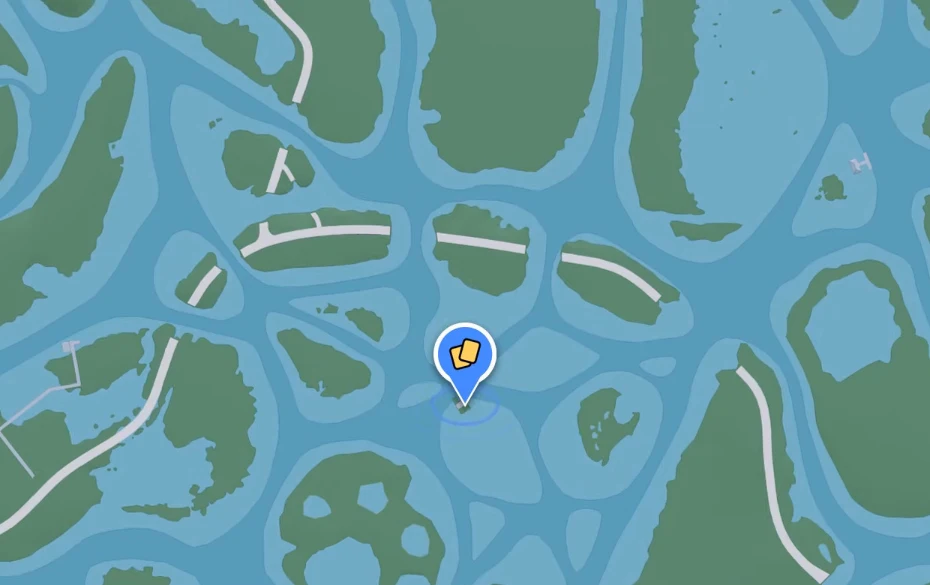
Kalisha (Silver) · Bonanza — Follow the dock southwest of Bonanza to its outer end. Look down at the boards. Location map
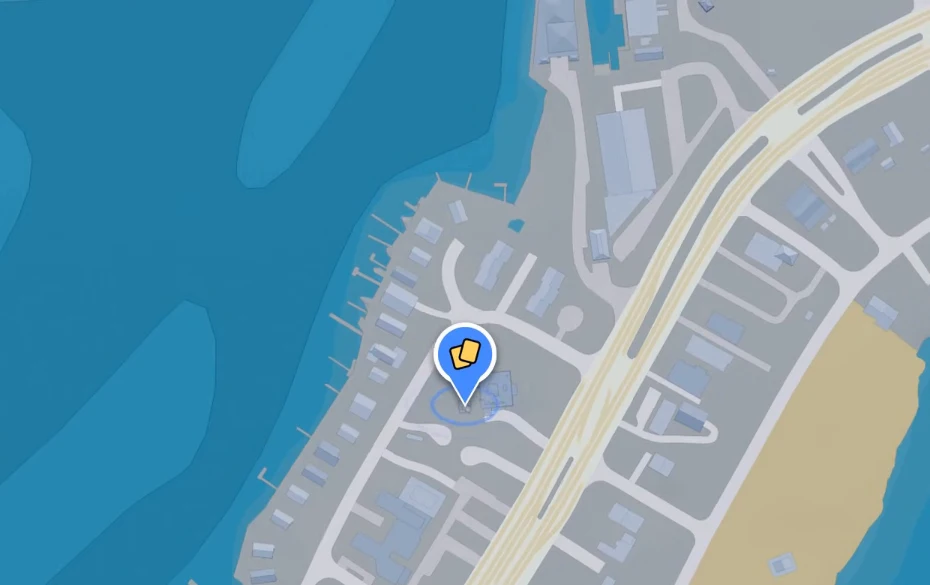
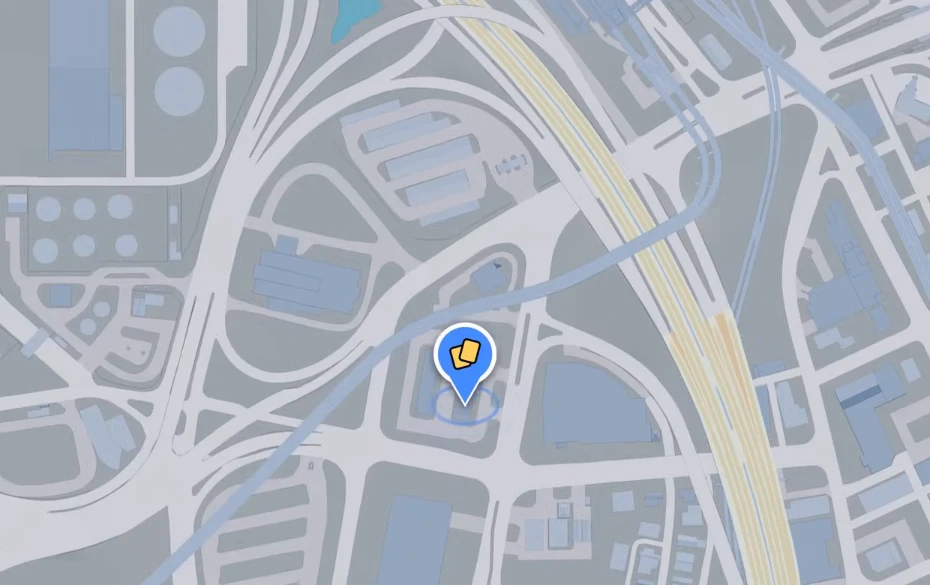
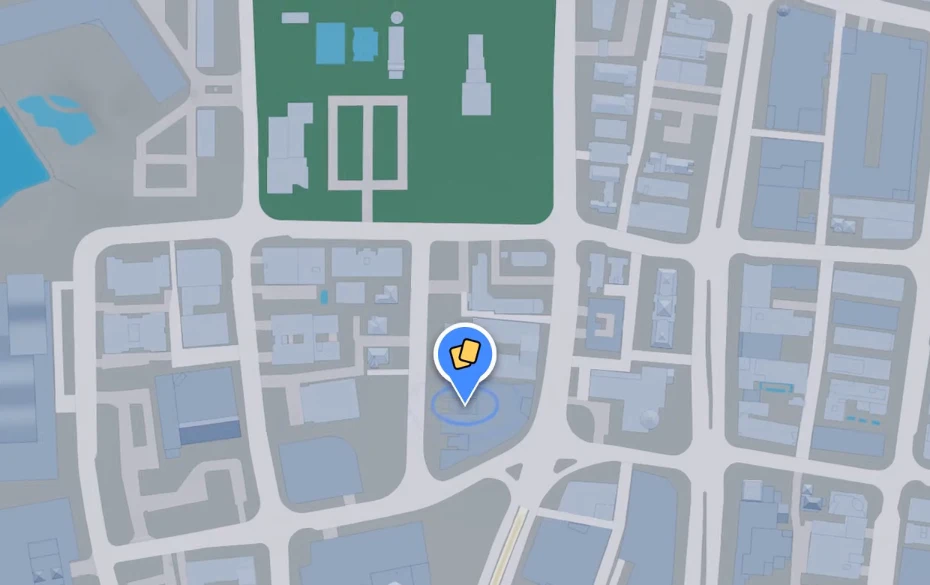
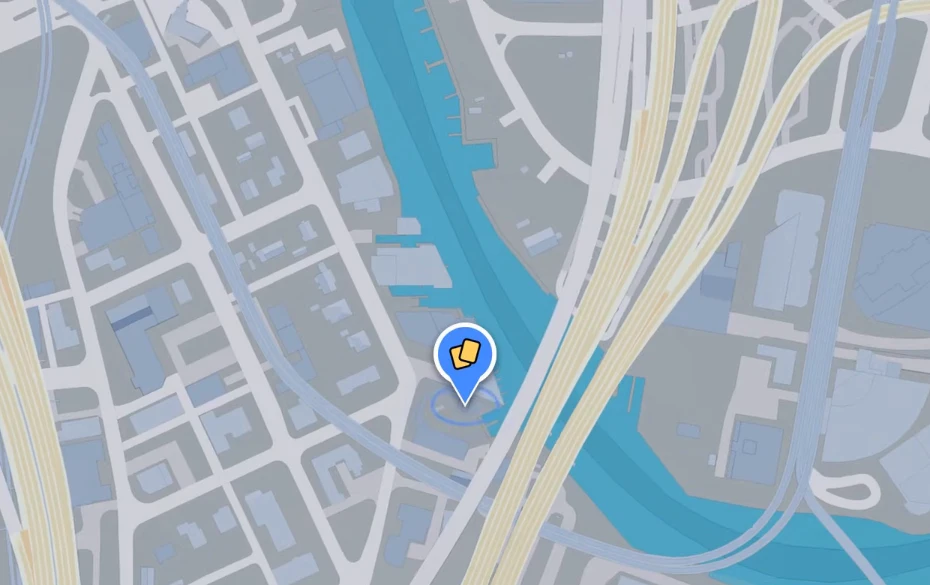
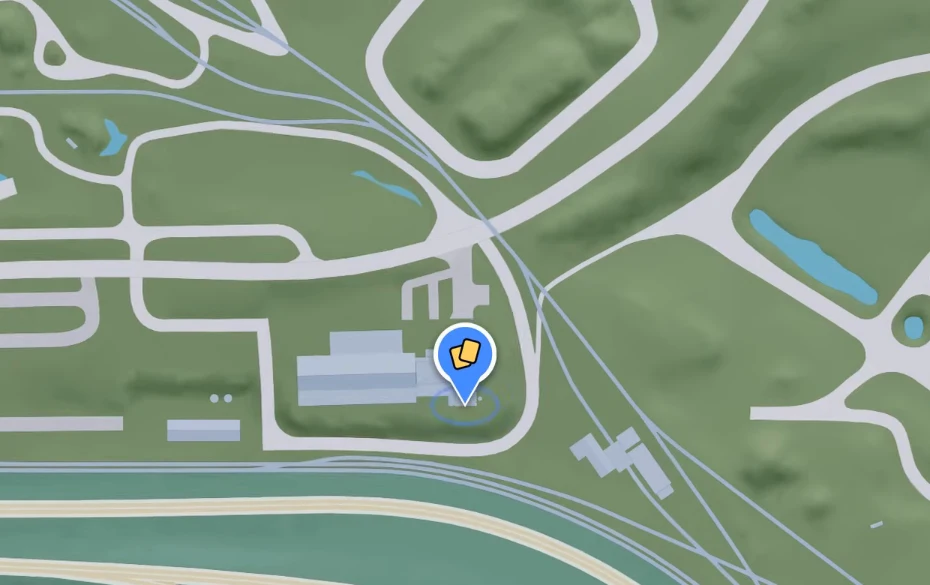
Kalvyn · Decor District — Find the accessible building west of Roval Jewelry. Check the yellow box on its north side. Location map
Delights Dancers
Harley · Port Gellhorn — Inside Delights Cabaret, follow the wall to the booth and inspect its seat. Location map
Amber · Ocean Beach — West of Cafe Orquidea, use the stairs in the neighboring building and drop to the lower roof. Open the yellow box. Location map
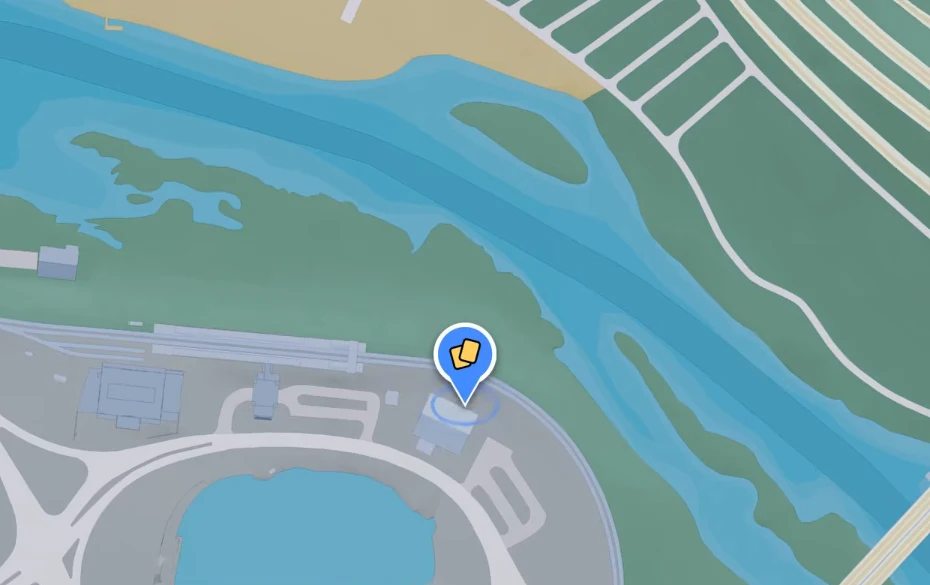
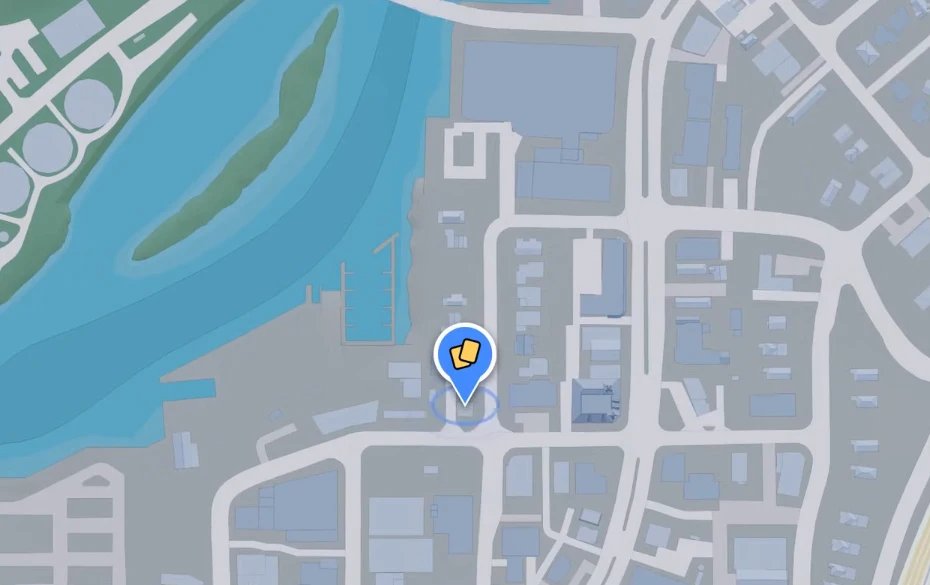
Tracy · Salton — Enter the water department building by the river. Go upstairs and check the storeroom floor. Location map
Vicki · Gellhorn — Check the bathroom floor beside the toilet in the Starlet Motel office. Pick it up before Chapter 2 ends. Location map
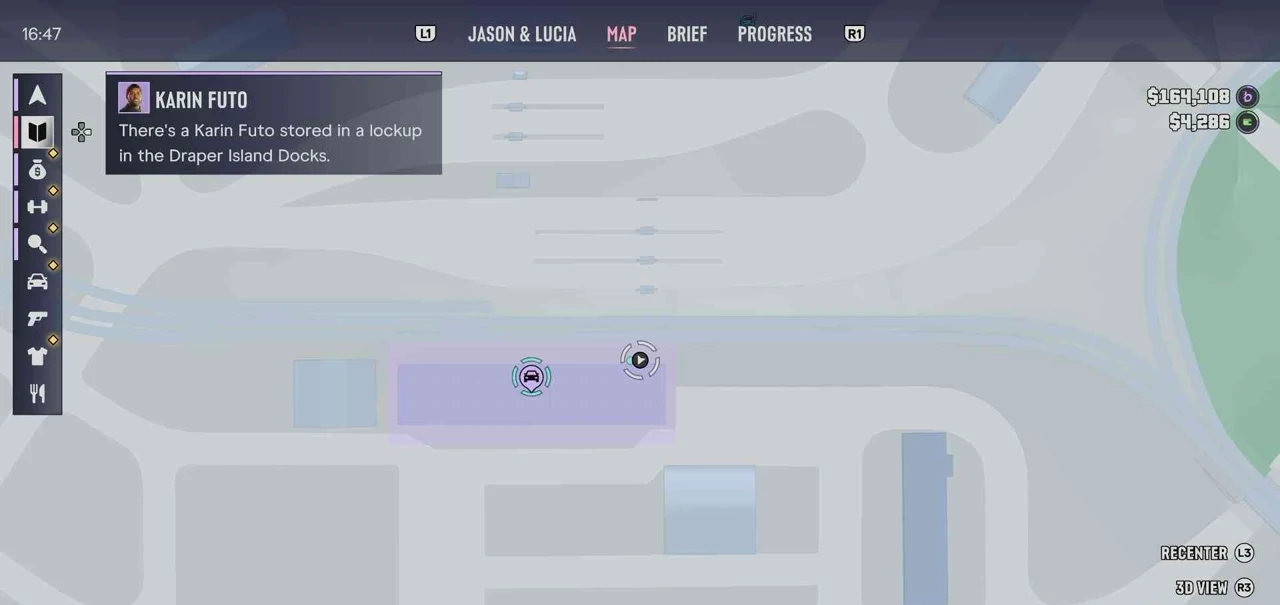
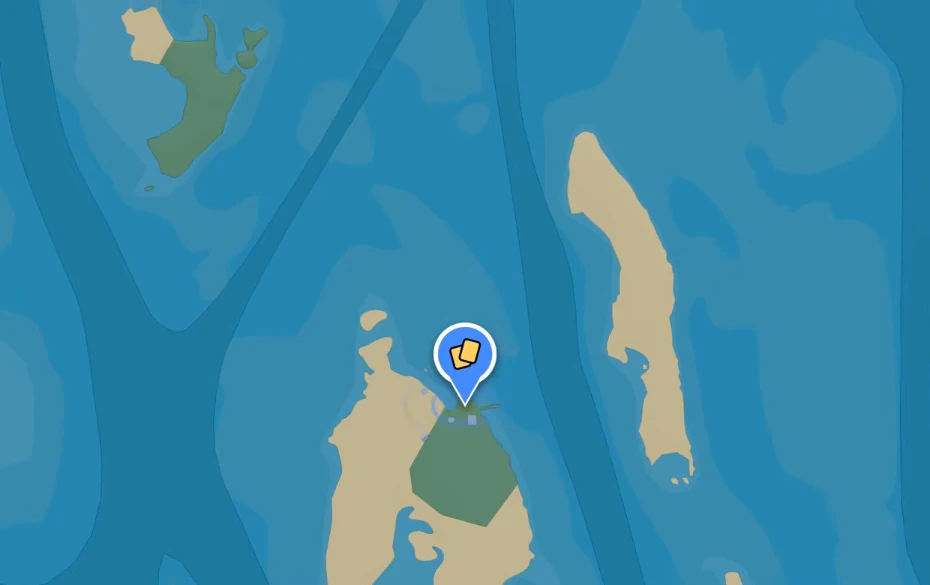
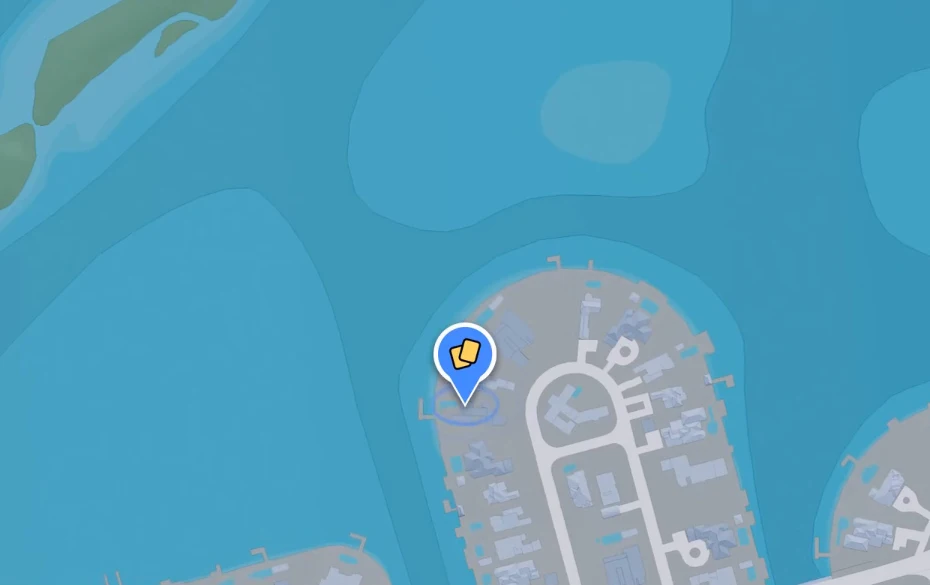
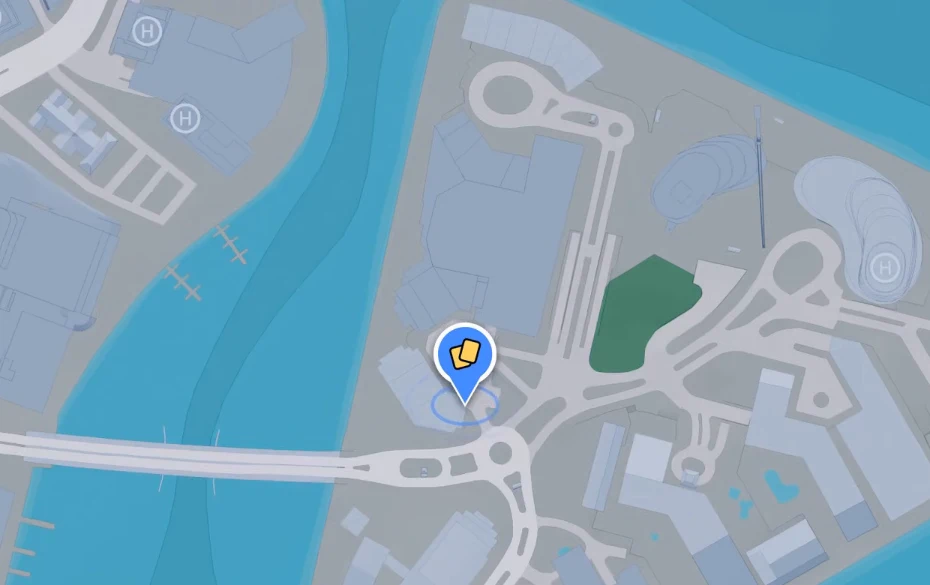
Amber · Draper Island — On southern Draper Island, find the building by the road guard posts. Check the yellow phone box on its north wall. Location map
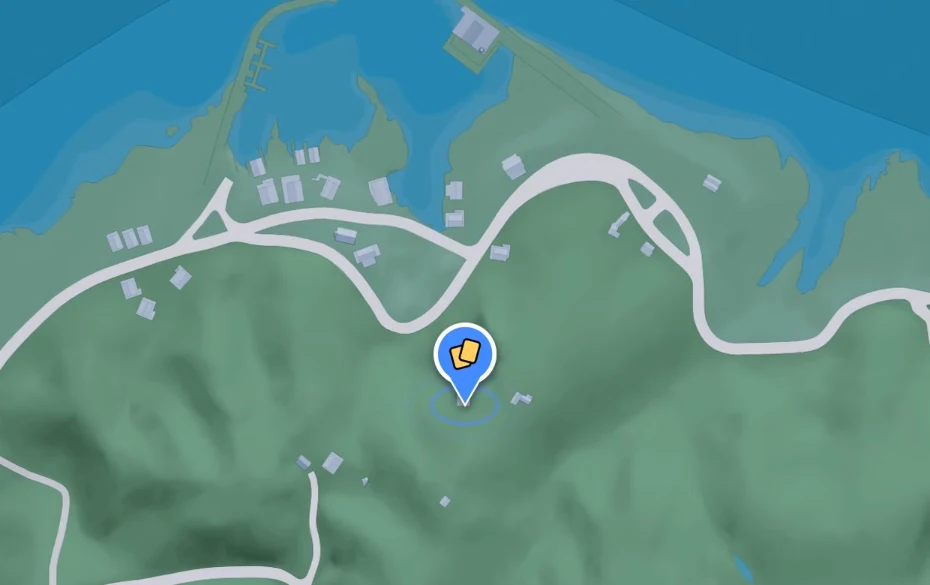
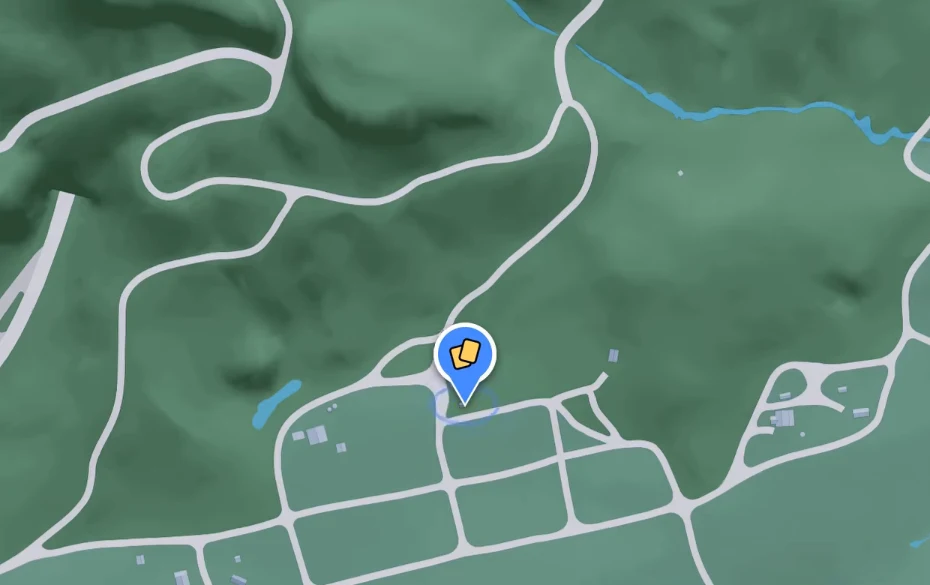
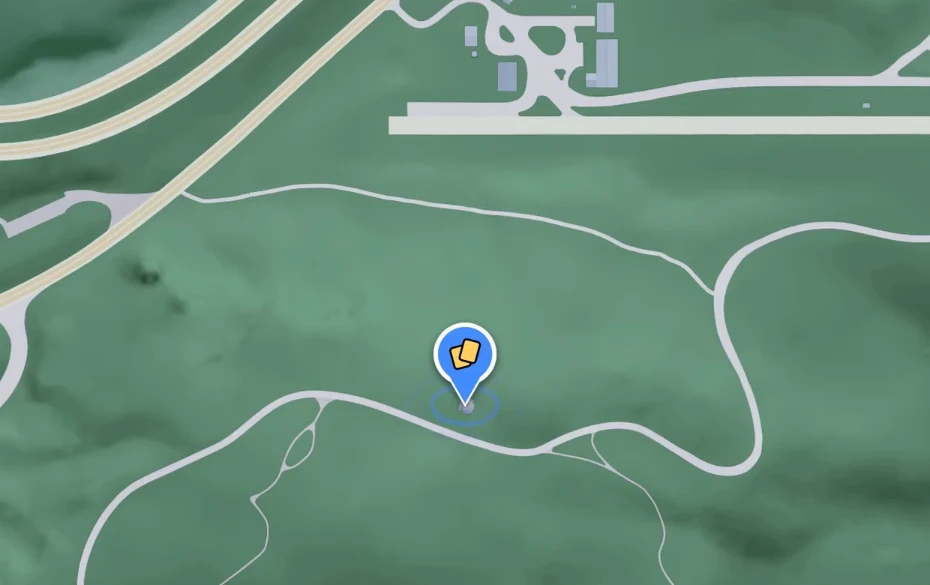
Nevaeh · Bonanza — Head into the hills above town. Find the barn split by a landslide and check its workbench. Location map
Thelma · Key Lento — Climb the tower next to the Badger warehouse. In the control room, inspect the desk. Location map
Crystal · Downtown — Take the alley off East Royale St. Check beneath the chair on the stone balcony. Location map
Cyrus · VCIA — Go to the top floor of Park Apartments. Enter the second-to-last unit on the right and check the side of its refrigerator. Location map
Daisy · La Perle — Enter the kitchenette behind the Xero station. Look at the corkboard on the wall. Location map
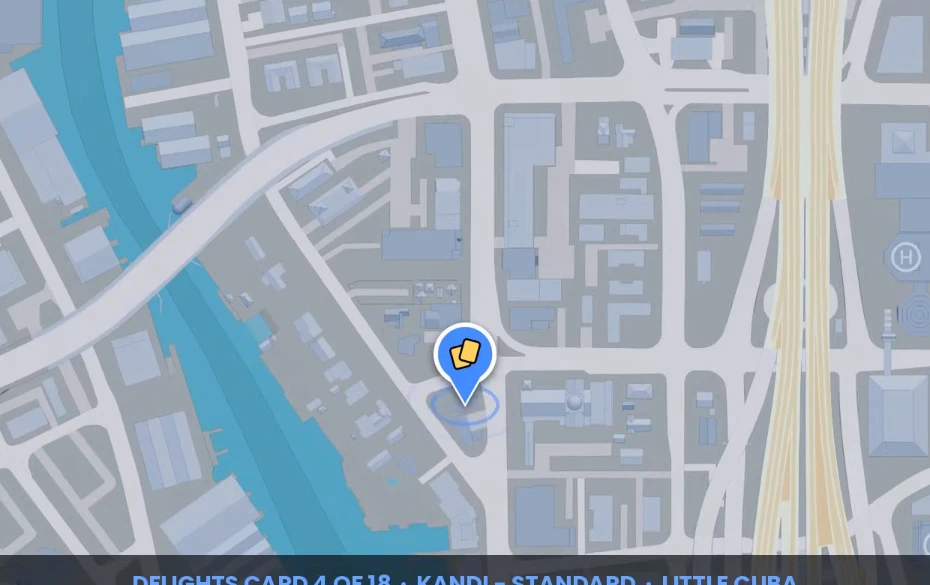
Kandi · Little Cuba — Go upstairs above Farmacia Tu Salud at Northbrook Dr and NW 4th Ave. In the first apartment on the second floor, check the toilet. Location map
Lance · Ocean Beach — Enter the lifeguard station on the south shore of Vice Beach and inspect the desk. Location map
Lucky · La Perle — Find the mobile home at Caledonia Blvd and NW 9th Ave. Check the dresser next to the bed. Location map
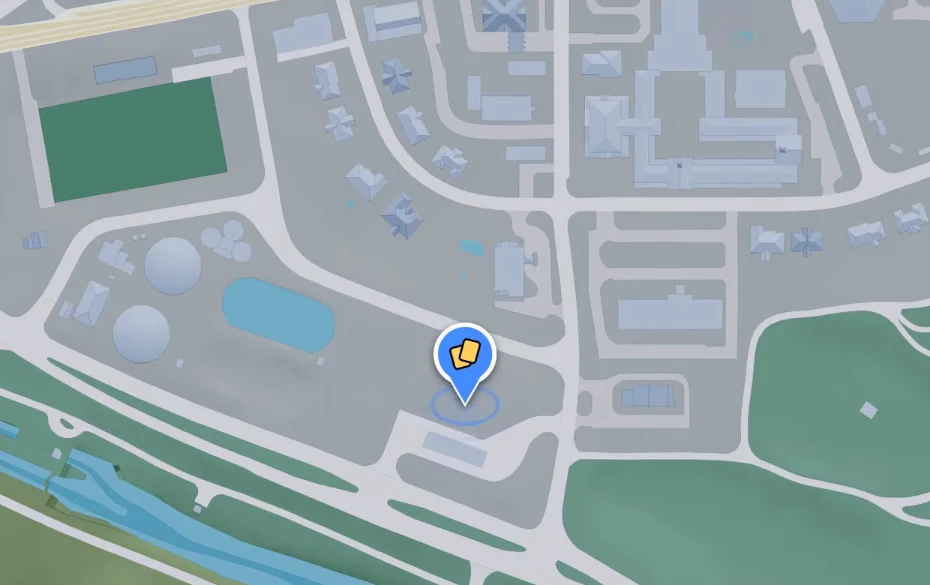
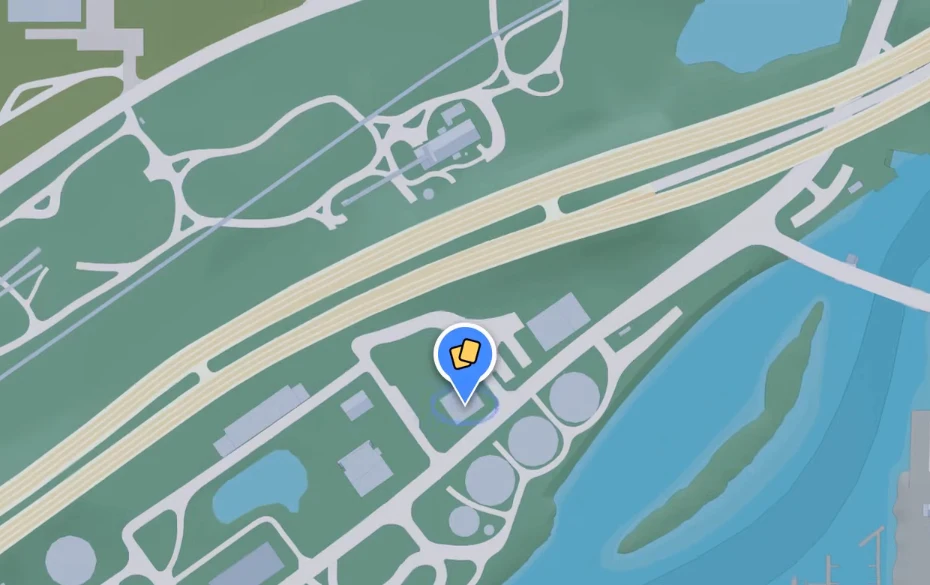
Mario · Southside — At the boundary with VCIA, climb the county water and sewage building. Follow the edge of its roof. Location map
Nicole · Hamlet — On Formosa Ave, find the middle apartment block. Count two doors from the far right and check the table beside the bed. Location map
Perla · Balsero — Above the northern rail yard, find the control building. Look on the electrical cabinet against its wall. Location map
Vicki · Southside — Climb the apartments at SW 10th Ave and SW 11th St. Look under the chair on the highest roof. Location map
Chip · Watson Bay — On the northern island, find the riverside home off Kingston Rd. Check the toilet inside. Location map
Amber · South Leonard County — At the Agricore mine tower, find the ledge by the side entrance. Look under the chair. Location map
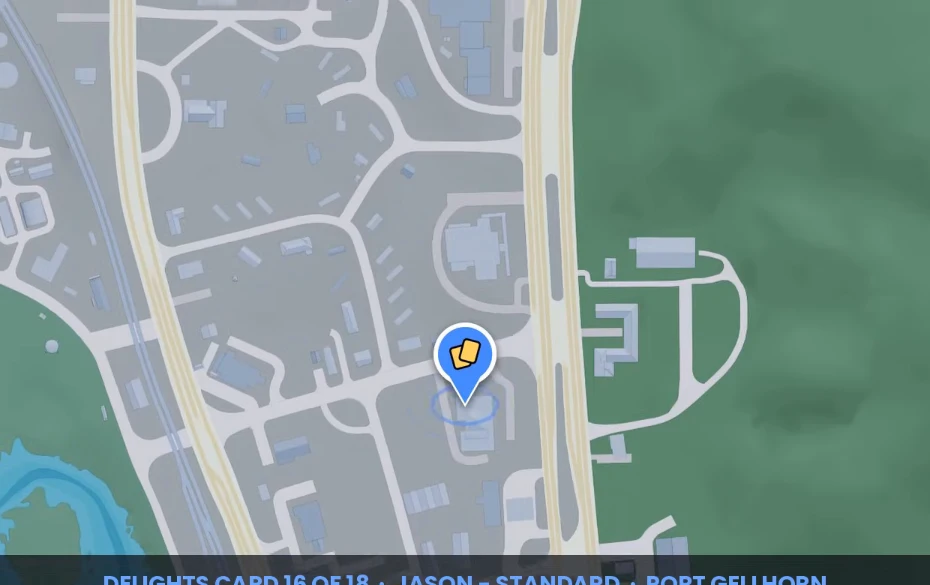
Jason · Port Gellhorn — Help the dancers in Chapter 2 and wait for the reopening message in Chapter 3. Return to Delights Cabaret and check the bathroom counter. Location map
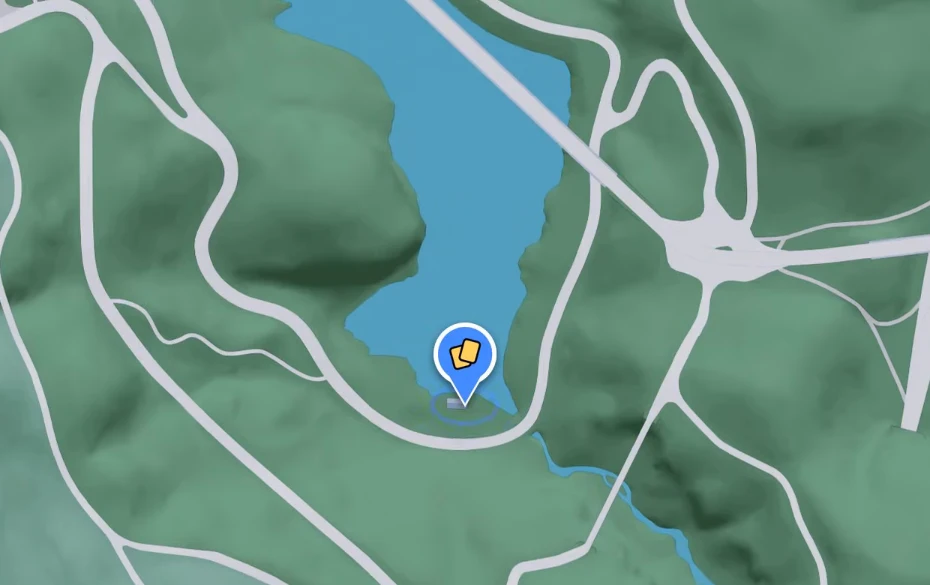
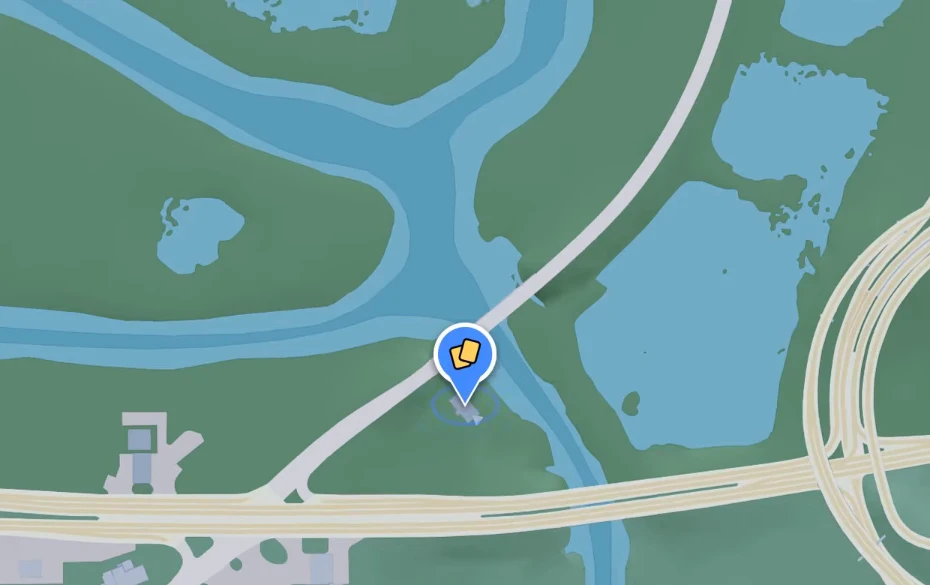
Cleo · Dawson Dam — At the south end of Kalaga Reservoir, enter the small utility building. In the supply closet, check the battery against the rear wall. Location map
ED Comics Universe
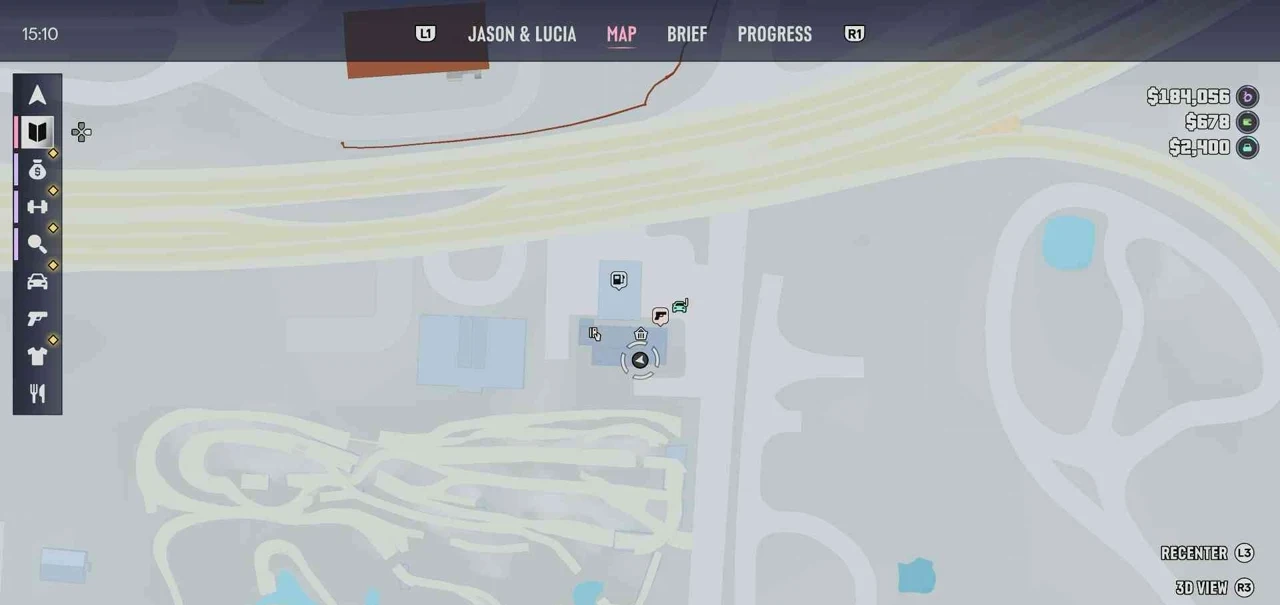
Femi-Nemesis (Silver) · VCIA — Enter the trailer southwest of Pawn City near the airport. Check the dresser. Location map
Ratface (Bronze) · La Perle — In the warehouse west of the La Perle spray shop, follow the south wall to the couch. Location map
Dr. Placebo (Blue) · La Perle — Southwest of the La Perle spray shop, search the shelving in the building’s large ground-floor room. Location map
Side Effect (Blue) · Port Gellhorn — Northwest of Dunk’s Trailer, enter the trailer near the middle of the group and look in its bedroom. Location map
Jack of Hearts Dancers
Kadisha (Pink) · VCIA — Find the red trailer below the US-35 ramp on SW 19th St. Search the mattress in its bedroom. Location map
Kelly (Purple) · Salton / Tequesta — By the I-97 bridge, climb the red shipping containers. Look beneath the chair on top. Location map
Christel (Deep Red) · La Perle — Climb Imperial Plaza on NW 9th Ave and follow the railing around the roof. Location map
Malena (Deep Red) · Belville — Enter the yellow house at Prosperity St and Grace Ave. In the bedroom, lift your view to the workbench beneath the mannequin hand. Location map
Brianna Blue (Deep Red) · Grassrivers — On the island in northwest Pelican Valley, cross the compound to the last shed. Search the shelves at the back. Location map
Malena (Pink) · Dawson Dam — Climb the mountain fire lookout in northeast Mount Kalaga National Park and check its wall ledge. Location map
Christel (Pink) · Salton — Go behind the RON station on NW 15th Ave. Enter the staff restroom and check the toilet. Location map
Christel (Purple) · Ocean Beach — Reach the roof of Sixth & Harper at Shorefront Ave and Seaview Blvd. Look beneath the chair above the elevator shafts. Location map
Jemila (Deep Red) · Rockridge — Find Lisette's Food Store on NW 10th Ave. Check the upper balcony rail directly above the shop sign. Location map
Jemila (Pink) · Peacock Bay — Find the yellow L-shaped apartments on SW 5th Ave. Climb up and inspect the rooftop railing. Location map
Jemila (Purple) · Ocean Beach — Take the rear stairs at Fairbanks Pharmacy. In the room at the top, check the floor below the electrical cabinet. Location map
Vanessa (Gold) · Bayside — Enter Uncle Jack's Liquor at Velo Fino Dr and Catalan Blvd. Check the safe in the rear room. Location map
Vanessa (Silver) · Salton — Climb the Juliet Terrance apartments on SW 8th Ave and follow the narrow ledge around the highest roof. Location map
Zaria RI RI Luckett (Bronze) · Balsero — Reach the billboard above Bare With Me by SR-25. Check the corner of its maintenance walkway. Location map
Brianna Blue (Purple) · Capri — Enter the staff room behind the Xero station at US-183 and South Cunningham Dr. Check the noticeboard. Location map
Jada Watts (Silver) · Bobcat Key — On the south beach, find the fishing gnome on a makeshift toilet seat. Inspect the sand directly in front of it. Location map
Kadisha (Deep Red) · Breakwater Quarry — Follow the tracks through the south of the quarry. Enter the derelict carriage and look by the backpack. Location map
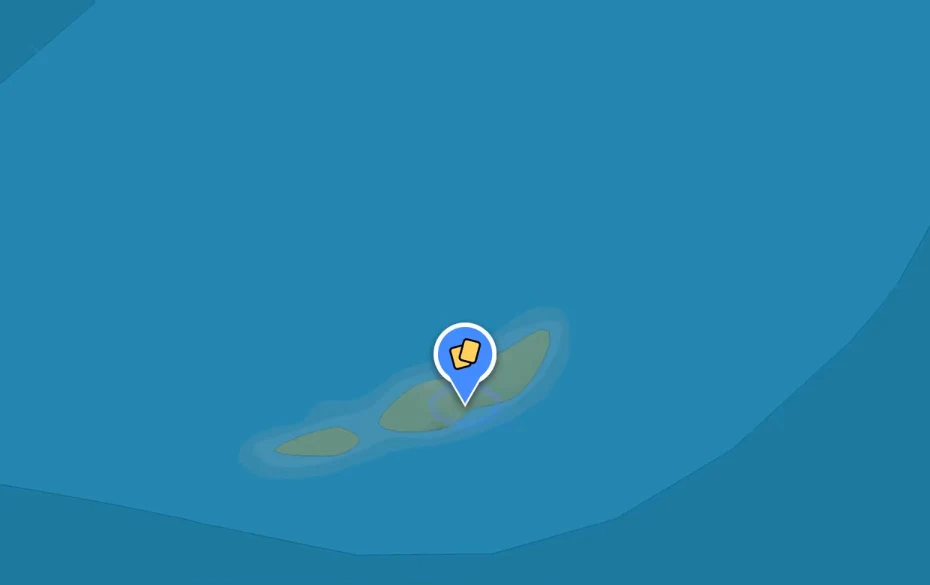
MonaLi$a (Gold) · Abismo Key — Land on the islet southeast of Abismo Key. By the stranded boat, look underneath the lone chair. Location map
Pricilla Pace (Gold) · Capri — Find Leonida Brewing between Sweetbay Rd and the tracks. Climb the tower behind the warehouse to its top. Location map
Pricilla Pace (Silver) · Permit Keys — Visit the north beach of the middle island. Check the ledge of the little lending library. Location map
Kelly (Pink) · Belville — At the Xero station on Caledonia Blvd, go to the staff bathroom at the back. Search the floor. Location map
Vanessa (Bronze) · North Leonard County — At the corner of the farm, enter the small outhouse and inspect the wall shelf. Location map
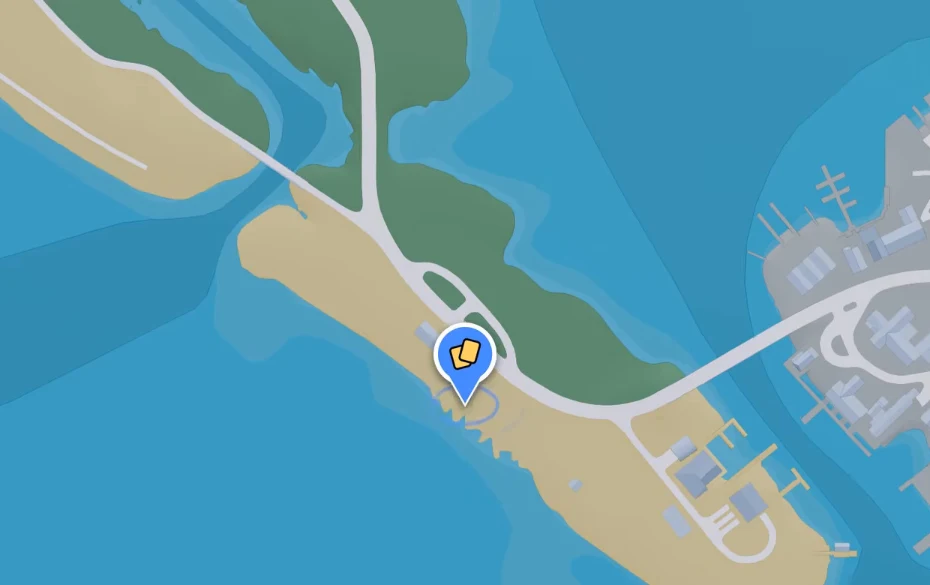
Zaria RI RI Luckett (Gold) · Little Hardin Island — Walk onto the island's southern spit. Search the sand beside the solitary chair. Location map
Jada Watts (Bronze) · Port Gellhorn — Find the brown house on Pennwort St. Go into the bedroom and check the nightstand. Location map
Jada Watts (Gold) · Gellhorn — Climb the radio tower beside CR 62. Check the corner of the highest platform. Location map
Kadisha (Purple) · Gellhorn — Find the deserted garage off Butternut Rd and inspect its windowsill. Location map
Kelly (Deep Red) · Port Gellhorn — Take the side road off Gellhorn Ave to the red-and-white trailer. Check the lowest dresser drawer. Location map
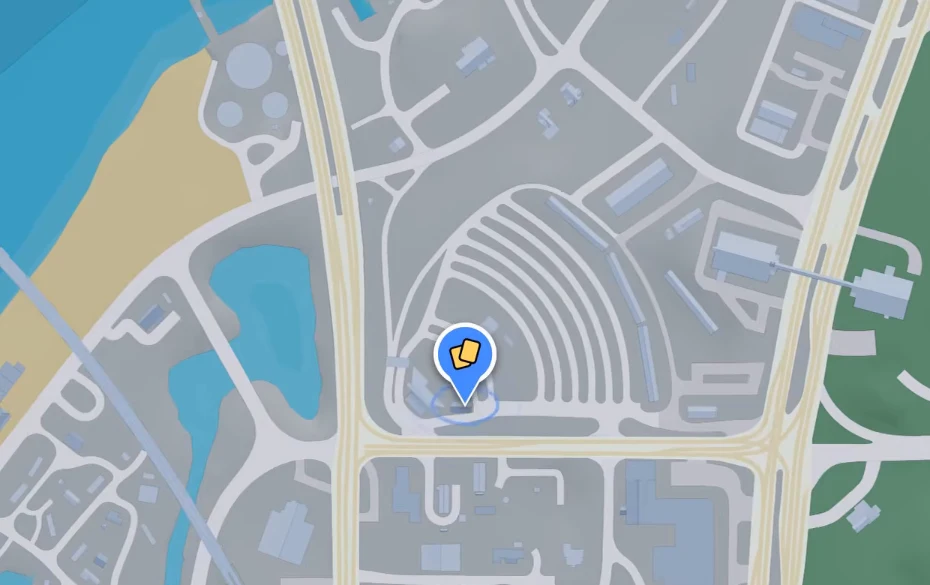
Lexi Campbell (Gold) · Port Gellhorn — At the old drive-in on Gellhorn Ave, enter the side building. Look inside the safe in its storeroom. Location map
Lexi Campbell (Silver) · Buckskin Swamp — At Cougar's Cave on Cargo Rd, enter the private room and check the corner of the desk. Location map
Malena (Purple) · Emerald Springs — Locate the cell tower beside Hickory Rd. Climb the spiral stairs on the building below it and inspect the doorway. Location map
MonaLi$a (Bronze) · South Kelly County — Follow the trails in the south of the county to the public facilities. Search the men's restroom. Location map
Zaria RI RI Luckett (Silver) · Port Gellhorn — Enter the abandoned yellow carriage in the south of town. Check the corner by the rucksack. Location map
Brianna Blue (Pink) · MacAlister Gold Mine — Find the wrecked cabin off Rockledge Rd. In the corner, look at the magazine underneath the chair. Location map
Lexi Campbell (Bronze) · Mount Kalaga National Park — Enter the forest bunker near the North Leonard County border. Look on the mattress in the corner. Location map
MonaLi$a (Silver) · Featherstone Islands — Board the grounded freighter on the north shore of the southeastern island. Search beside the backpack on the upper deck. Location map
Pricilla Pace (Bronze) · Mount Kalaga National Park — Find the faded pink house off Sassafrass Rd. Check the railing along its porch. Location map
Liberty City Penetrators
Alexander Avain (Silver) · Crosstown — Find the apartment block above the Kitty Litter lab west of Jack of Hearts. Search the third floor. Location map
Remy Herbert (Silver) · Little Cuba — Go upstairs in the apartment block east of Fast Cash. Search the accessible second-floor apartment. Location map
Rion Yapa (Silver) · Crosstown — Under the highway west of Down Town Pawn, enter the garage stacked with shoeboxes. Check the workbench. Location map
Alexander Avain (Blue) · Hamlet — At the Hamlet LTD Food Mart, leave the sales floor and search the back room. Location map
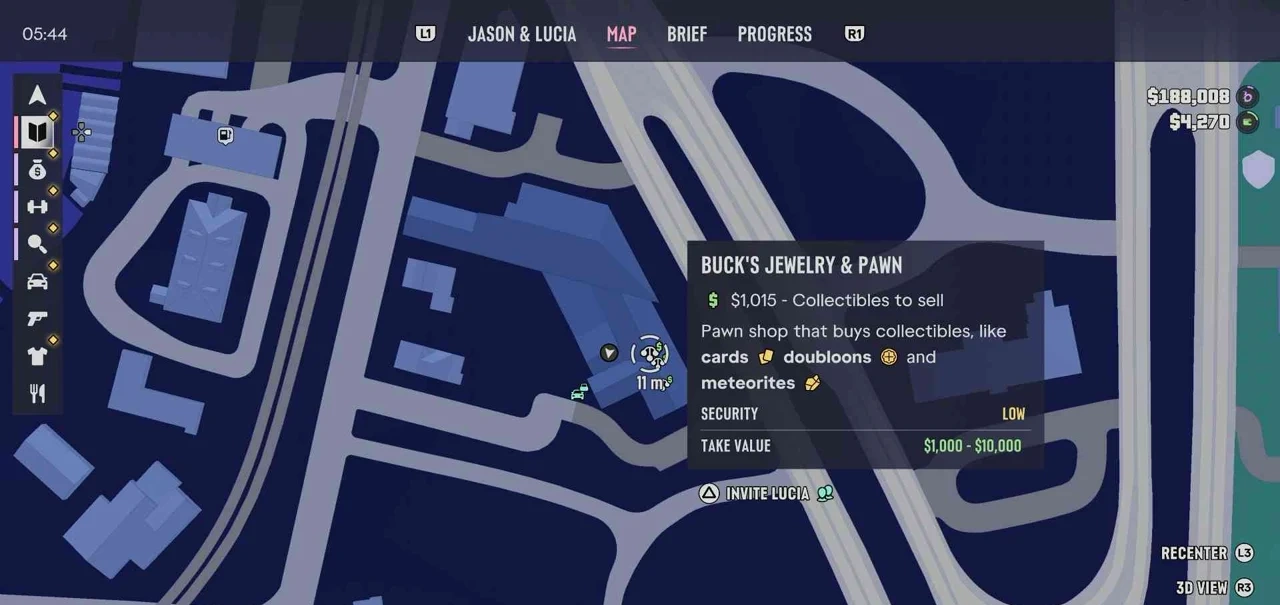
Demario Richardson (Gold) · Port Gellhorn — Inside Buck’s Jewelry & Pawn, go behind the shop floor and inspect the shelf in the back room. Location map
Liberty City Swingers
Seo-Jun Kim · Ocean Beach — At the northwest end of the park, climb the baseball bleachers. Look on the upper seating tier. Location map
Garth Buxton · Belville — East of Brilliant Cuts, go behind the Cellerica warehouse and check the wall-mounted phone box. Location map
Lalo Velasco (Gold) · Capri — Find the first house east of the Capri beach. Enter the garage and check the shelving. Location map
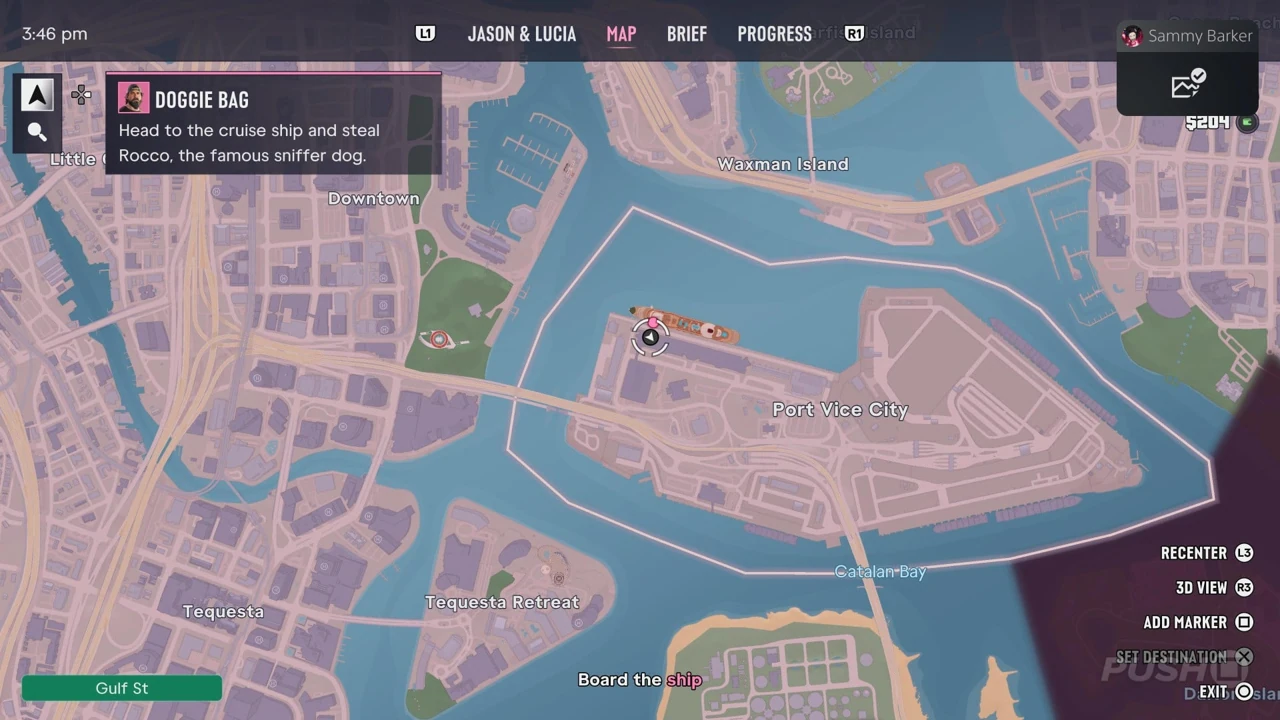
Ichiro Yamada · Port VC Terminal — During Doggie Bag, slip under the open warehouse shutter and take the doors on the left. Go through Storage and check the large wooden table immediately inside. Location map
Liberty City Wrath
Alvin Orlowski · La Perle — Go to the apartment building east of Drip Drops and search the top-floor apartment. Location map
Anthony Poke II (Red) · Washington Beach (Oldby Island) — At Ajax Gym on Oldby Island, find the board in the upper hallway. The door behind the upstairs treadmills leads toward it. Location map
Robbie Stine (Silver) · West Kalaga — South of the 247 gas station, find the building with the smokestack. Climb its ladder to the office and check the spot shown in the pickup photo. Location map
Los Santos Corkers
Carlos Larios (Bronze) · Ocean Beach — Walk into the western dugout of the Ocean Beach baseball field. Look down beside the bench. Location map
Victor Maravilla · Gellhorn — In the Starlet Motel kitchen, inspect the front of the refrigerator. Get it before the end of Chapter 2. Location map
Franklin Turner (Bronze) · Belville — West of Andy’s house on Belville’s northern row, enter the westernmost garage and check the counter. Location map
Aoi Watanabe · Peacock Bay — At the mall containing Nola in Peacock Bay, reach the tower on the northwest side of the roof. Location map
Los Santos Panic
Terrance Ericks (Bronze) · La Perle — Enter the locked building northwest of Aunt Zola’s Soul Food and check the interior counter shown in the photo. Location map
Terrance Ericks (Silver) · Decor District — West of Roval Jewelry, enter the empty building and search the office in its southeast corner. Location map
Nikkander Orlov (Silver) · Watson Bay — On the eastern edge of Watson Bay, look under the covered area beside the house. Search the shelf. Location map
Marquise Bernard · Key Lento — Outside Kenton’s shop in Key Lento, check the top of the barrel beside the entrance. Location map
Santiago Lopez (Standard) · Key Lento — From Jason’s first safehouse, go to the trailer immediately west of the house. Step into the bedroom and check the nightstand beside the bed. Location map
The Legends of Ratface
Captain Kreuks (Blue) · La Perle — At the construction site north of TWA Ponya Tattoo, climb to the top floor and look down near the edge. Location map
The Ratster (Purple) · Buckskin Swamp — Climb the Buckskin Swamp watchtower. The card rests on the top railing between the binoculars. Location map
Illuminaughty (Purple) · Belville — In the same western garage, face the right-hand wall and inspect the board above the work area. Check under the bed in this garage for a meteorite chunk. Location map
Wokester (Blue) · Key Lento — Follow the northeast side of The Wonder Whale clothing shop. The card rests on the outdoor bench. Location map
Vice City Club de Fútbol
Ian Harris (Silver) · Ocean Beach — From Ocean View Rooftop Bar, head east to the sand. Check inside the orange lifeguard stand. Location map
Ian Harris (Pink) · Ocean Beach — In the square apartment block southwest of WHS, reach the top floor and enter the southeast apartment. Location map
Ayokunumi Kasimu · Decor District — West of Roval Jewelry, look north of the accessible building for the yellow SCOOP container. Bring the Cut-off Tool. Location map
Badge (Silver) · Mount Kalaga National Park — Near the summit of Mount Kalaga, enter the hut and climb the ladder. Search the upper level. Location map
Vice City Flamingos
Julian Cruz (Gold) · Little Cuba — South of Yasmani’s shop, follow the long hallway. The card is on a board in a small office on its north side. Location map
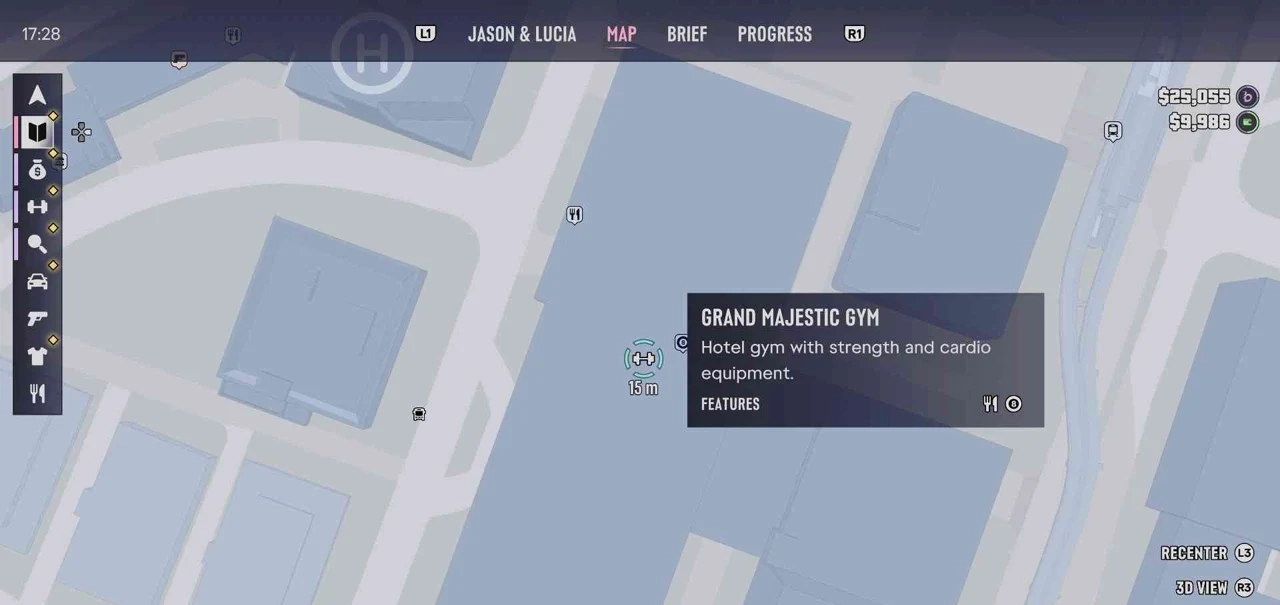
Ulysses Whitlock (Silver) · Tequesta — East of Grand Majestic Gym, take the elevator up the helipad building. Look at the top of the spiral stairs. Location map
Mateo Caballero (Silver) · La Perle — Go inside the house north of Zenon’s Pawn Shop. Search the bedroom furniture. Location map
Bill Norton (Standard) · Hamlet — Start at Hamlet Pawn and head east to the marked warehouse area. The card shows a Vice City Flamingos infielder with his glove raised. Location map
Vice City Manatees
Tusi Taufua · Tequesta — In the Grand Majestic Gym building, stay on the gym floor and cross over to the kitchen. Location map
Delord Nathan Alford · Belville — South of The Thirsty Wolf, enter the abandoned laundromat through the roof hatch. Check the shelf in the room with the dog. Location map
Tusi Taufua · East Lummox County — At the waterfront yard north of Millport, find the building marked Repairs & Storage. Go around the side to the office. The card is pinned to the corkboard beside the doorway, next to the marine-fuel poster. Location map
Vice City Narcos
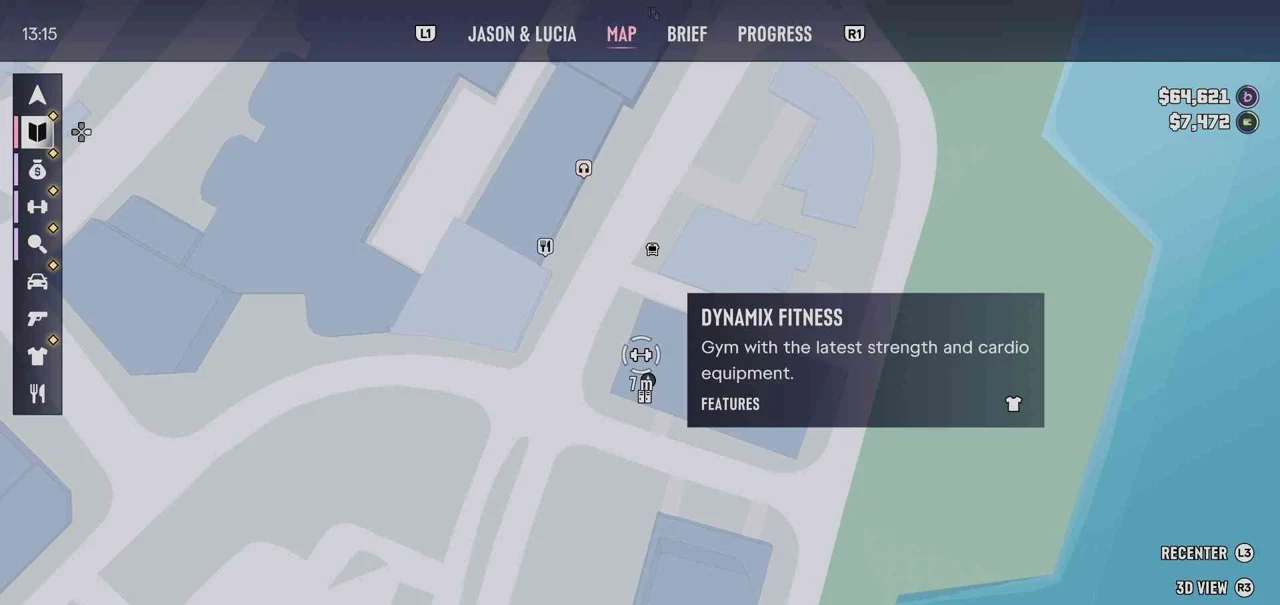
Kyle Lewicki · Bayside — Inside Dynamix Fitness, follow the rear hallway and check the bench. Location map
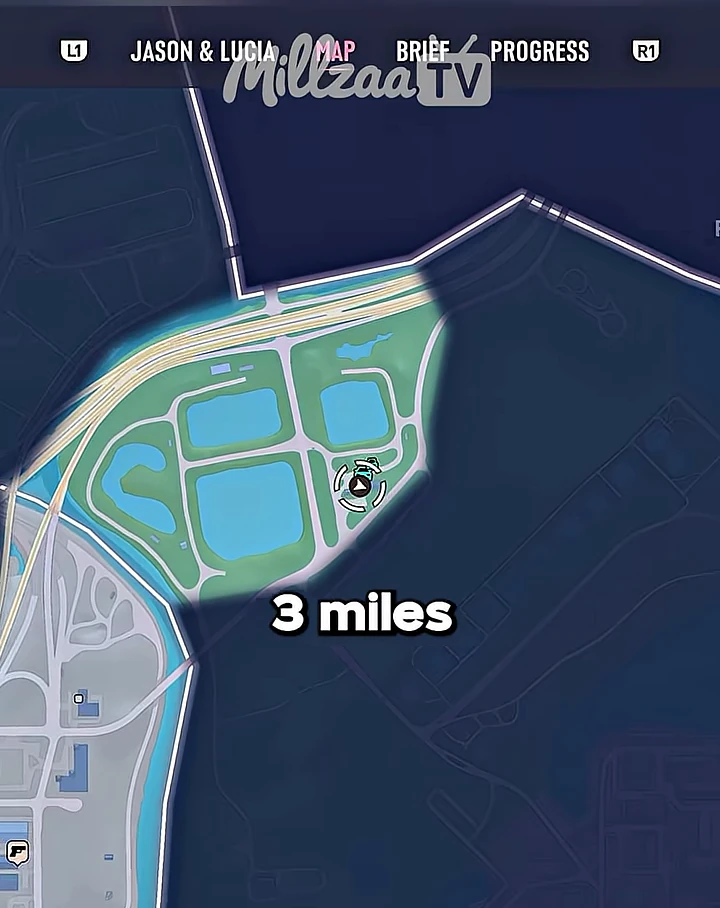
Leroy Rook · Hamlet warehouse — East of Hamlet, follow the access road past the rectangular ponds to the red warehouse. Pass the van full of teddy bears and continue into the second office. Open the small safe on top of the filing cabinet to collect the card. Location map
Backyard Wrestling
J.D. Wild · Grayson — North of the Grayson spray shop, go behind the house and open the yellow box on the deck. Location map
J.D. Wild · Grassrivers — Northeast of the Manatee Motel Kingfishers spot, enter the wooden shack. Look inside the mouth of the severed alligator head. Location map
Los Santos Pounders
Sione Apa (Red) · Tequesta — Inside the gym at Vice Seven Condominiums, search the southern changing room. Location map
Maximus Goldbart (Yellow) · Waning Sands — Enter the villa garage east of the Waning Sands spray shop. This is the property with the Vitello for Randy. Location map
Laki Maivia (Bronze) · Grassrivers (Cottonmouth Lake) — At the southwest edge of Cottonmouth Lake, enter the trailer and inspect the safe. The photos beside it give the code 44017. Location map
Lionel Taber · Key Lento — Climb the outside stairs to the party house on Dolphin Drive. Turn left into the bathroom just inside the entrance and look on the toilet. Location map
Right Wing: America’s Hero
Flamer (White) · Watson Bay — In the eastern Watson Bay campground, find the central restroom building. The card is pinned to a board outside. Location map
Right Wing (Red) · Bayside — In the lobby of Bayside Apartments, find the room with the pool toys. Check the small table. Location map
Flamer (Red) · Grayson — At Williams Guest House in central Grayson, take the upper walkway and check the shelf. Location map
Right Wing · Mount Kalaga National Park — Find the two shop entrances for Rusty Willis Jr. Hunting Supplies and Redshaw’s General Store. The card is pinned to the noticeboard between them. Location map
NINE1NINE Dancers
Serena (Gold) · Peacock Estates — At the Palladia Ln mansion, enter the detached garage full of mannequins and check the worktop. Location map
Amie (Pink) · Key Lento — Enter the Rusty Anchor and check the toilet in the men's restroom. Location map
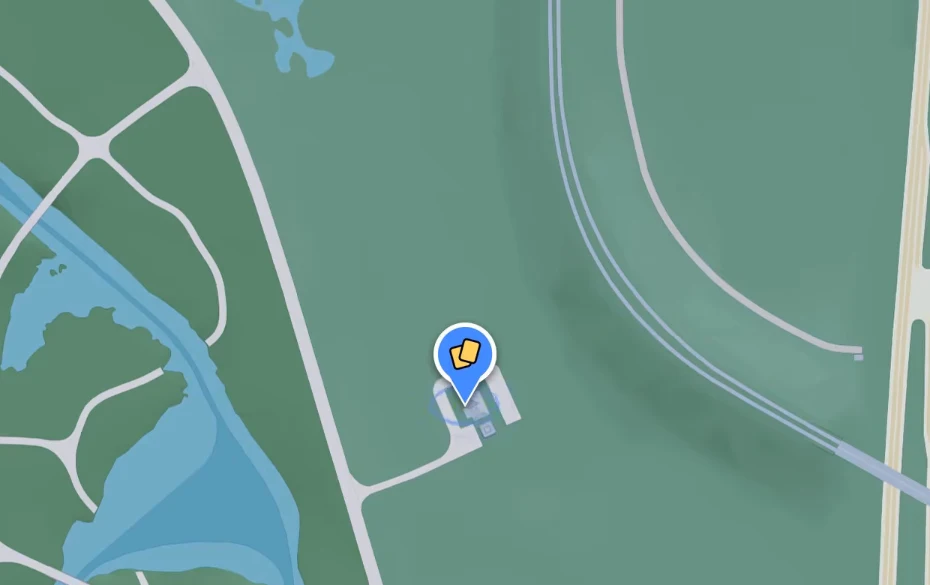
Braelynn (Deep Red) · North Kelly County — Follow the dirt road to the deserted observatory. On the highest floor, look beside the magazine. Location map
Georgia (Purple) · Key Lento — At Steven Strachan Construction on Sunbelt Hwy, enter the rear storeroom and check the stacked boxes. Location map
Clarissa (Bronze) · Little Cuba — Climb the yellow apartments on NW 3rd Ave. Look on the roof beside the pair of sun loungers. Location map
Georgia (Pink) · La Perle — Enter the derelict house at NW 11th St and NW 11th Pl. Check the sleeping bag on the mattress. Location map
Jesenia (Bronze) · Balsero — At the water testing plant on SR-120, climb tank AC-2C and look underneath the lawn chair. Location map
Jesenia (Gold) · Vespucci Island — Enter the mansion on the northwest coast. Upstairs, check the TV cabinet beside the receiver. Location map
Julia (Gold) · Ocean Beach — Find the middle rooftop courtyard at Ocean Beach Apartments on Huevo St. Look between the magazines by the bed. Location map
Julia (Silver) · Peacock Bay — Climb Bounty Plaza on SW 5th Ave and follow the railing along the rooftop overlook. Location map
Lenora (Deep Red) · Tequesta Retreat — Find Saint Malo I near Bayside Dr. Check the yellow sofa at ground level. Location map
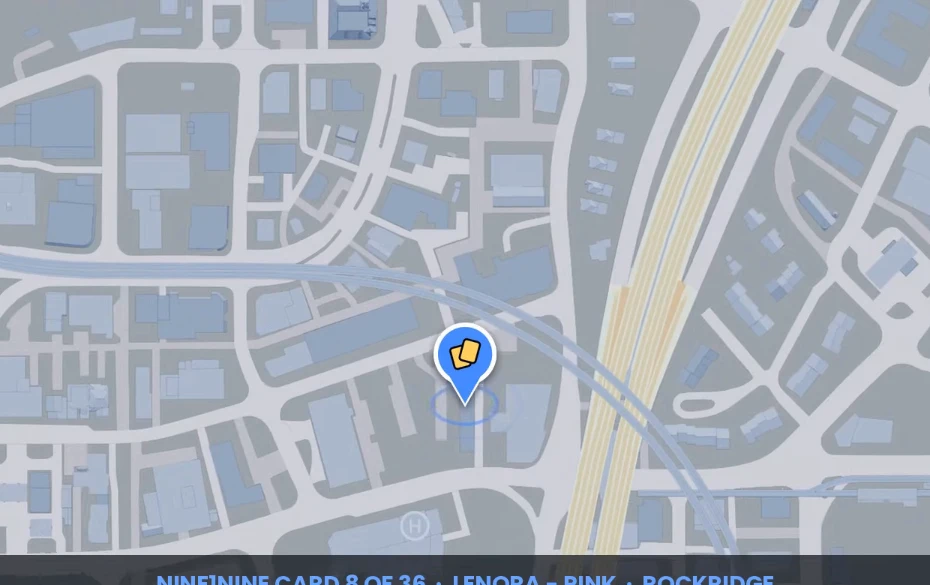
Lenora (Pink) · Rockridge — Enter apartment 21 on the top floor of the colorful complex on Rialto Cswy. Look beside the moving box on the table. Location map
Lenora (Purple) · Tequesta — Behind Basix Food & Pharmacy on SW 4th Ave, climb the side stairs and check the handrail by the door. Location map
Louise (Bronze) · Salton — Climb the abandoned building on Westbrook Dr. Follow the highest roof edge overlooking the courtyard. Location map
Louise (Gold) · Balsero — At Merlin's Palace Casino on NW 15th Ave, reach the north tower and inspect its parapet. Location map
Meghan (Bronze) · Crosstown — Find the upstairs storeroom next to Vice City Pawn off NE 3rd Ave. Check the second shelf. Location map
Amie (Purple) · Capri — On Vela Rota Dr, find the colorful house. Go around to its rear balcony and inspect the outdoor bed. Location map
Clarissa (Gold) · Breakwater Quarry — Climb to the upper roof of Leonida Industrial Services. Look under the lounger near the edge. Location map
Clarissa (Silver) · Capri — Enter the yellow villa's garage on the northwest peninsula. Look beside the magazine on the worktop. Location map
Jesenia (Silver) · Permit Keys — Take a boat to the sandbar off the north shore. The card is on the table shaded by a parasol. Location map
Louise (Silver) · Belville — At the rest stop by the Lake Leonida dock, enter the men's room. Look for the toilet with the garden gnome. Location map
Meghan (Silver) · Vinewood Beach — Walk the southern seawall in Waning Sands. Check the gnome beside the beach mattress. Location map
Amie (Deep Red) · Buckskin Swamp — Find the small picnic clearing in the middle of the swamp and inspect the bench seat. Location map
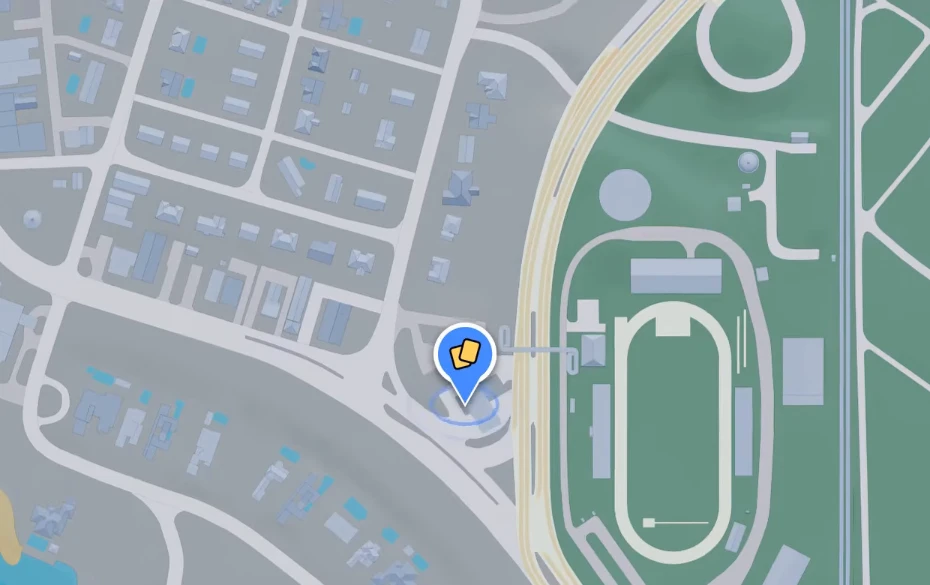
Braelynn (Pink) · Gellhorn International Raceway — Follow the track to the Xero Gas sign. Check the ledge behind it, beneath the bong. Location map
Chrissie (Pink) · Port Gellhorn — Enter the red trailer on Baywood Rd and inspect the cushion of the corner chair. Location map
Chrissie (Purple) · Manifest Canyon — Follow the railway to the mountain cave. Check the crate beside the campsite inside. Location map
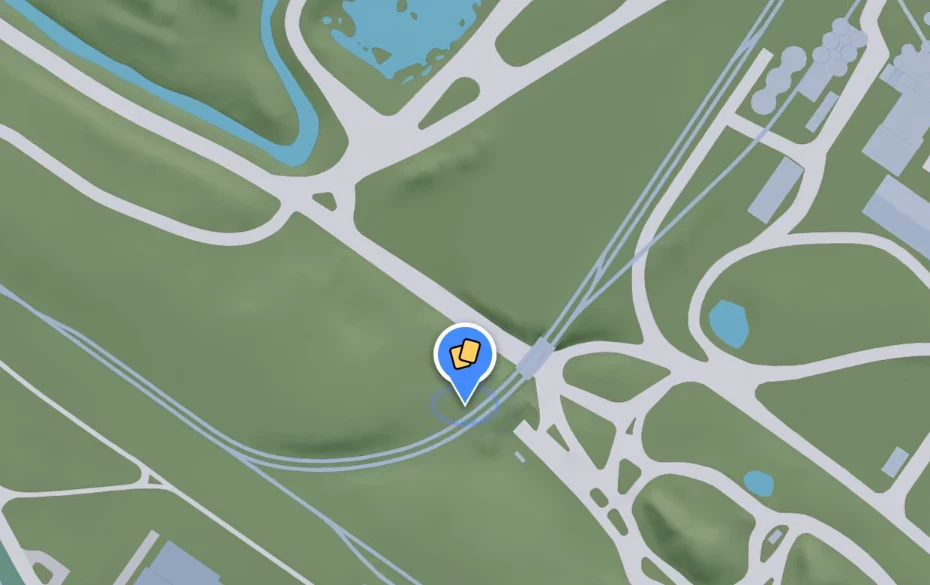
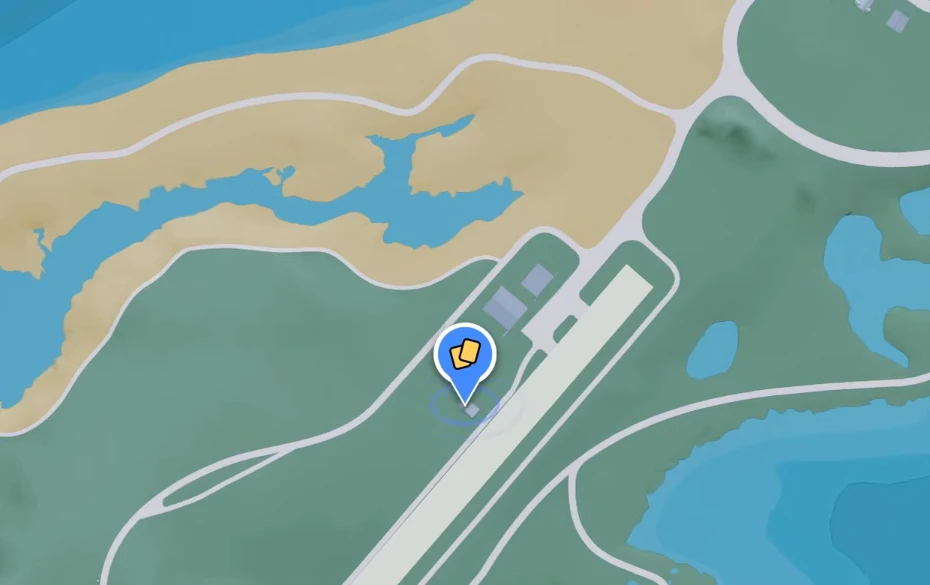
Julia (Bronze) · Wild Hog Point — At the airfield, enter the shack next to the control tower. Look by the magazine on the floor. Location map
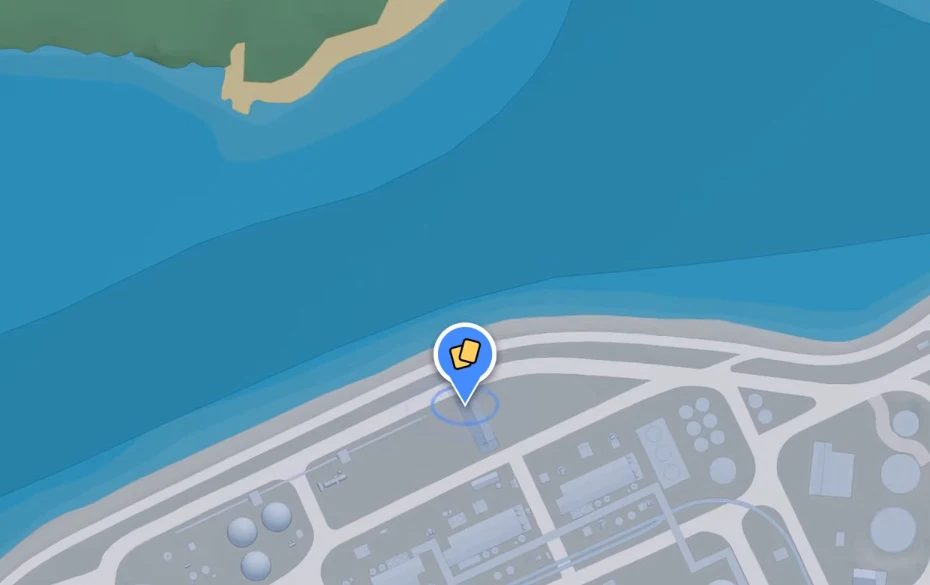
Lavinia (Deep Red) · Draper Island — Enter the Engineering Maintenance warehouse at Xero Draper Refinery. Check the office desk. Location map
Meghan (Gold) · South Kelly County — Climb the tower in the median of US-183. Look behind the King Gator Adventure Golf sign. Location map
Braelynn (Purple) · Millport — Enter the ruined church off Bear Hollow Dr. Go upstairs and look beside the mattress. Location map
Chrissie (Deep Red) · MacAlister Gold Mine — Explore the mine cave in Moreau. Find the red blanket among the debris and check its surface. Location map
Georgia (Deep Red) · Millport — Find the white trailer off Forest Mill Rd. Check beneath the chair on the porch by the entrance. Location map
Lavinia (Pink) · Millport — Enter the old grocery and lotto station where Chestnut Dr meets Forest Mill Rd. Inspect the barrel in the back room. Location map
Lavinia (Purple) · MacAlister Gold Mine — Walk down to the river by the railway. Enter the wrecked red carriage and check its shelf. Location map
Serena (Bronze) · Mount Kalaga National Park — Find the dilapidated barn off Forest Mill Rd. Search the ground beside the blue sofa outside. Location map
Serena (Silver) · Grayson — Walk southwest from Grayson onto the beach. Inspect the seat of the brown leather chair. Location map